Introdução
Obrigado pela compra.asing the GPX Weatherx WR282B Weather and Alert Radio. This portable radio is designed to provide you with AM/FM radio reception and access to all 7 NOAA weatherband channels, ensuring you stay informed during various conditions. It offers flexible power options, operating on either AC power or D-size batteries, making it suitable for both indoor and outdoor use.
Leia atentamente este manual antes de utilizar o dispositivo para garantir o uso correto e maximizar seu desempenho e vida útil.
Informações importantes de segurança
- Leia as instruções: Todas as instruções de segurança e operação devem ser lidas antes de operar o produto.
- Instruções de retenção: As instruções de segurança e operação devem ser guardadas para referência futura.
- Atenção aos avisos: Todos os avisos no produto e nas instruções de operação devem ser respeitados.
- Siga as instruções: Todas as instruções de operação e uso devem ser seguidas.
- Água e Umidade: Do not use this product near water (e.g., near a bathtub, washbowl, kitchen sink, laundry tub, in a wet basement, or near a swimming pool).
- Limpeza: Limpe apenas com um pano seco.
- Ventilação: Não obstrua as aberturas de ventilação. Instale de acordo com as instruções do fabricante.
- Aquecer: Não instale perto de fontes de calor, como radiadores, registros de calor, fogões ou outros aparelhos (incluindo amplificadores) que produzem calor.
- Proteção do cabo de alimentação: Proteja o cabo de alimentação para que não seja pisado ou comprimido, principalmente nos plugues, nas tomadas de conveniência e no ponto de saída do aparelho.
- Raio: Desligue este aparelho durante tempestades com raios ou quando não for utilizado por longos períodos de tempo.
- Manutenção: Entregue todos os serviços de manutenção a pessoal de serviço qualificado. O serviço é necessário quando o aparelho foi danificado de alguma forma, como cabo de alimentação ou plugue danificado, líquido foi derramado ou objetos caíram no aparelho, o aparelho foi exposto à chuva ou umidade, não opera normalmente ou foi derrubado.
Características
- Sintonizador de rádio AM/FM
- Weatherband - All 7 NOAA Channels
- Swivel Telescopic Antenna
- Controle de volume
- Audio Line Input (Auxiliary Input)
- Alça de transporte integrada
- Dual Power Options: AC/DC Adapter or 3 x 'D' Batteries
Conteúdo da embalagem
- GPX Weatherx WR282B Weather and Alert Radio
- Adaptador de energia CA/CC
- Manual do usuário (este documento)
Controles e Indicadores
Familiarize yourself with the various controls and indicators on your WR282B radio.
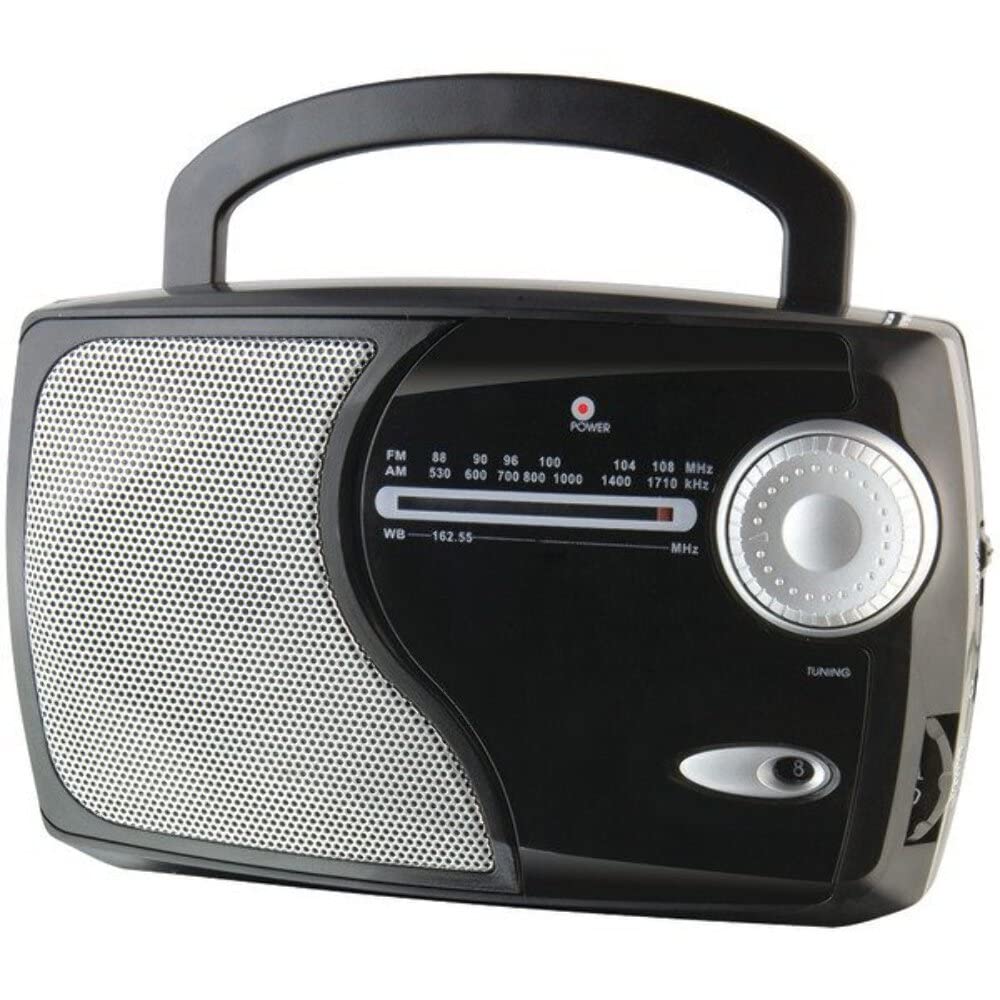
Imagem: Frente view of the GPX Weatherx WR282B radio, showing the speaker, tuning dial, and control knobs.
- Botão de potência/volume: Liga/desliga o rádio e ajusta o nível de saída de áudio.
- Seletor de bandas: Selects between AM, FM, and Weatherband (WB) modes.
- Botão de sintonia: Adjusts the frequency to tune into desired radio stations or weather channels.
- Tuning Indicator: Illuminates when a strong signal is received.
- Discagem de frequência: Exibe a frequência de rádio atual.
- Antena Telescópica: Extendable antenna for improved FM and Weatherband reception.
- Entrada auxiliar (AUX IN): Entrada de 3.5 mm para conectar dispositivos de áudio externos.
- Entrada de energia CA: Jack for connecting the included AC/DC power adapter.
- Compartimento da bateria: Located on the back, holds 3 'D' size batteries.
- Alça de transporte: Para facilitar o transporte.
Configurar
Alimentando o rádio
The WR282B radio can be powered using either the included AC/DC power adapter or three 'D' size batteries.
1. AC Power Operation
- Ensure the radio is turned off by rotating the Power/Volume knob counter-clockwise until it clicks.
- Insert the small plug of the AC/DC power adapter into the AC Power Input jack on the radio.
- Plug the other end of the AC/DC power adapter into a standard wall outlet (AC 120V~60Hz).
- O rádio agora está pronto para uso com alimentação CA.
Observação: When the AC adapter is connected, battery power is automatically disconnected.
2. Battery Power Operation
- Certifique-se de que o rádio esteja desligado.
- Localize o compartimento da bateria na parte traseira do rádio.
- Abra a tampa do compartimento da bateria.
- Insert three (3) 'D' size batteries (not included) into the compartment, observing the correct polarity (+/-) as indicated inside the compartment.
- Feche bem a tampa do compartimento da bateria.
- O rádio agora está pronto para ser usado com bateria.
Importante: Remova as pilhas se o rádio não for usado por um longo período para evitar vazamentos e danos.
Instruções de operação
1. Turning On and Adjusting Volume
- Gire o Botão de energia/volume clockwise to turn on the radio. Continue rotating to increase the volume to a comfortable listening level.
- Para desligar o rádio, gire o Botão de energia/volume Gire no sentido anti-horário até ouvir um clique.
2. Selecting a Radio Band (AM/FM/Weatherband)
- Use o Chave seletora de banda to choose your desired listening mode:
- SOU: Para Amplitude Modulation radio stations.
- FM: For Frequency Modulation radio stations.
- CB: For NOAA Weatherband channels.
3. Tuning to a Station or Channel
- Estender o Antena telescópica fully for optimal FM and Weatherband reception. For AM reception, the radio has a built-in antenna, and adjusting the radio's position may improve reception.
- Gire o Botão de ajuste to scan through frequencies on the Discador de freqüência.
- When a strong signal is received, the Indicador de ajuste luz acenderá.
- For Weatherband (WB) mode, tune to one of the 7 NOAA weather channels (162.400 MHz to 162.550 MHz).
4. Using the Auxiliary Input (AUX IN)
- Connect a 3.5mm audio cable (not included) from your external audio device (e.g., MP3 player, smartphone) to the Entrada auxiliar (AUX IN) jack on the radio.
- Ensure the radio is turned on and the volume is adjusted.
- The audio from your external device will now play through the radio's speaker. Control playback and track selection from your external device.
Manutenção
- Limpeza: Limpe a parte externa do rádio com um pano macio e seco. Não utilize produtos de limpeza abrasivos, ceras ou solventes.
- Substituição da bateria: Replace all three 'D' batteries when the radio's performance diminishes or if the unit will not be used for an extended period. Always replace with new batteries of the same type.
- Armazenar: When storing the radio for a long time, remove the batteries to prevent leakage. Store in a cool, dry place away from direct sunlight and extreme temperatures.
- Cuidados com a antena: Manuseie a antena telescópica com cuidado para evitar que ela se dobre ou quebre.
Solução de problemas
| Problema | Possível causa | Solução |
|---|---|---|
| Sem energia |
|
|
| Má recepção de rádio |
|
|
| Sem som na entrada AUX |
|
|
Especificações
- Modelo: WR282B
- Bandas de Rádio: AM, FM, Weatherband (7 NOAA channels)
- Fonte de energia: AC 120V~60Hz (via included adapter) or 3 x 'D' Batteries (not included)
- Conectividade: Entrada auxiliar de 3.5 mm
- Antena: Telescopic (FM/WB), Built-in Ferrite Bar (AM)
- Dimensões do produto: 8.86" L x 2.76" W x 5.51" H (approximately)
- Peso do item: 1.06 pounds (without batteries)
Garantia e Suporte
For detailed warranty information and customer support, please refer to the warranty card included with your product or visit the official GPX webGuarde o comprovante de compra como prova para eventuais solicitações de garantia.
If you experience issues not covered in the troubleshooting section, please contact GPX customer service for assistance.