
1. Introdução
Obrigado pela compra.asing the Sharp R-752IN Microwave Oven. This appliance is designed for efficient and convenient cooking, reheating, and defrosting. Please read this manual thoroughly before operating your new microwave oven to ensure safe and optimal performance. Keep this manual for future reference.
The Sharp R-752IN features an 800W microwave, a 1000W quartz grill, 10 automatic cooking menus, and 3 combination cooking modes. It has a 25-liter capacity and comes with a 315mm glass turntable and a high grill rack.
2. Instruções de segurança
Para reduzir o risco de incêndio, choque elétrico, ferimentos ou exposição excessiva à energia de micro-ondas ao usar seu aparelho, siga as precauções básicas de segurança, incluindo as seguintes:
- Leia todas as instruções antes de usar o aparelho.
- Não tente utilizar este forno com a porta aberta, pois isso pode resultar em exposição prejudicial à energia das micro-ondas.
- Não coloque nenhum objeto entre a parte frontal do forno e a porta, nem permita que resíduos de sujeira ou produtos de limpeza se acumulem nas superfícies de vedação.
- Não opere o forno se ele estiver danificado. É particularmente importante que a porta do forno feche corretamente e que não haja danos a: (1) porta (dobrada), (2) dobradiças e travas (quebradas ou soltas), (3) vedações da porta e superfícies de vedação.
- Apenas pessoal de assistência qualificado deve ajustar ou reparar o forno.
- Não aqueça líquidos ou outros alimentos em recipientes fechados, pois eles podem explodir.
- Do not use metal utensils, foil, or dishes with metallic trim in the microwave mode.
- Garanta ventilação adequada ao redor do aparelho.
- Always supervise children when the microwave oven is in use.
For detailed safety information, refer to the complete safety guidelines provided in the printed manual.
3. Produto acabadoview
Familiarize yourself with the components of your Sharp R-752IN microwave oven.
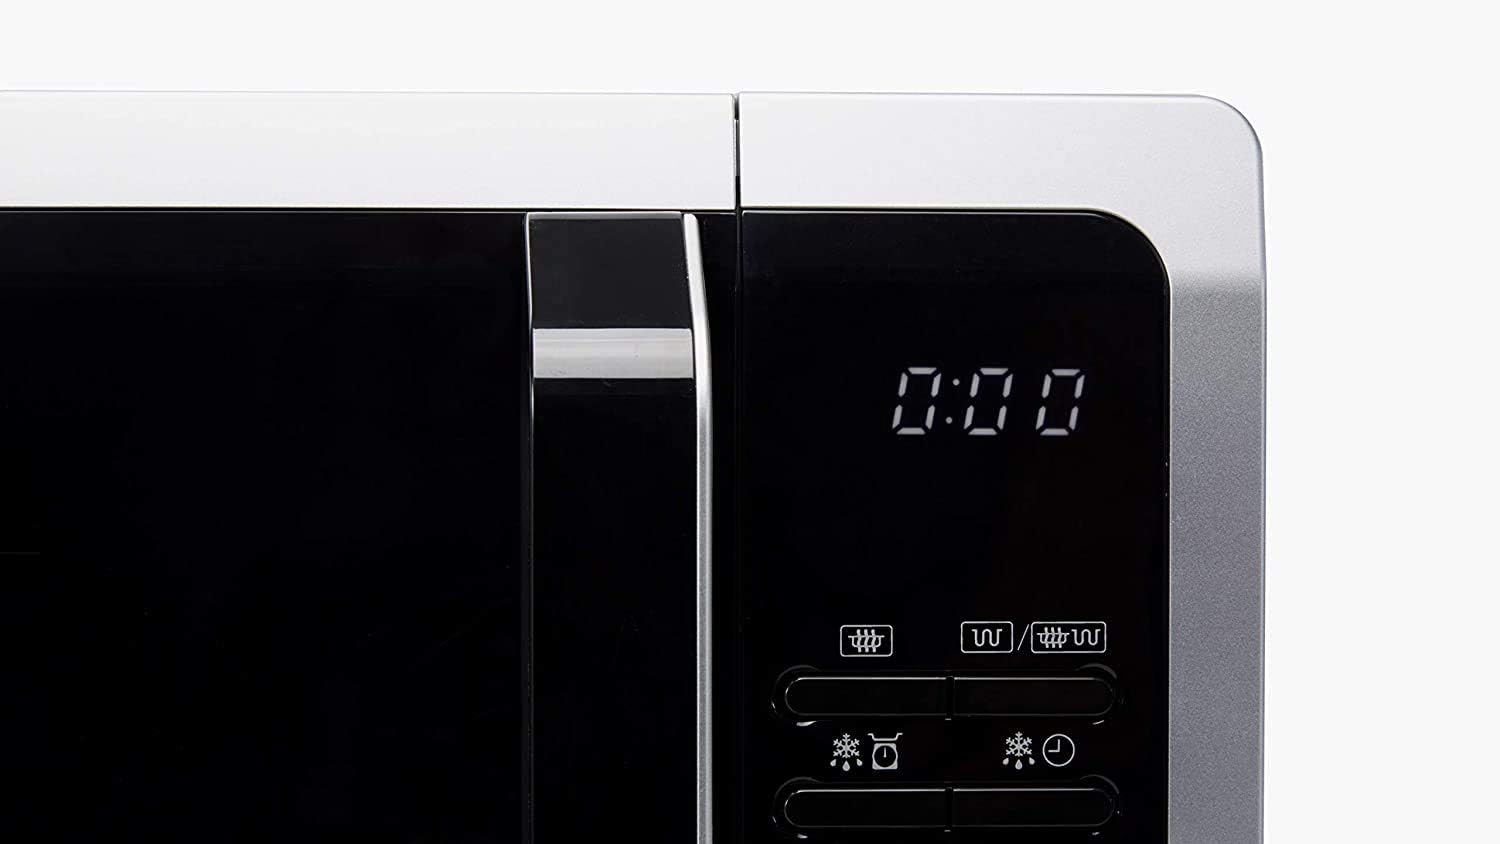
Figura 3.1: Frente view of the Sharp R-752IN Microwave Oven. This image shows the silver exterior, black door, and the digital display and control panel on the right side.

Figura 3.2: Close-up of the Sharp logo prominently displayed on the upper left corner of the microwave oven door.
Painel de controle
The control panel allows you to select cooking functions, set time, and adjust power levels.

Figura 3.3: Close-up of the Sharp R-752IN Microwave Oven control panel, showing the digital display, function buttons for microwave, grill, defrost, auto menu, and the rotary dial for time/weight selection.
- Tela digital: Shows time, power level, and selected functions.
- Botões de função: For selecting Microwave, Grill, Combination, Defrost, and Auto Menu modes.
- Botão Iniciar / Parar: To begin or cancel cooking.
- Mostrador rotativo: Used to set cooking time, weight for defrost, or select auto menu options.
- +30s Button: Adds 30 seconds of cooking time.
4. Configuração
Desembalando
- Remova todos os materiais de embalagem de dentro e de fora do forno.
- Verifique se o forno apresenta algum dano, como amassados ou porta desalinhada. Não utilize o forno se estiver danificado.
- Ensure all accessories are present: glass turntable, turntable support, and grill rack.
Colocação
- Coloque o forno sobre uma superfície plana e estável que suporte o seu peso e o do alimento mais pesado que provavelmente será cozido nele.
- Ensure there is adequate space for ventilation: at least 20 cm (8 inches) above the oven, 10 cm (4 inches) at the rear, and 5 cm (2 inches) on each side. Do not block any ventilation openings.
- Mantenha o forno longe de fontes de calor e campos magnéticos fortes.
Uso inicial
- Clean the interior of the oven and the glass turntable with a damp pano.
- Place the turntable support and glass turntable inside the oven.
- Conecte o cabo de alimentação a uma tomada elétrica aterrada.
- Set the clock (refer to the 'Operating Instructions' section for details).
5. Instruções de operação
Cozinha básica no micro-ondas
- Coloque os alimentos em um recipiente próprio para micro-ondas sobre o prato giratório de vidro.
- Feche bem a porta do forno.
- Press the 'Microwave' button repeatedly to select the desired power level (e.g., 800W, 600W, etc. - 8 levels available).
- Turn the rotary dial to set the cooking time.
- Pressione o botão 'Iniciar' para começar a cozinhar.
Grelhar
Use the included grill rack for optimal grilling results.
- Coloque os alimentos na grelha e, em seguida, coloque a grelha no prato giratório de vidro.
- Feche a porta do forno.
- Pressione o botão 'Grelha'.
- Turn the rotary dial to set the grilling time.
- Pressione o botão 'Iniciar'.
Cozinha combinada
The R-752IN offers 3 combination cooking modes, combining microwave and grill functions for faster and more even cooking.
- Coloque os alimentos em um recipiente adequado na grelha ou plataforma giratória.
- Press the 'Combi' button repeatedly to select one of the 3 combination modes.
- Turn the rotary dial to set the cooking time.
- Pressione o botão 'Iniciar'.
Menus automáticos
The oven has 10 pre-programmed auto menus for common food items.
- Coloque a comida no forno.
- Pressione o botão 'Menu Automático'.
- Turn the rotary dial to select the desired auto menu number.
- Press 'Start'. The oven will automatically set the cooking time and power level.
Função de degelo
The defrost function allows you to defrost food by time or by weight.
- Coloque os alimentos congelados em um recipiente adequado para micro-ondas.
- Pressione o botão 'Descongelar'.
- Turn the rotary dial to select either defrost by time or defrost by weight. Adjust the time or weight accordingly.
- Pressione o botão 'Iniciar'.
Ajustando o relógio
- In standby mode, press the 'Clock' button (if available, or refer to manual for specific button).
- Turn the rotary dial to set the hour. Press 'Clock' again.
- Turn the rotary dial to set the minutes. Press 'Clock' again to confirm.
Bloqueio de criança
To activate the child lock, press and hold the 'Stop/Cancel' button for 3 seconds. The display will show a lock indicator. To deactivate, repeat the process.
6. Manutenção e Limpeza
A limpeza e a manutenção regulares garantirão a longevidade e o funcionamento eficiente do seu forno de micro-ondas.
- Interior: Limpe a cavidade do forno após cada utilização com um produto de limpeza.amp cloth to prevent food splatters from drying. For stubborn stains, use a mild detergent. Do not use abrasive cleaners or scouring pads.
- Exterior: Limpe a superfície externa com um pano macio e seco.amp pano. Evite que entre água nas aberturas de ventilação.
- Portas e Vedações: Limpe cuidadosamente a porta, as borrachas de vedação e as partes adjacentes com um produto de limpeza.amp pano para remover respingos ou respingos.
- Plataforma giratória de vidro: The glass turntable and turntable support can be washed in warm soapy water or in a dishwasher. Ensure they are completely dry before placing them back in the oven.
- Prateleira para Churrasqueiras: Wash the grill rack in warm soapy water and dry thoroughly.
Cuidado:
- Desligue sempre o forno antes de limpar.
- Não mergulhe o cabo de alimentação, a ficha ou o próprio aparelho em água ou outros líquidos.
7. Solução De Problemas
Caso encontre algum problema com seu forno de micro-ondas, consulte os problemas e soluções comuns a seguir:
| Problema | Possível causa | Solução |
|---|---|---|
| Forno não liga | Cabo de alimentação não conectado; Porta não fechada corretamente; Fusível queimado ou disjuntor desarmado. | Certifique-se de que a ficha esteja bem encaixada na tomada; Feche bem a porta; Verifique o fusível da casa ou reinicie o disjuntor. |
| Comida que não está sendo cozida/aquecida | Porta não fechada corretamente; Tempo/potência de cozimento configurados incorretamente; Alimento impróprio para micro-ondas. | Ensure door is closed; Adjust time/power; Use microwave-safe dishes. |
| A plataforma giratória não está girando | Prato giratório não encaixado corretamente; Obstrução sob o prato giratório. | Reposition turntable and support; Remove any obstructions. |
| Ruído incomum durante a operação | Turntable or roller ring not correctly placed; Food container touching oven walls. | Adjust turntable/roller ring; Ensure container is centered and not too large. |
Se o problema persistir após tentar essas soluções, entre em contato com pessoal de serviço qualificado.
8. Especificações
Key technical specifications for the Sharp R-752IN Microwave Oven:

Figura 8.1: Dimensions of the Sharp R-752IN Microwave Oven: 51 cm width, 43 cm depth, 31 cm height.
| Recurso | Especificação |
|---|---|
| Marca | Afiado |
| Número do modelo | R-752IN |
| Capacidade | 25 litros |
| Potência de micro-ondas | 800 W (8 power levels) |
| Potência da grelha | 1000 W (Quartz Grill) |
| Cozinha combinada | 3 modos |
| Menus automáticos | 10 programas |
| Tipo de instalação | Bancada |
| Cor | Prata |
| Volumetage | 230 volts |
| Consumo de energia | 1450 W |
| Material | Plástico |
| Peso do item | 14.9 kg |
| Dimensões (L x P x A) | 51 cm x 43 cm x 31 cm |
| Características especiais | Programável |
9. Garantia e Suporte
Your Sharp R-752IN Microwave Oven is covered by a manufacturer's warranty. Please refer to the warranty card included with your product for specific terms, conditions, and duration.
For technical support, service, or to inquire about replacement parts, please visit the official Sharp website or contact their customer service department. Contact details can typically be found in the original packaging or on the Sharp brand website.