Hertz Mille Legend Series ML-Power-5 AmpLifier User Manual
Model: ML-Power-5
1. Introdução
Thank you for choosing the Hertz Mille Legend Series ML-Power-5 D-Class 5-Channel Amplificador. Este alto desempenho amplifier is designed to deliver exceptional sound quality and power for your car audio system. This manual will guide you through the proper installation, setup, and operation to ensure you get the best possible experience from your new ampAmplificador. Leia este manual atentamente antes da instalação e utilização e guarde-o para futuras consultas.

Figura 1.1: Frente view of the Hertz ML-Power-5 Ampamplificador, showcasing its sleek design and top panel.
2. Informações de segurança
Observe sempre as seguintes precauções de segurança durante a instalação e operação:
- Instalação profissional recomendada: Installation should be performed by a qualified professional to prevent damage to the amplificador ou veículo.
- Desconecte a bateria: Sempre desconecte o terminal negativo da bateria do veículo antes de iniciar qualquer trabalho elétrico.
- Fiação adequada: Use appropriate gauge wiring for power, ground, and speaker connections as specified in this manual. Incorrect wiring can lead to overheating, fire, or damage to components.
- Ventilação: Garantir o amplifier is mounted in a location with adequate ventilation to prevent overheating. Do not cover the amplifier or block its cooling fins.
- Evite umidade: Não exponha o ampAmplificador de umidade ou água.
- Montagem segura: Monte o ampPrenda o amplificador firmemente para evitar que ele se transforme em um projétil em caso de parada repentina ou colisão.
- Proteção do fusível: O amplifier is equipped with internal fuses. Do not bypass or replace them with fuses of a different rating. The amplifier uses 2 x 40 A fuses.
3. Conteúdo da embalagem
Verifique se todos os itens estão presentes na embalagem:
- Hertz ML-Power-5 D-Class 5-Channel Ampmais vivo
- Manual do usuário (este documento)
- Acessórios de montagem (parafusos, arruelas)
- Remote Bass Control (if included with your specific model)
- Connection Terminals/Adapters (if applicable)
4. Instalação
4.1 Local de Montagem
Escolha um local de montagem que:
- Provides adequate ventilation for heat dissipation.
- Is protected from moisture and direct sunlight.
- Allows for secure fastening to a solid surface.
- Is easily accessible for wiring and adjustments.
Common mounting locations include under seats, in the trunk, or behind trim panels.
4.2 Conexões de energia
Conexões elétricas adequadas são cruciais para ampDesempenho e segurança do amplificador.
- Battery (BATT+) Connection: Run a power cable directly from the vehicle's positive battery terminal to the amplifier's BATT+ terminal. Install an in-line fuse holder within 18 inches (45 cm) of the battery. The fuse rating should match the amplifier's total fuse rating (80A for ML-Power-5).
- Conexão de aterramento (GND): Connect a ground cable of the same gauge as the power cable from the ampConecte o terminal GND do amplificador a uma superfície metálica limpa e sem pintura no chassi do veículo. Certifique-se de que a conexão elétrica esteja firme.
- Conexão de ativação remota (REM): Conecte um fio de acionamento remoto da saída remota da sua unidade principal ao ampTerminal REM do amplificador. Este fio sinaliza o amplifier to turn on when the head unit is active. The ML-Power-5 features Automatic Remote Turn-Off.
4.3 Conexões de entrada de áudio
Conecte as saídas RCA da sua unidade principal ao amplifier's RCA inputs. The ML-Power-5 is a 5-channel amplifier, typically requiring front, rear, and subwoofer RCA inputs from your head unit.
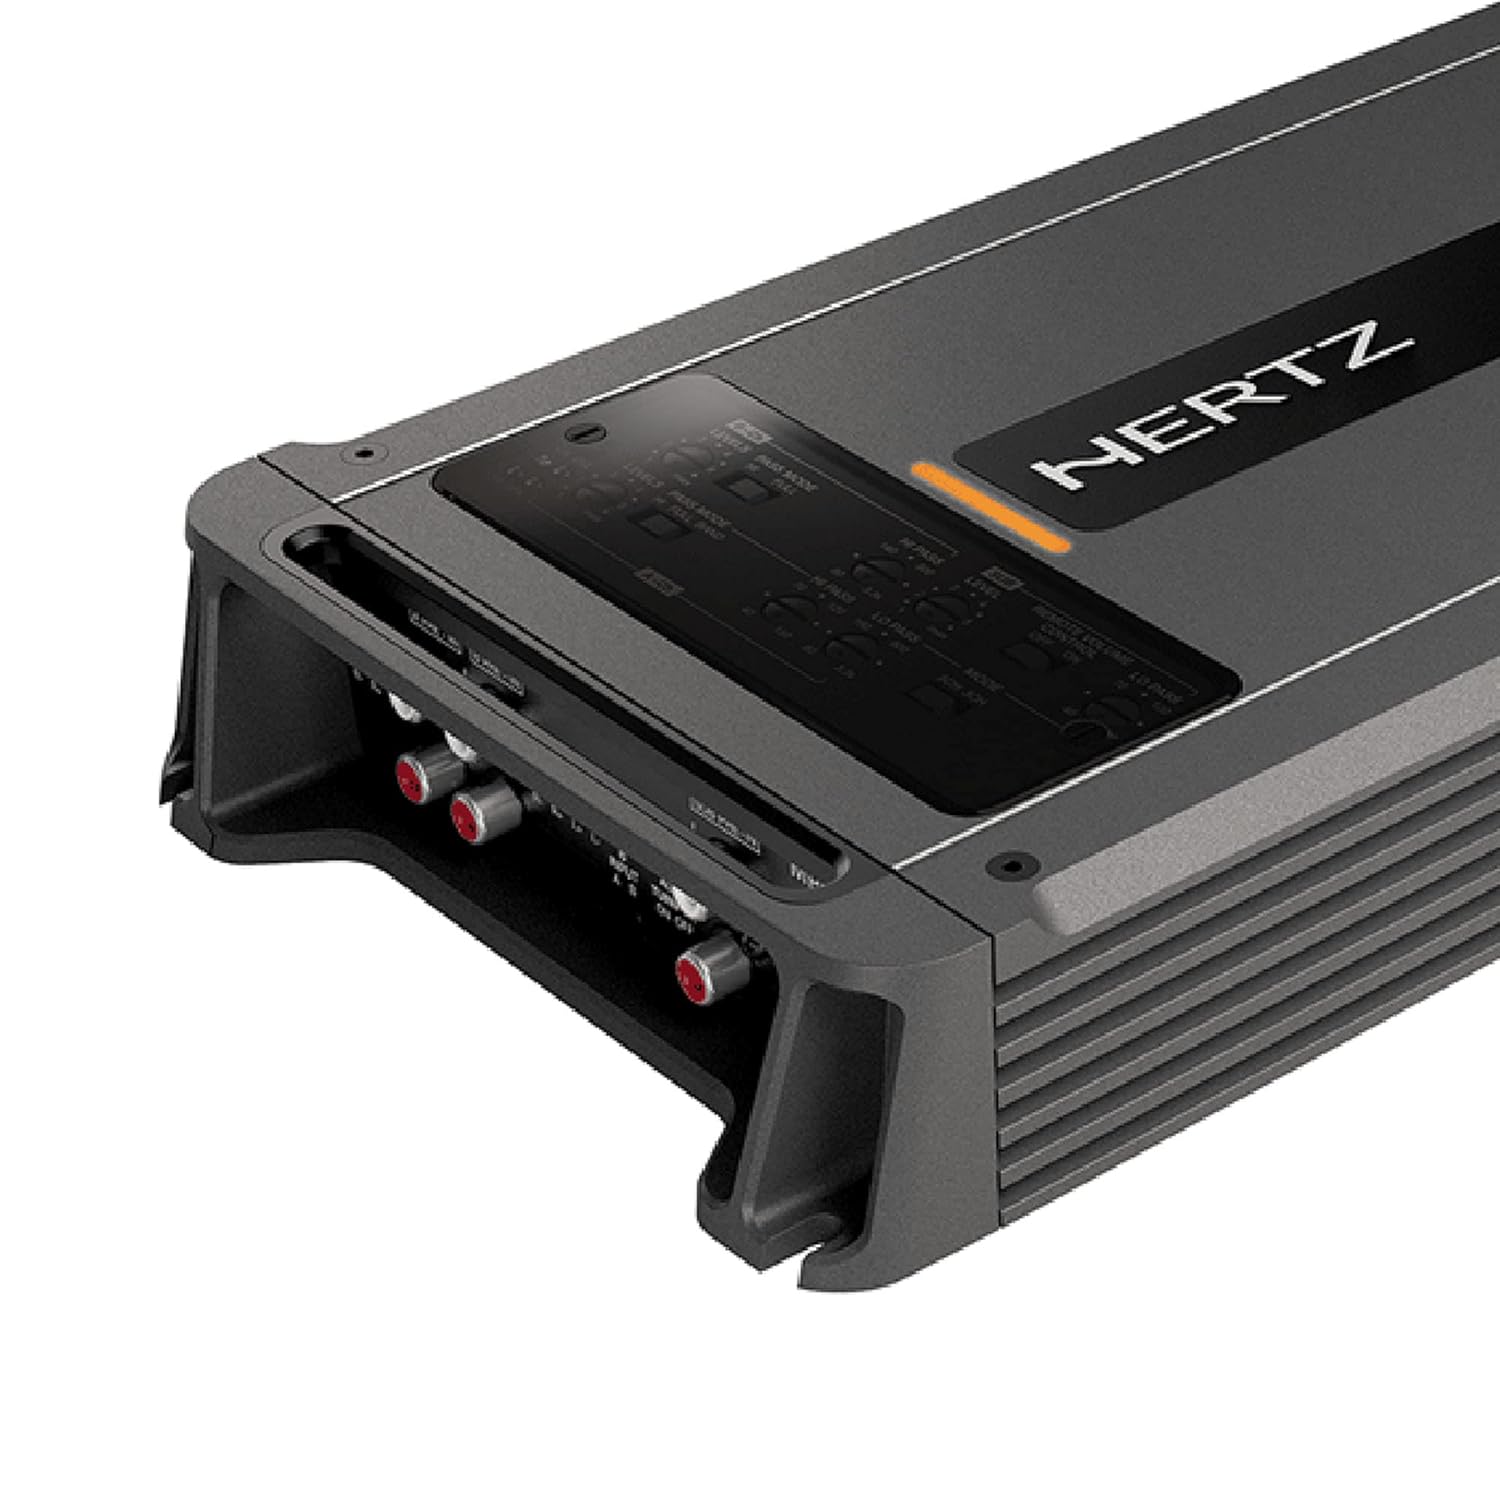
Figura 4.1: Detalhado view of the input and output connections on the Hertz ML-Power-5 Amplifier, including RCA inputs and power terminals.
4.4 Conexões dos alto-falantes
Conecte seus alto-falantes ao amplifier's speaker output terminals. Pay close attention to polarity (+ and -) for each speaker. The ML-Power-5 supports various speaker configurations for its 5 channels (4 full-range channels + 1 subwoofer channel).
5. Operação
5.1 Inicialização
Após todas as conexões serem feitas e verificadas, reconecte o terminal negativo da bateria do veículo. Ligue o aparelho de som. ampO amplificador deve ligar, o que será indicado por um LED.
5.2 Ajuste de ganho
O controle de ganho corresponde ao ampSensibilidade de entrada do amplificador em relação ao volume de saídatage da sua unidade principal. Não é um controle de volume. Para ajustar o ganho:
- Vire o amplifier's gain controls to their minimum (fully counter-clockwise) setting.
- Play a familiar piece of music with a strong signal.
- Increase the head unit's volume to about 75-80% of its maximum.
- Aumente lentamente o amplifier's gain control until you hear slight distortion, then back off slightly until the sound is clear.
5.3 Configurações de Crossover
The ML-Power-5 features built-in crossovers (High-Pass Filter - HPF, Low-Pass Filter - LPF) to direct specific frequency ranges to your speakers and subwoofer. Adjust these settings to optimize sound quality and protect your speakers.
- HPF (Filtro Passa-Alta): Used for full-range speakers to block low frequencies that they cannot reproduce effectively.
- LPF (Filtro Passa-Baixa): Used for subwoofers to block high frequencies, allowing only bass to pass through.
5.4 Controle remoto de graves
Se o seu amplifier came with a remote bass control, connect it to the designated port on the ampAmplificador. Isso permite o ajuste conveniente do nível do subwoofer a partir do banco do motorista.

Figure 5.1: The optional remote bass control knob, providing convenient subwoofer level adjustment.
6. Manutenção
Para garantir a longevidade e o desempenho ideal do seu ampmais vital:
- Limpeza: Limpe periodicamente o ampLimpe a parte externa do amplificador com um pano macio e seco. Não utilize produtos químicos agressivos ou abrasivos.
- Ventilação: Ensure that the cooling fins remain free of dust and debris. Use compressed air to clear any blockages if necessary.
- Inspeção de cabos: Regularly inspect all power, ground, and speaker cables for any signs of wear, fraying, or loose connections. Tighten any loose terminals.
- Proteção Ambiental: Evite expor o amplifier to extreme temperatures, humidity, or direct sunlight for extended periods.
7. Solução De Problemas
Se você encontrar problemas com seu ampPara obter informações sobre amplificadores, consulte os seguintes problemas comuns e suas soluções:
| Problema | Possível causa | Solução |
|---|---|---|
| Sem energia / Amplifier não liga | Fusível queimado, fio de alimentação/terra/remoto solto, saída remota da unidade principal com defeito. | Verificar amplifier fuses (2 x 40 A). Verify all power, ground, and remote connections are secure. Test remote wire for 12V when head unit is on. |
| Sem saída de som | Cabos RCA soltos, ganho configurado incorretamente, fios das caixas de som desconectados. ampmais vital no modo de proteção. | Ensure RCA cables are securely connected. Re-adjust gain. Check speaker wire connections and polarity. If protection light is on, check for short circuits or overheating. |
| Som distorcido | Gain set too high, incorrect crossover settings, poor ground connection, speaker impedance mismatch. | Reduce gain setting. Adjust crossover frequencies. Verify ground connection is solid. Ensure speaker impedance matches ampcapacidades do lifier. |
| Amplifier Superaquece | Ventilação insuficiente, carga de baixa impedância, uso prolongado de alto volume. | Garanta uma circulação de ar adequada ao redor do ampAmplificador. Verifique a impedância do alto-falante. Reduza o volume ou permita amplifier to cool down. The amplifier has Thermal Protection. |
8. Especificações
Key technical specifications for the Hertz ML-Power-5 Ampmais vital:
| Recurso | Detalhe |
|---|---|
| Número do modelo | ML-Power-5 |
| RMS Power Output (Channels 1-4) | 100 WRMS x 4 at 2-Ohm |
| RMS Power Output (Channel 5) | 550 WRMS x 1 at 2-Ohm |
| Ampclasse mais vital | Classe D |
| Avaliação de fuzível | 2 x 40 A |
| Peso | 6.8 libras |
| Dimensões do produto (C x L x A) | 5.91 x 3.94 x 3.94 polegadas |
| Volumetage | 14.4 Volts (Nominal) |
| Vol. Máximo de Suprimentotage | 14.4 Volts (CC) |
| Volume Mínimo de Fornecimentotage | 11 Volts (CC) |
| Proteção Térmica | Sim |
| Automatic Remote Turn-Off | Sim |
| CEA Compliant | Sim |

Figure 8.1: Technical drawing illustrating the top-down dimensions of the ML-Power-5 Ampmais vivo.

Figure 8.2: Technical drawing illustrating the side dimensions of the ML-Power-5 Ampmais vivo.
9. Garantia e Suporte
Hertz products are designed and manufactured to the highest quality standards. For information regarding warranty coverage, terms, and conditions, please refer to the warranty card included with your product or visit the official Hertz website. For technical support, service, or replacement parts, please contact your authorized Hertz dealer or the customer support department listed on the official website.
Guarde o comprovante de compra para reclamações de garantia.