1. Introdução
This instruction manual provides essential information for the proper installation and use of the Generic OBD0 to OBD1 ECU Jumper Wire Harness (Model WH018). This harness is designed to allow the use of an OBD1 Engine Control Unit (ECU) in vehicles originally equipped with an OBD0 ECU, primarily Honda and Acura models. Please read this manual thoroughly before installation to ensure correct setup and optimal performance.
2. Produto acabadoview
The OBD0 to OBD1 ECU Jumper Wire Harness facilitates the electrical conversion necessary to integrate an OBD1 ECU into an OBD0 vehicle's wiring system. It includes the main jumper harness and a quick-disconnect sub-harness for additional sensor connections.

Imagem 2.1: Terminadoview of the OBD0 to OBD1 ECU Jumper Wire Harness.
3. Compatibilidade
This jumper harness is compatible with the following vehicles and requirements:
- Veículos:
- 1988-1991 Honda Civic/CRX (EX/HF/Si models)
- 1988-1991 Honda Civic/CRX (DX/LX DPFI models, requires conversion to MPFI)
- Acura Integra (5-speed manual transmission only, not for automatic models)
- Componentes necessários:
- 4-wire O2 sensor
- OBD-1 or OBD-2 Distributor
- Compatible 5-speed OBD1 ECU
4. Conteúdo da embalagem
Verifique se todos os itens estão presentes na embalagem:
- OBD-0/OBD-1 ECU Jumper Harness
- Quick disconnect sub-harness
- Detailed diagram (Note: While a diagram is intended to be included, it is highly recommended to cross-reference with vehicle-specific wiring diagrams due to potential variations.)
5. Configuração e instalação
Installation of this harness requires basic automotive electrical knowledge. If you are unsure about any steps, it is recommended to seek professional assistance.
5.1 Etapas gerais de instalação
- Desconecte a bateria: Sempre desconecte o terminal negativo da bateria do seu veículo antes de iniciar qualquer trabalho elétrico.
- Locate OBD0 ECU: Identify and locate your vehicle's existing OBD0 ECU.
- Disconnect OBD0 ECU: Carefully unplug the wiring harnesses from the OBD0 ECU.
- Connect Jumper Harness: Connect the OBD0 end of the jumper harness to the vehicle's existing OBD0 wiring.
- Connect OBD1 ECU: Connect the OBD1 end of the jumper harness to your OBD1 ECU.
- Connect Sub-Harness: If your OBD1 ECU requires additional sensor inputs (e.g., VTEC, 4-wire O2, knock sensor) that are not directly supported by the main jumper, connect the quick-disconnect sub-harness. Refer to the detailed wiring guidance below.
- Fiação segura: Ensure all connections are secure and route the wiring safely away from moving parts or heat sources.
- Reconecte a bateria: Once all connections are verified, reconnect the negative terminal of the battery.
5.2 Sub-Harness Wiring Guidance
The quick-disconnect sub-harness provides connections for various sensors. It is crucial to verify these pinouts against your specific vehicle and OBD1 ECU wiring diagrams. Incorrect wiring can cause damage to the ECU or vehicle systems.

Image 5.1: Jumper harness showing various connectors.
| Cor do fio | Função | Typical ECU Pin (OBD1) |
|---|---|---|
| Roxo | VTEC Solenoid | A4 |
| Azul | Primary O2 Heater Control Ground (-) | A6 |
| Vermelho/Rosa | Primary O2 Heater Power (+) | A25 (Ignition Power Source) |
| Preto | Primary O2 Ground | A23 (Chassis Ground) |
| Branco | Primary O2 Signal | D14 |
| Laranja | Sensor de batida | D3 |
| Amarelo | Service Check Signal (CEL) | D4 |
| Cinza | VTEC Pressure Switch | D6 |
| Preto | Engine Ground | A26 |
| Rosa | IGP1 Ground | B1 |
| Marrom | Terreno Lógico | B2 |
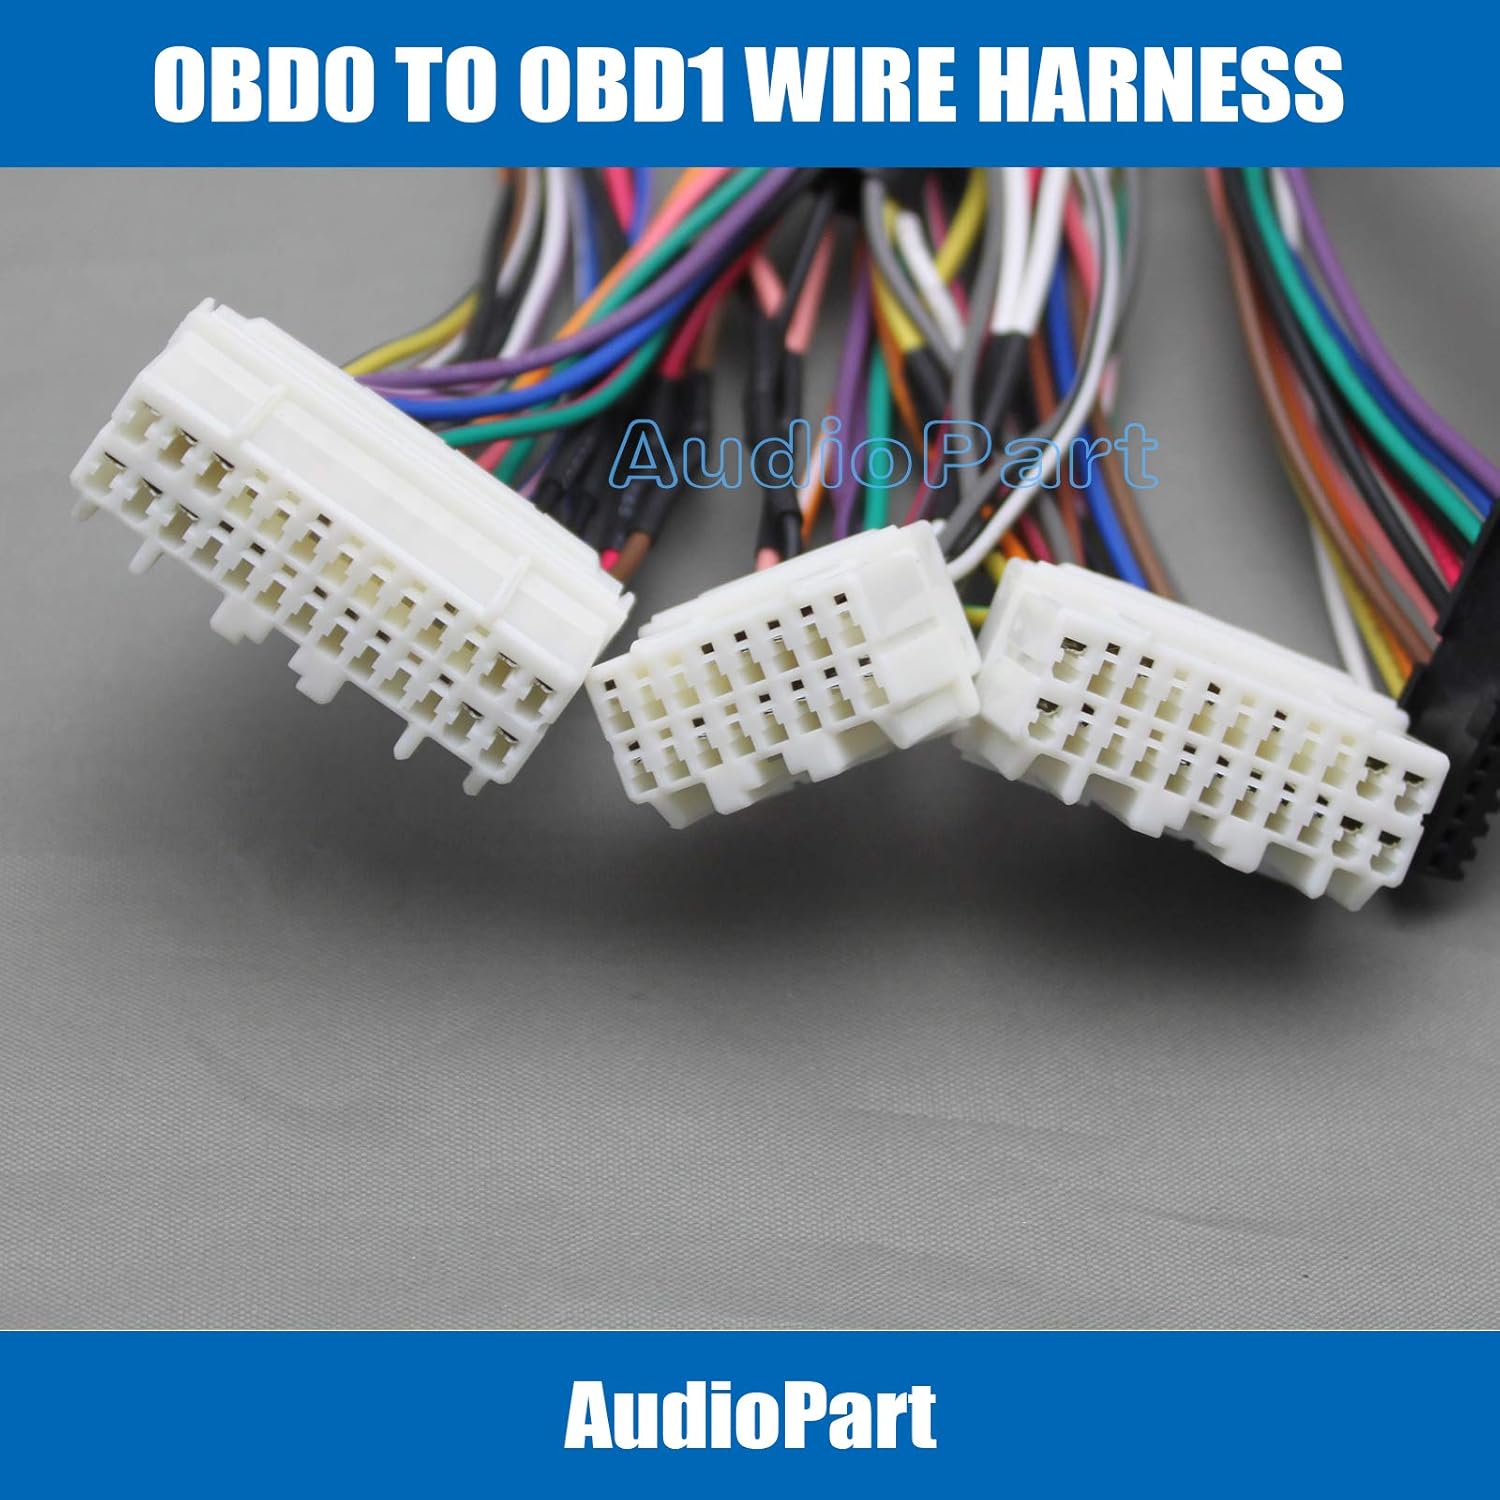
Image 5.2: Detail of white connectors.

Image 5.3: Detail of black and white connectors.
6. Operação
Once correctly installed, the OBD0 to OBD1 ECU Jumper Wire Harness operates passively, providing the necessary electrical interface between your vehicle's OBD0 wiring and the OBD1 ECU. No user interaction is required for its operation. The OBD1 ECU will then control engine functions based on its programming and sensor inputs.
7. Manutenção
The jumper harness requires minimal maintenance. Periodically inspect the connections to ensure they remain secure and free from corrosion. Check the wiring for any signs of wear, pinching, or damage. If any damage is observed, the harness should be replaced to prevent electrical issues.
8. Solução De Problemas
Caso encontre problemas após a instalação, considere os seguintes passos de resolução de problemas:
- No Start / Engine Cranks but Won't Start:
- Verifique todas as conexões: Ensure all connectors on the main harness and sub-harness are fully seated and secure.
- Check Pinouts: This is critical. Carefully compare the wiring of the sub-harness (especially for O2, VTEC, and distributor signals) against a reliable, vehicle-specific wiring diagram for both your OBD0 vehicle and your OBD1 ECU. Some harnesses may have variations or incorrect pin assignments. Pay close attention to distributor wiring and O2 sensor connections.
- Distributor Type: Confirm you are using a compatible OBD-1 or OBD-2 distributor.
- Sensor de O2: Ensure a 4-wire O2 sensor is correctly installed and wired.
- Check Engine Light (CEL) / Diagnostic Trouble Codes (DTCs):
- Read any stored DTCs using an OBD-II scanner (if your OBD1 ECU supports it or via the service check signal).
- DTCs can point to specific sensor or circuit issues, which may indicate incorrect sub-harness wiring or a faulty sensor.
- Engine Running Issues (Rough Idle, Poor Performance):
- Re-check all sensor connections on the sub-harness.
- Ensure the OBD1 ECU is compatible with your engine setup and has the correct base map.
- Procure ajuda profissional: If troubleshooting steps do not resolve the issue, consult a qualified automotive technician specializing in Honda/Acura electrical systems.
9. Especificações
| Atributo | Especificação |
|---|---|
| Marca | Genérico |
| Modelo | WH018 |
| Material | Estireno de acrilonitrila-butadieno |
| Tipo de conector | Desconexão rápida |
| Peso do item | Aproximadamente 5 onças (142 gramas) |
| Dimensões da embalagem | Aproximadamente 5.91 x 3.94 x 1.97 polegadas (15 x 10 x 5 cm) |
| Fabricante | Sky International |
10. Garantia e Suporte
Specific warranty information for this product is not provided in the available documentation. For details regarding warranty coverage or technical support, please contact the retailer from whom you purchased the product or the manufacturer, Sky International, directly. Always retain your proof of purchase for warranty claims.
