1. Salvaguardas importantes
When using electrical appliances, basic safety precautions should always be followed to reduce the risk of fire, electric shock, and injury to persons. Read all instructions carefully before operating this oven.
- Não toque em superfícies quentes. Use alças ou botões.
- Para evitar choques elétricos, não mergulhe o cabo, os plugues ou o aparelho em água ou qualquer outro líquido.
- É necessária supervisão rigorosa quando qualquer aparelho for usado por crianças ou perto delas.
- Desligue da tomada quando não estiver em uso e antes de limpar. Deixe esfriar antes de colocar ou retirar peças.
- Não opere nenhum aparelho com o cabo ou plugue danificado, ou após o aparelho apresentar mau funcionamento ou ter sido danificado de qualquer forma.
- Não utilize ao ar livre.
- Não deixe o cabo pendurado na borda da mesa ou do balcão, nem toque em superfícies quentes.
- Não coloque sobre ou perto de um queimador a gás ou elétrico quente, nem em um forno aquecido.
- Deve-se ter extremo cuidado ao mover um aparelho que contenha óleo quente ou outros líquidos quentes.
- Sempre conecte primeiro o plugue ao aparelho e, em seguida, ligue o cabo na tomada. Para desconectar, gire qualquer controle para a posição "DESLIGADO" e, em seguida, retire o plugue da tomada.
- Não utilize o aparelho para outro fim que não o pretendido.
2. Produto acabadoview
The Geepas 100 Liter Electric Oven Model GO4406 is designed for versatile cooking, featuring multiple heating functions, a timer, and temperature control. Familiarize yourself with its components and controls.
Componentes
- Oven Unit with Drop-Down Door
- Cremalheira de fio
- Assadeira
- Alça da bandeja
- Rotisserie Set (Spit, Forks, Handle)
- 4 Stainless Steel Heating Elements
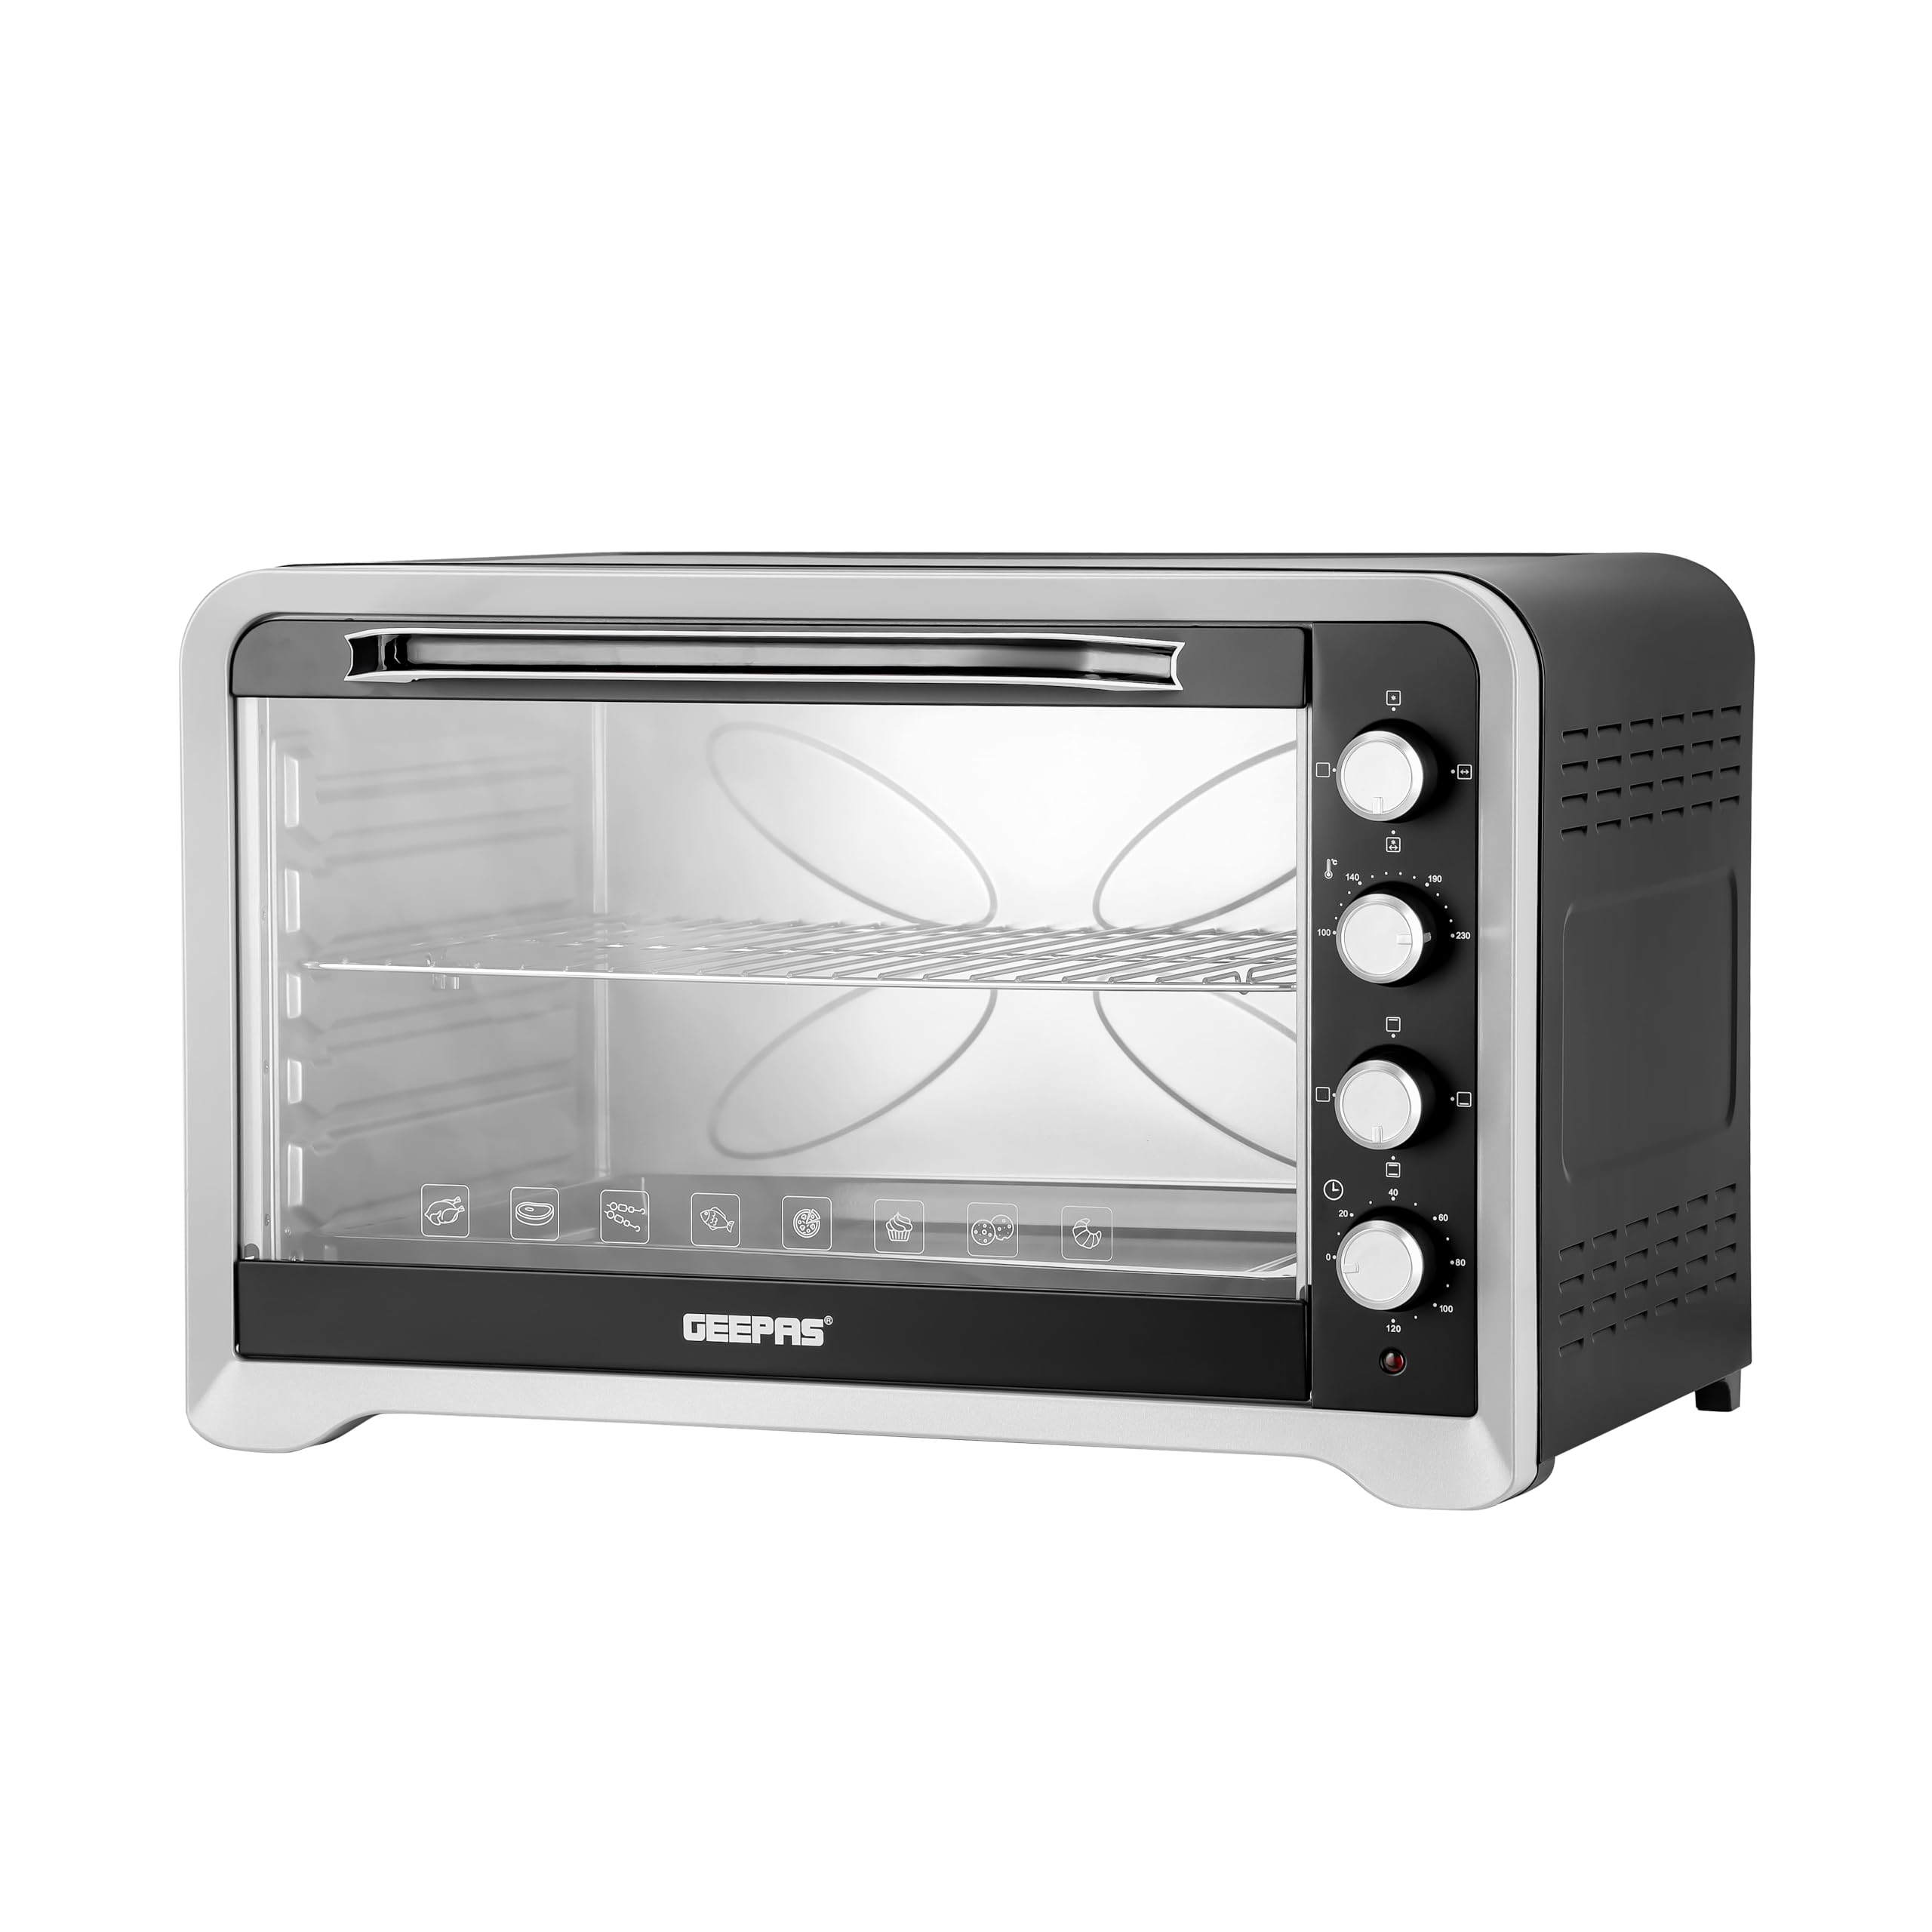
Figure 2.1: The Geepas 100 Liter Electric Oven GO4406 on a kitchen counter, ready for use. Fresh vegetables are visible on the left, and a cake on the right, suggesting its versatility for various dishes.
Painel de controle
The oven features intuitive knob controls for temperature, cooking function, and timer settings, located on the right side of the appliance.
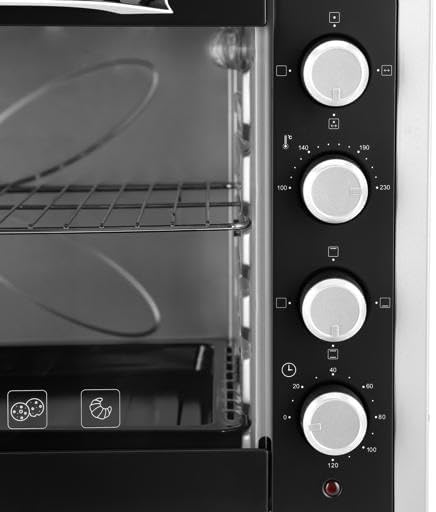
Figure 2.2: Close-up of the control panel, displaying the three main control knobs for temperature, cooking function, and timer. Various cooking icons are also visible.
- Botão de controle de temperatura: Ajusta a temperatura do forno de 100°C para 230°C.
- Botão seletor de função: Selects various heating modes (e.g., top heat, bottom heat, top & bottom heat, convection, rotisserie).
- Botão do cronômetro: Sets the cooking duration up to 120 minutes with an audible bell.
3. Configuração
3.1 Desembalagem
- Retire cuidadosamente o forno da embalagem.
- Remove all packaging materials, including any protective films, foam, or tape from inside and outside the oven.
- Verifique se houve danos durante o transporte. Se houver danos, não utilize o produto e entre em contato com o suporte ao cliente.
3.2 Posicionamento
- Place the oven on a stable, flat, and heat-resistant surface.
- Ensure there is adequate ventilation around the oven (at least 10-15 cm clearance on all sides). Do not place it directly against a wall or under cabinets that may be damaged by heat.
- Keep the oven away from flammable materials, curtains, and heat sources.
- Certifique-se de que o cabo de alimentação não esteja dobrado ou em contato com superfícies quentes.
3.3 Initial Use (Burn-Off)
Before cooking food for the first time, perform a burn-off cycle to eliminate any manufacturing odors or residues.
- Ligue o forno a uma tomada elétrica com aterramento.
- Ajuste o botão de temperatura para o máximo (230°C).
- Set the function knob to the top and bottom heating elements.
- Set the timer knob to approximately 15-20 minutes.
- Allow the oven to run empty. A slight odor or smoke may be present; this is normal. Ensure the area is well-ventilated.
- Once the cycle is complete, turn all knobs to 'OFF' and unplug the oven. Allow it to cool completely.
4. Instruções de operação
4.1 Pré-aquecimento
For best cooking results, preheat the oven before placing food inside.
- Place the wire rack or baking tray in the desired position.
- Feche a porta do forno.
- Set the temperature knob to the desired cooking temperature.
- Set the function knob to the desired heating mode (e.g., top & bottom heat).
- Set the timer knob to approximately 10-15 minutes for preheating. The power indicator light will illuminate.
- Once the preheating time has elapsed, the oven is ready for use.
4.2 funções culinárias
The oven offers various cooking functions to suit different recipes.
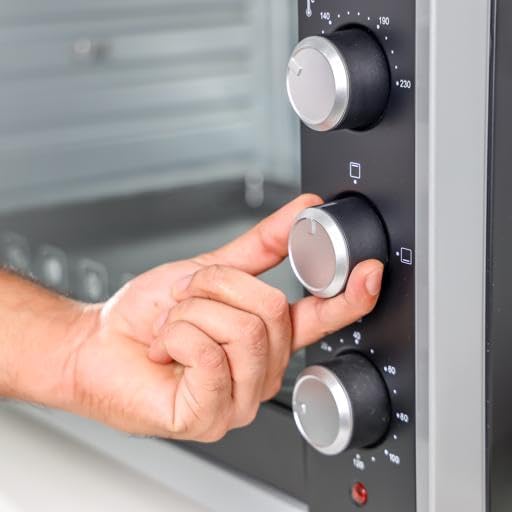
Figure 4.1: A user adjusting a control knob on the Geepas Electric Oven GO4406, demonstrating the ease of setting cooking parameters.
- Aquecimento superior: Ideal for browning the top of dishes.
- Aquecimento inferior: Ideal para bases de bolos ou cozimento lento.
- Aquecimento superior e inferior: Standard baking and roasting for even heat distribution.
- Convecção: Circulates hot air for faster and more even cooking, especially for larger items or multiple trays.
- Churrasqueira: For roasting whole chickens or large cuts of meat, ensuring even cooking and browning.
4.3 Utilizando o espeto giratório
- Skewer the food (e.g., whole chicken) onto the rotisserie spit, securing it with the forks.
- Insira a ponta afiada do espeto no encaixe do acionador do espeto giratório, localizado no lado direito do forno.
- Rest the notched end of the spit onto the left rotisserie support.
- Place the drip tray (baking tray) at the bottom to catch drippings.
- Feche a porta do forno.
- Set the function knob to the rotisserie setting.
- Set the temperature and timer as required for your recipe.

Figure 4.2: Chicken drumsticks being cooked on a wire rack within the Geepas Electric Oven GO4406, demonstrating its capacity and cooking capabilities.
4.4 Após o cozimento
- When the timer rings, turn all control knobs to the 'OFF' position.
- Carefully open the oven door using the handle. Be aware of hot steam.
- Use the provided tray handle or oven mitts to remove hot food and accessories.
- Unplug the oven from the power outlet once cooking is complete and the oven is no longer needed.
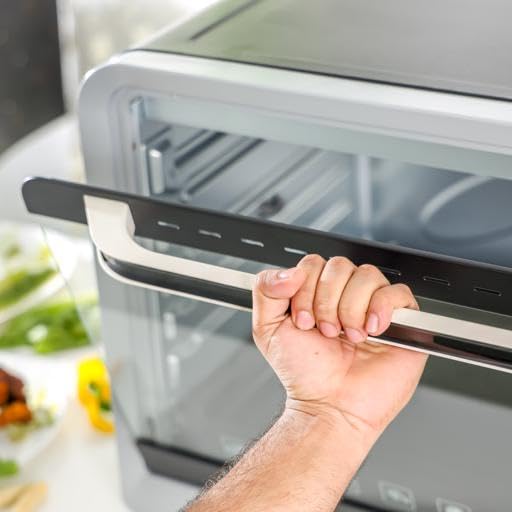
Figure 4.3: A hand demonstrating the opening of the drop-down oven door, highlighting the sturdy handle design.
5. Manutenção e Limpeza
A limpeza e a manutenção regulares garantirão a longevidade e o desempenho ideal do seu forno.
- Desligue sempre o forno da tomada. Desligue da tomada e deixe esfriar completamente antes de limpar.
- Exterior: Limpe as superfícies exteriores com um pano macio, damp pano. Não utilize produtos de limpeza abrasivos ou esponjas de aço, pois podem danificar o acabamento.
- Interior: Limpe as paredes internas com um anúncioamp Use um pano e detergente neutro. Para manchas persistentes, pode-se utilizar um limpador de forno não abrasivo, próprio para fornos convencionais, seguindo atentamente as instruções do produto. Certifique-se de remover todos os resíduos do limpador.
- Acessórios: The wire rack, baking tray, and rotisserie set can be washed in warm, soapy water. Rinse thoroughly and dry completely before storing or reusing.
- Porta: Limpe a porta de vidro com um limpador de vidros ou outro produto de limpeza.amp tecido. Evite produtos químicos agressivos que possam danificar a vedação da porta.
- Não mergulhe o forno em água ou qualquer outro líquido.
6. Solução De Problemas
Se você tiver problemas com seu forno, consulte os problemas comuns e suas soluções a seguir.
| Problema | Possível causa | Solução |
|---|---|---|
| O forno não liga. | Não está conectado; energia outage; faulty outlet; timer not set. | Ensure oven is plugged in; check household circuit breaker; try a different outlet; set the timer knob to a desired cooking time. |
| A comida não está cozinhando uniformemente. | Posição incorreta da grelha; forno sobrecarregado; porta aberta com muita frequência. | Adjust rack position; avoid overcrowding the oven; minimize opening the door during cooking. Consider using convection function. |
| Excessive smoke during initial use. | Queima de resíduos de fabricação. | This is normal during the first use. Ensure good ventilation. If smoke persists after initial burn-off, contact customer support. |
| Rotisserie not turning. | Food too heavy or unbalanced; rotisserie not properly installed; function knob not set to rotisserie. | Ensure food is balanced and within weight limits; re-install rotisserie spit correctly; select the rotisserie function. |
If the problem persists after attempting these solutions, please contact Geepas customer support.
7. Especificações
Detailed technical specifications for the Geepas 100 Liter Electric Oven Model GO4406.
| Recurso | Especificação |
|---|---|
| Marca | Geepas |
| Nome do modelo | GO4406 |
| Capacidade | 100 litros |
| Poder | 2800 Watts |
| Cor | Preto |
| Características especiais | Timer, Temperature Control, Rotisserie, Convection |
| Material | Vidro Temperado, Aço Inoxidável |
| Tipo de controle | Botão |
| Estilo de porta | Suspenso |
| Componentes incluídos | Grill, 4 Stainless Steel Heating Elements, Bake Tray, Tray Handle, Wire Rack, Rotisserie Set |
| Faixa de temperatura | 100-230°C |
| Temporizador | Up to 120 minutes with bell |
8. Garantia e Suporte
This Geepas Electric Oven Model GO4406 comes with a standard manufacturer's warranty. Please refer to the warranty card included with your purchase for specific terms and conditions, including warranty duration and coverage.
For technical assistance, spare parts, or warranty claims, please contact Geepas customer support through their official website or the contact information provided in your product documentation. When contacting support, please have your model number (GO4406) and purchase date ready.