Produto acimaview
The ThiEYE Carbox 6 is a high-definition dual dash camera system designed to record both the front and rear views of your vehicle. Featuring a 1080P Full HD front camera and a 720P waterproof rear camera, it provides comprehensive coverage for enhanced driving safety and incident recording. Its compact design and advanced features make it an essential accessory for any vehicle.

Image: ThiEYE Carbox 6 Dash Cam with its front camera unit and a smaller, waterproof rear camera.
Principais características:
- Gravação com duas câmeras: 1080P Full HD front and 720P rear cameras for simultaneous recording.
- Tela IPS de 3 polegadas: Clear display for real-time viewing e reprodução.
- Lente grande angular de 170°: Abrange uma ampla gama de assuntos. view of the road ahead, minimizing blind spots.
- G-Sensor & Emergency Lock: Detecta colisões automaticamente e bloqueia footage para evitar sobrescrever.
- Gravação em loop: Continuously records by overwriting the oldest unlocked files.
- WDR/HDR Technology: Enhances video clarity in varying light conditions, including low light and strong glare.
- Monitoramento de estacionamento: Provides surveillance when the vehicle is parked (requires hardwiring or external power).

Image: Visual representation of the dash cam's key features, including video resolution, HDR, wide-angle view, G-sensor, screen size, loop recording, and parking monitor.
O que está na caixa
Antes de começar, certifique-se de que todos os componentes estejam presentes:

Image: All items included in the ThiEYE Carbox 6 Dash Cam package, neatly laid out.
- ThiEYE Carbox 6 Dash Cam (Front Unit)
- Ventosa
- 3.5M Car Charger
- Plastic Crowbar (for cable routing)
- Manual do usuário
- Câmera Traseira
- Cabo da câmera traseira 6M
- 3M Glue for Rear Camera
- Rear Camera Screws
- Memory Card (included as per specifications)
Guia de configuração
1. Insira o cartão de memória:
Before mounting, insert a Class 10 or higher MicroSD card (up to 64GB recommended) into the dash cam's memory card slot. Ensure the card is inserted correctly until it clicks into place.
2. Mount the Front Dash Cam:
- Limpe a área do para-brisa onde pretende instalar a câmara de painel.
- Fixe o suporte com ventosa à câmara de painel.
- Pressione firmemente a ventosa contra o para-brisa, de preferência atrás da parte traseira.view mirror, and lock the lever to secure it. Ensure the camera has a clear view da estrada.
3. Install the Rear Camera:
- Identify a suitable location on your rear windshield for the rear camera. Clean the surface thoroughly.
- Use the provided 3M glue or screws to securely attach the rear camera.
- Connect the rear camera to the main dash cam unit using the 6M rear camera cable.
- Route the cable neatly along the vehicle's interior trim using the plastic crowbar to tuck it away.
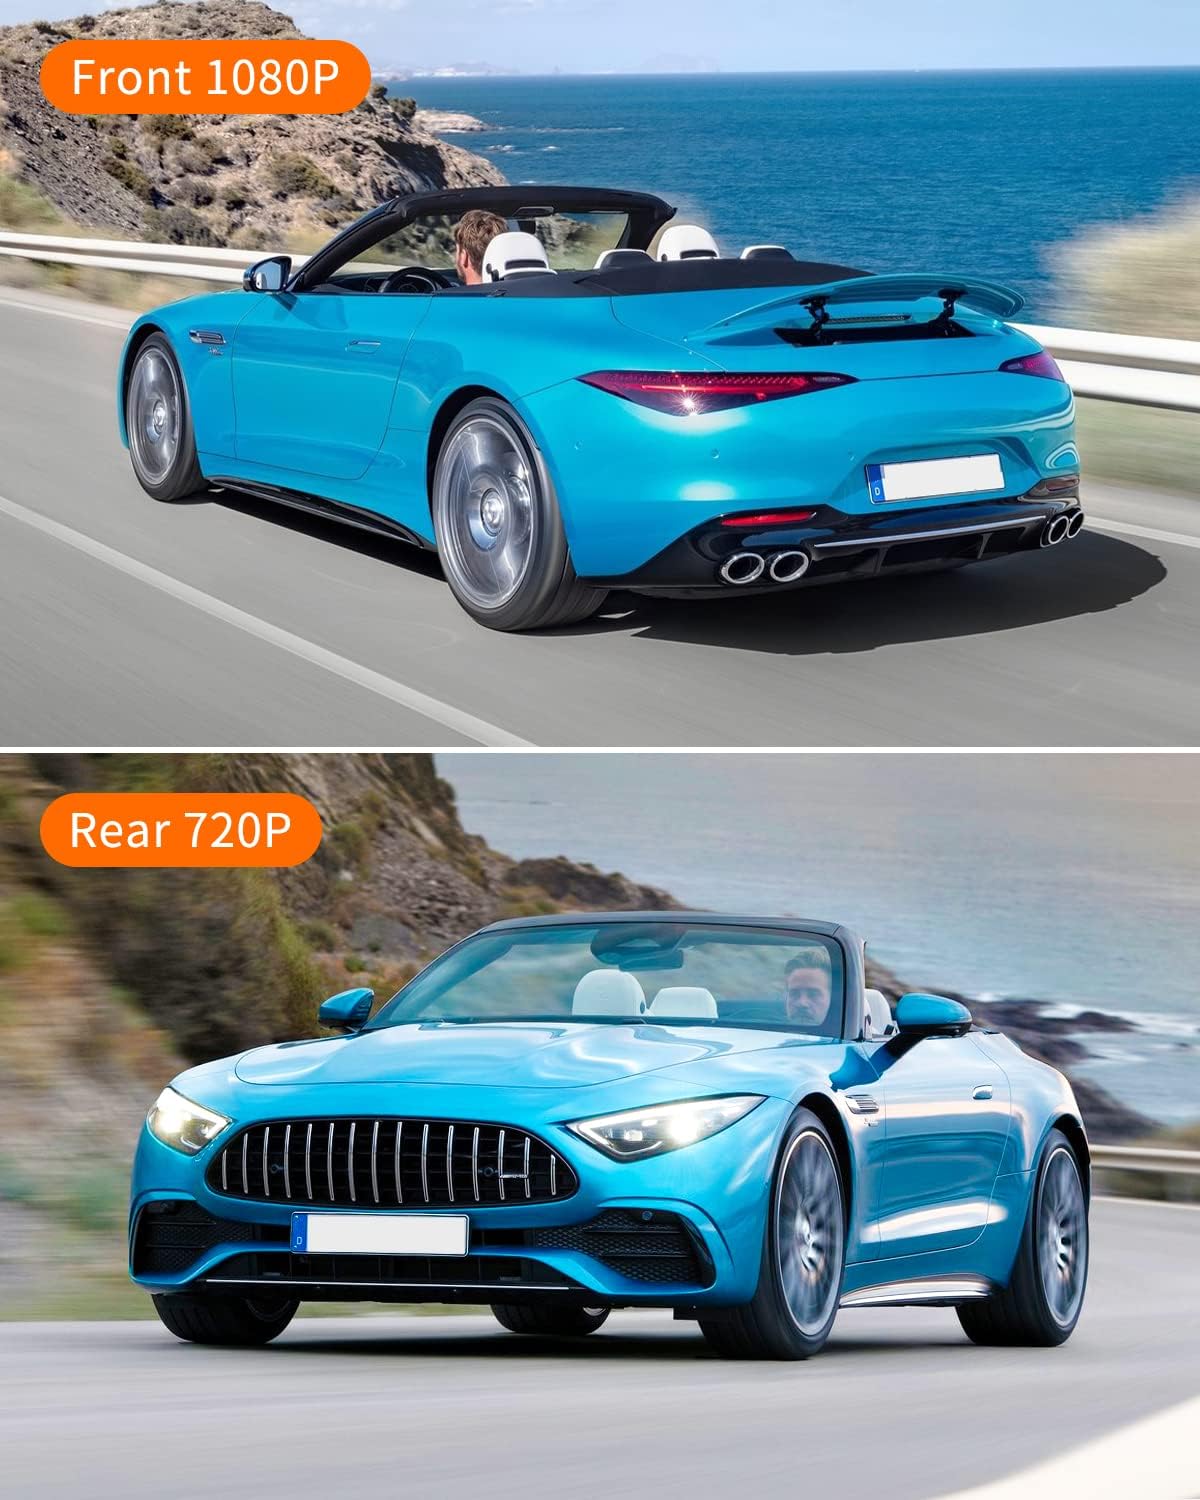
Image: Illustrates the difference in resolution between the front (1080P) and rear (720P) camera views.
4. Conexão de energia:
- Plug the 3.5M car charger into your vehicle's cigarette lighter socket.
- Connect the other end of the charger cable to the dash cam's power input port.
- Passe o cabo de alimentação cuidadosamente para evitar obstruir sua view or driving controls.
A câmera veicular geralmente liga automaticamente quando a ignição do veículo é acionada e começa a gravar.
Instruções de operação
Ligar/desligar:
The dash cam will automatically power on and off with your vehicle's ignition. To manually power on/off, press and hold the power button.
Modos de Gravação:
- Gravação normal: A câmera inicia a gravação automaticamente ao ser ligada.
- Gravação em loop: Os vídeos são gravados em segmentos (por exemplo, 1, 3 ou 5 minutos). Quando o cartão de memória estiver cheio, o segmento mais antigo será desbloqueado. files são substituídos.
- Sensor G (Trava de Emergência): In the event of a sudden impact or collision, the built-in G-sensor will automatically detect the event and lock the current video segment, preventing it from being overwritten by loop recording. These fileOs arquivos são armazenados em uma pasta separada.

Image: Depicts the G-Sensor emergency lock feature and the continuous nature of loop recording.
Monitoramento de estacionamento:
When enabled, the dash cam can monitor your vehicle while parked. If a vibration or collision is detected, the camera will automatically power on and record a short video. For continuous 24/7 parking monitoring, the dash cam must be hardwired or connected to an external power source.

Image: Illustrates the 24/7 parking monitoring capability of the dash cam, highlighting its continuous surveillance.
Wide Dynamic Range (WDR)/High Dynamic Range (HDR):
This technology ensures optimal video quality in challenging lighting conditions, such as strong sunlight or low-light environments, by balancing exposure across the frame.

Image: Shows how HDR technology improves video clarity by balancing exposure in both low light and strong light scenarios.
Navegação no menu:
Use the buttons on the side of the dash cam to navigate through the menu options. You can adjust settings such as video resolution, loop recording duration, G-sensor sensitivity, date/time, and more.
Manutenção
- Limpeza: Use a soft, dry cloth to clean the camera lens and screen. Avoid using abrasive cleaners or solvents.
- Cartão de memória: Regularly format your MicroSD card (at least once a month) within the dash cam's settings to ensure optimal performance and prevent data corruption. Back up any important footage antes da formatação.
- Atualizações de firmware: Check the official ThiEYE webAcesse o site para verificar se há atualizações de firmware disponíveis e garantir que sua câmera veicular tenha os recursos mais recentes e as correções de bugs.
Solução de problemas
- A câmera não liga:
- Ensure the car charger is securely plugged into both the dash cam and the vehicle's cigarette lighter. Check if the vehicle's power outlet is functioning. The dash cam requires continuous power from the car's ignition.
- A gravação para ou congela:
- Format the MicroSD card. Ensure you are using a high-speed (Class 10 or U1/U3) MicroSD card from a reputable brand. A faulty or slow card can cause recording issues. Replace the card if problems persist.
- Screen display is grainy or distorted:
- This could indicate a faulty unit or a software issue. Try resetting the device to factory settings via the menu. If the problem persists, contact customer support.
- A qualidade do vídeo é ruim:
- Ensure the protective film has been removed from the lens. Clean the lens regularly. Check the video resolution settings in the menu to ensure it's set to 1080P for the front camera and 720P for the rear. Ensure the windshield is clean.
- G-Sensor is too sensitive/not sensitive enough:
- Adjust the G-sensor sensitivity setting in the dash cam's menu. Lower sensitivity will reduce false triggers, while higher sensitivity will detect lighter impacts.
Especificações
| Recurso | Detalhe |
|---|---|
| Dimensões do produto | 3.5 x 1.89 x 1.77 polegadas |
| Peso do item | 10.6 onças |
| Número do modelo | Carbox 6 |
| Resolução de captura de vídeo frontal | 1080p Full HD |
| Resolução de captura de vídeo traseira | 720p |
| Campo de View | 170 graus (frente) |
| Tamanho da tela | IPS de 3 polegadas |
| Tecnologia de Conectividade | USB |
| Tipo de montagem | Montagem por Sucção |
| Bateria | 1 bateria de íon de lítio (incluída) |
| Cor | Preto |
Garantia e Suporte
ThiEYE offers a Garantia de 12 meses for the Carbox 6 Dash Cam, covering manufacturing defects from the date of purchase. Additionally, a Política de devolução de 30 dias está disponível.
For any inquiries, technical assistance, or warranty claims, please contact ThiEYE customer support. They provide Serviço online 24 horas por dia, 7 dias por semana para ajudar você.
For more information and video tutorials, you may visit the official ThiEYE website or the product support page:
- Official ThiEYE Website: www.thieye.com
- Carbox 6 How-To Video: thieye.com/pages/carbox-6-how-to-video