1. Produto acabadoview
The DIGITUS 254 mm (10") 6U Wall Mounting Cabinet is engineered for structured IT cabling in environments where space is limited, such as home offices or small businesses. It features a robust steel construction and offers efficient cable management through dedicated entry openings located in the roof and floor panels.

Imagem: Frente view of the DIGITUS 6U Wall Mounting Cabinet with the glass door closed, showcasing the internal mounting rails.

Imagem: Frente view of the DIGITUS 6U Wall Mounting Cabinet with the glass door open, providing a clear view of the interior and mounting rails.
2. Conteúdo da embalagem
Antes de prosseguir com a instalação, verifique se todos os seguintes componentes estão incluídos na sua embalagem:
- 1x DIGITUS 254 mm (10") 6U Wall Mounting Cabinet
- 1x Installation kit (includes screws, cage nuts, and washers)
- Keys for the lockable glass door

Image: The DIGITUS 6U Wall Mounting Cabinet securely encased in white foam packaging for protection during transit.
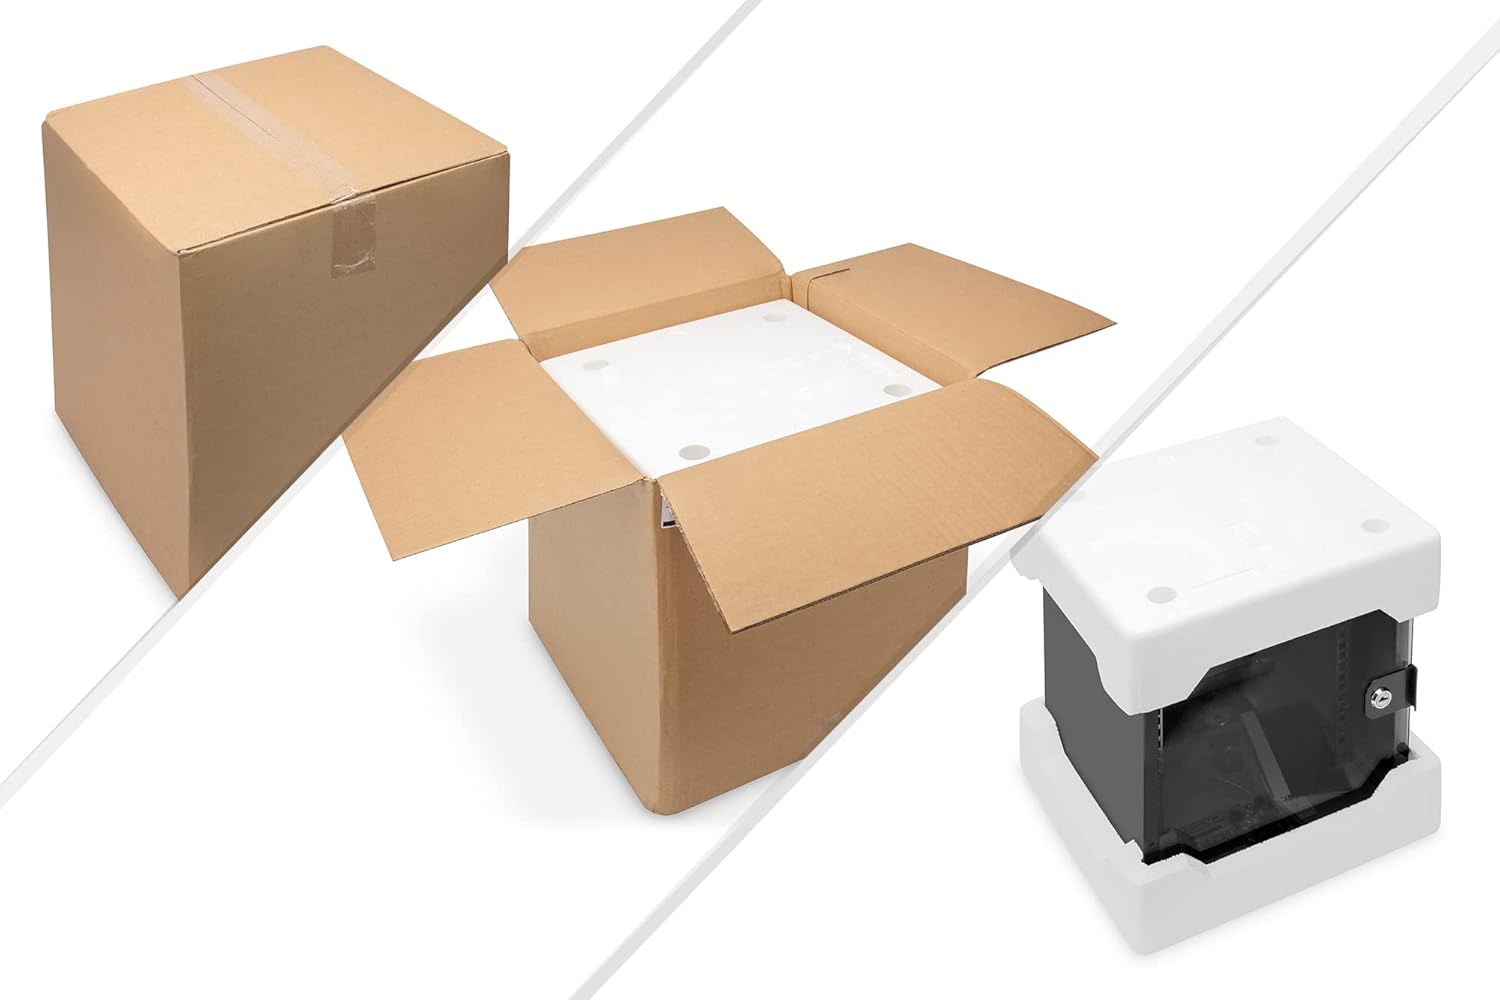
Image: A visual representation of the packaging, showing the cardboard box, the cabinet within its foam protection, and the cabinet after removal from the foam.
3. Informações de segurança
Adhere to the following safety guidelines during installation and use:
- Ensure the chosen wall for mounting is structurally sound and capable of safely supporting the combined weight of the cabinet and all installed equipment.
- Always use appropriate tools and wear necessary safety gear, such as eye protection, during the installation process.
- Connect the steel housing to the equipotential bonding of the building's electrical system via the designated earthing bolt to ensure proper electrical safety.
- Do not exceed the specified weight capacity of the cabinet to prevent structural damage or injury.
- Store the keys for the lockable glass door in a secure and accessible location.
4. Configuração e instalação
4.1 Local de Montagem
Select a wall location that is dry, free from excessive dust, and provides adequate ventilation. Ensure sufficient clearance around the cabinet for cable routing, maintenance access, and proper airflow.
4.2 Procedimento de montagem na parede
- Position the cabinet against the chosen wall and use its mounting holes as a template to accurately mark the drilling points.
- Drill holes of the appropriate diameter and depth for your specific wall anchors. (Wall anchors and screws are not universally supplied due to varying wall types; please use suitable hardware for your wall material).
- Securely attach the cabinet to the wall using the chosen screws and anchors.
- Before installing any equipment, verify that the cabinet is level and firmly affixed to the wall.

Imagem: Traseira view of the DIGITUS 6U Wall Mounting Cabinet, clearly showing the four keyhole-shaped mounting points designed for wall attachment.
4.3 Prósfile Ajuste do Trilho
The internal profile rails, used for mounting equipment, can be adjusted to three different positions. This allows for flexibility in accommodating various equipment depths. Adjust these rails as required before installing any devices.
4.4 Gerenciamento de cabos
Utilize the pre-cut cable entry openings in both the roof and floor of the cabinet for organized and efficient routing of power and network cables.
5. Operação
Once properly installed, the cabinet provides a secure and organized enclosure for your network equipment.
- The lockable glass door offers protection against unauthorized access while allowing for visual monitoring of internal components.
- Install compatible 10-inch IT components such as patch panels, LAN/PoE switches, power strips, and shelves onto the adjustable profile trilhos.
- Ensure that adequate airflow is maintained within the cabinet to prevent active equipment from overheating.
6. Manutenção
Regular maintenance helps ensure the longevity and optimal performance of your cabinet:
- Periodically inspect the cabinet for dust accumulation and clean as necessary to maintain proper airflow and prevent component damage.
- Routinely check all wall mounting screws and internal connections to ensure they remain secure and tight.
- Verify the integrity of the earthing connection to maintain electrical safety.
- Keep the glass door clean for clear visibility of the internal components.
7. Solução De Problemas
7.1 Equipment Overheating
- Ensure there is sufficient space between installed devices to allow for proper airflow.
- Check that cable entries are not completely obstructed, as some air circulation through these points can be beneficial.
- If active equipment generates significant heat, consider integrating a small fan unit (not included) for enhanced cooling.
7.2 Door Not Locking
- Verify that the door is correctly aligned with the cabinet frame.
- Inspect for any physical obstructions that might be preventing the lock mechanism from engaging properly.
7.3 Cabinet Instability
- Re-examine all wall mounting points and ensure that screws and anchors are fully tightened and are appropriate for the wall material.
- Confirm that the wall structure itself is capable of supporting the total weight of the cabinet and its contents.
8. Especificações
| Recurso | Detalhe |
|---|---|
| Marca | Digitus |
| Número do modelo | DN-10-06U-B |
| Tamanho | 6U (254 mm / 10") |
| Cor | Preto |
| Material | Liga de aço |
| Dimensões do produto (P x L x A) | 16.14" x 14.17" x 13.78" (aproximadamente 410 mm x 360 mm x 350 mm) |
| Peso do item | 6 quilos (aprox. 13.2 libras) |
| Capacidade de peso | Minimum 66.1 Pounds (approx. 30 kg) |
| Tipo de montagem | Montagem na parede |
| Dispositivos compatíveis | Server, Network Equipment (10-inch form factor) |
| Montagem necessária | Sim |
9. Garantia e Suporte
For detailed warranty information and technical support, please consult the official Digitus website or contact your authorized local distributor. It is recommended to retain your purchase receipt for any warranty claims.
Duração da disponibilidade de peças de reposição na UE: 1 ano.
For further assistance and product information, please visit: www.digitus.info