
1. Introdução
Obrigado pela compra.asing the BN-LINK 24-Hour Mechanical Program Timer. This device is designed to automatically control the power supply to your electrical appliances, helping you save energy and enhance convenience and security in your home or office. With its simple dial operation and robust features, it is suitable for a wide range of applications.
2. Informações de segurança
- Classificação elétrica: Do not exceed the maximum electrical rating of AC100V, 15A, 1500W. Overloading the timer can cause damage to the unit and connected appliances, and may pose a fire hazard.
- Configuração de frequência: Ensure the frequency switch on the timer is set correctly to match your local power company's frequency (50Hz or 60Hz). Incorrect frequency settings can affect the timer's accuracy.
- Tracking Prevention: The timer features a covered plug design to help prevent tracking fires caused by dust accumulation between the plug and the outlet. Regularly inspect and clean the plug and outlet area.
- Somente para uso interno: This timer is designed for indoor use in dry locations. Do not expose it to water, moisture, or extreme temperatures.
- Crianças e animais de estimação: Keep the timer out of reach of children and pets.
- Desligue quando não estiver em uso: If the timer will not be used for an extended period, unplug it from the wall outlet.
3. Produto acabadoview
Familiarize yourself with the components of your BN-LINK 24-Hour Mechanical Program Timer:

Imagem: Frente view of the timer showing the clock dial, current time marker, pins, power indicator lamp, slide switch, and socket.
- Mostrador do Relógio: The rotating dial with 24-hour markings (white for 6 AM to 6 PM, black for 6 PM to 6 AM).
- Current Time Marker: A small arrow or triangle on the stationary part of the timer that indicates the current time on the clock dial.
- Pinos: Small segments around the clock dial. Each pin represents a 15-minute interval. Pushed down, they activate the connected appliance; pulled up, they deactivate it.
- Indicador de potência Lamp: A small light that illuminates when the timer is supplying power to the connected appliance.
- Interruptor deslizante: Located on the side, this switch allows you to select between "Always ON" (constant power) and "Timer" mode (programmed operation).
- Soquete: The outlet on the bottom of the timer where you plug in your appliance.
- Interruptor de frequência: (Located on the back or side, not visible in all images) A small switch to select between 50Hz and 60Hz.
4. Configuração
Siga estes passos para configurar seu cronômetro:
- Definir frequência: Locate the frequency switch (usually on the back or side) and set it to match your local power supply (50Hz or 60Hz).
- Definir hora atual: Rotate the entire clock dial clockwise until the current time aligns with the "Current Time Marker" (the small arrow/triangle on the stationary part of the timer). Ensure you distinguish between AM and PM (white for day, black for night).
- Horários de ativação/desativação do programa:

Image: Close-up of the timer dial illustrating how to push down pins for 'ON' and pull up pins for 'OFF'.
- Cada pino representa 15 minutos.
- To set an "ON" period, push down the pins corresponding to the desired time interval.
- To set an "OFF" period, leave the pins in the up position for that interval.
- You can set up to 48 ON/OFF programs per day.
- Selecione o modo operacional: Slide the switch on the side to the "Timer" position for programmed operation, or "Always ON" for continuous power.
- Conecte o aparelho: Plug the electrical appliance you wish to control into the timer's socket. Ensure the appliance's power switch is set to the "ON" position.
- Temporizador de tomada: Plug the timer into a wall outlet. The power indicator lamp will illuminate when the timer is supplying power according to your settings.

Image: A visual guide showing four steps: 1. Setting the frequency and pushing down pins. 2. Rotating the dial to set the current time. 3. Sliding the switch to timer mode. 4. Plugging in the appliance and then the timer.
5. Instruções de operação
Once set up, the timer will automatically turn your connected appliance ON and OFF according to your programmed schedule. The repeat function ensures that your settings are applied daily without needing to reset.
- Modo Temporizador: When the side switch is in the "Timer" position, the appliance will operate based on the pushed-down pins on the dial.
- Always ON Mode: When the side switch is in the "Always ON" position, the timer will continuously supply power to the connected appliance, bypassing the programmed schedule. This is useful if you need the appliance to run constantly.
- Indicador de energia: O indicador de energia lamp will light up when the timer is actively supplying power to the appliance.
6. Aplicações
This versatile timer can be used with various electrical appliances to enhance convenience, save energy, and improve home security:

Imagem: Quatro examples of how the timer can be used: with a humidifier, a table lamp, a Wi-Fi router, and decorative illumination lights.
- Economia de energia: Automatically turn off lights, fans, electric pots, or other appliances when not needed, reducing electricity consumption.
- Segurança residencial: Program lights or radios to turn on and off at various times while you are away, creating the impression that someone is home and deterring potential intruders.
- Conveniência: Have your coffee maker start brewing before you wake up, or your air purifier turn on before you arrive home.
- Seasonal Lighting: Easily control holiday lights or outdoor decorations.
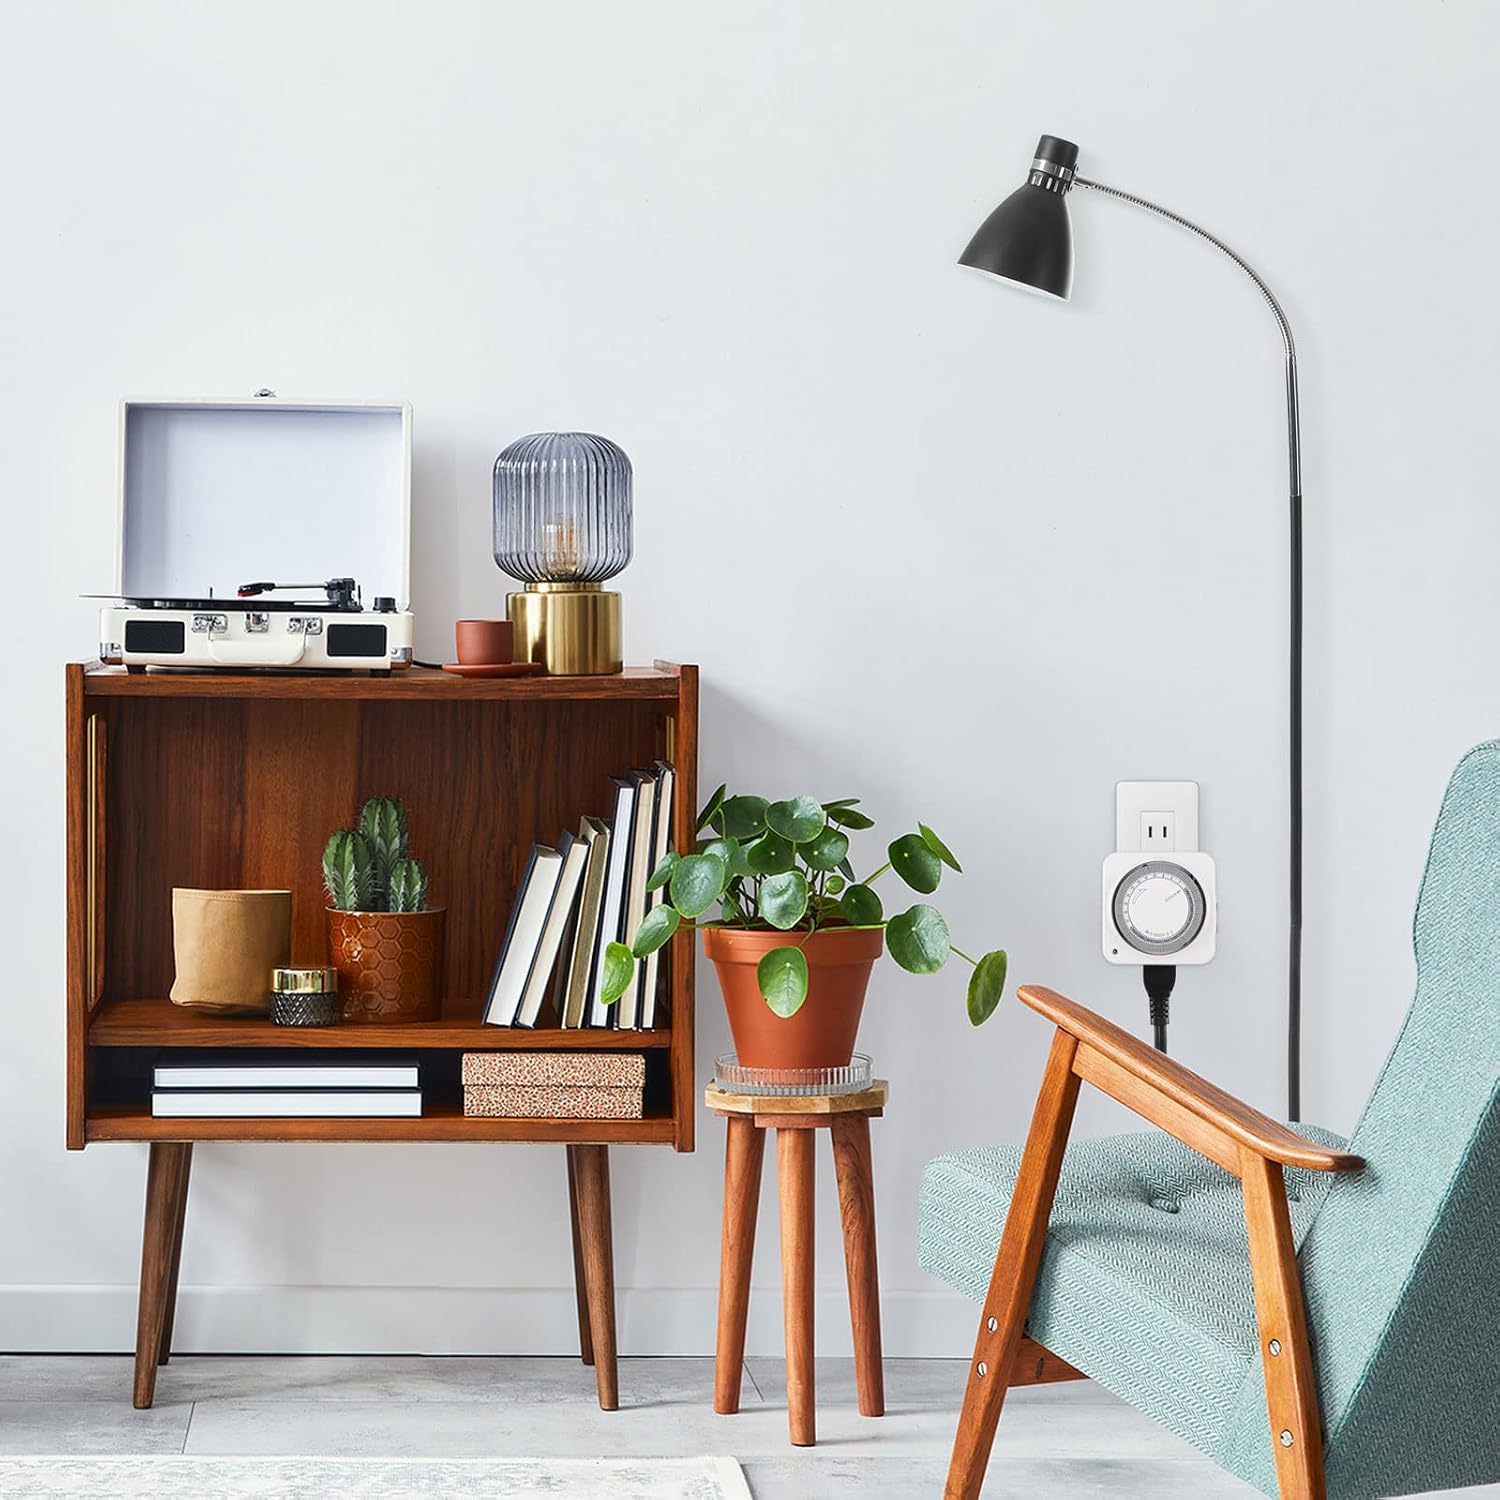
Image: A BN-LINK timer discreetly plugged into a wall outlet in a modern living room, demonstrating its compact design.
7. Manutenção
- Limpeza: Wipe the timer with a dry, soft cloth. Do not use liquid cleaners or immerse the timer in water.
- Prevenção de poeira: Periodically check the plug and outlet for dust accumulation. The covered plug design helps, but regular inspection is recommended to prevent tracking fires.
- Armazenar: Guarde o cronômetro em local fresco e seco quando não estiver em uso.
8. Solução De Problemas
- Appliance not turning ON/OFF:
- Check if the timer is plugged securely into the wall outlet.
- Ensure the appliance is plugged securely into the timer's socket and its own power switch is ON.
- Verify that the side switch on the timer is set to "Timer" mode, not "Always ON".
- Confirm that the pins for the desired ON/OFF times are correctly pushed down or pulled up.
- Check if the current time on the dial is correctly aligned with the current time marker.
- Timer is making a slight humming noise: This is normal for mechanical timers as the internal motor operates the clock mechanism. If the noise is excessively loud or unusual, discontinue use and contact support.
- O cronômetro está impreciso: Ensure the frequency switch (50Hz/60Hz) is set correctly for your region. Mechanical timers may have minor deviations over long periods; adjust the current time periodically if high precision is critical.
- Indicador de energia lamp is off when it should be on: Check all connections and ensure the timer is receiving power from the wall outlet. If the lamp remains off during an ON cycle, the timer may be faulty.
9. Especificações
| Recurso | Especificação |
|---|---|
| Número do modelo | CP-C178 |
| Vol avaliadotage | CA 100 V |
| Corrente de entrada | 15A |
| Potência Máxima | 1500 W |
| Freqüência | 50Hz / 60Hz (selecionável) |
| Unidade de ajuste mínimo | 15 minutos |
| Maximum Programs | 48 ON/OFF cycles per day |
| Dimensões (D x L x A) | 3.7 x 8.5 x 8.5 cm |
| Material | Plástico |
| Cor | Branco |
| UPC | 810079580996 |

Image: A diagram illustrating the dimensions (85mm x 85mm x 37mm) and the convenient plug design that does not obstruct adjacent outlets.
10. Garantia e Suporte
This BN-LINK product comes with a Garantia do fabricante de 1 anos a partir da data da compra. Esta garantia cobre defeitos em materiais e mão de obra sob uso normal.
If you encounter any issues with your timer or have questions not covered in this manual, please contact BN-LINK customer support. Have your model number (CP-C178) and purchase information ready when contacting support.
For the most up-to-date support information and contact details, please visit the official BN-LINK webou consulte a documentação da sua compra.