Introdução
Thank you for choosing the Goshyda 1080P FHD Dash Cam. This manual provides essential information for the proper installation, operation, and maintenance of your device. Please read it thoroughly before use to ensure optimal performance and safety.
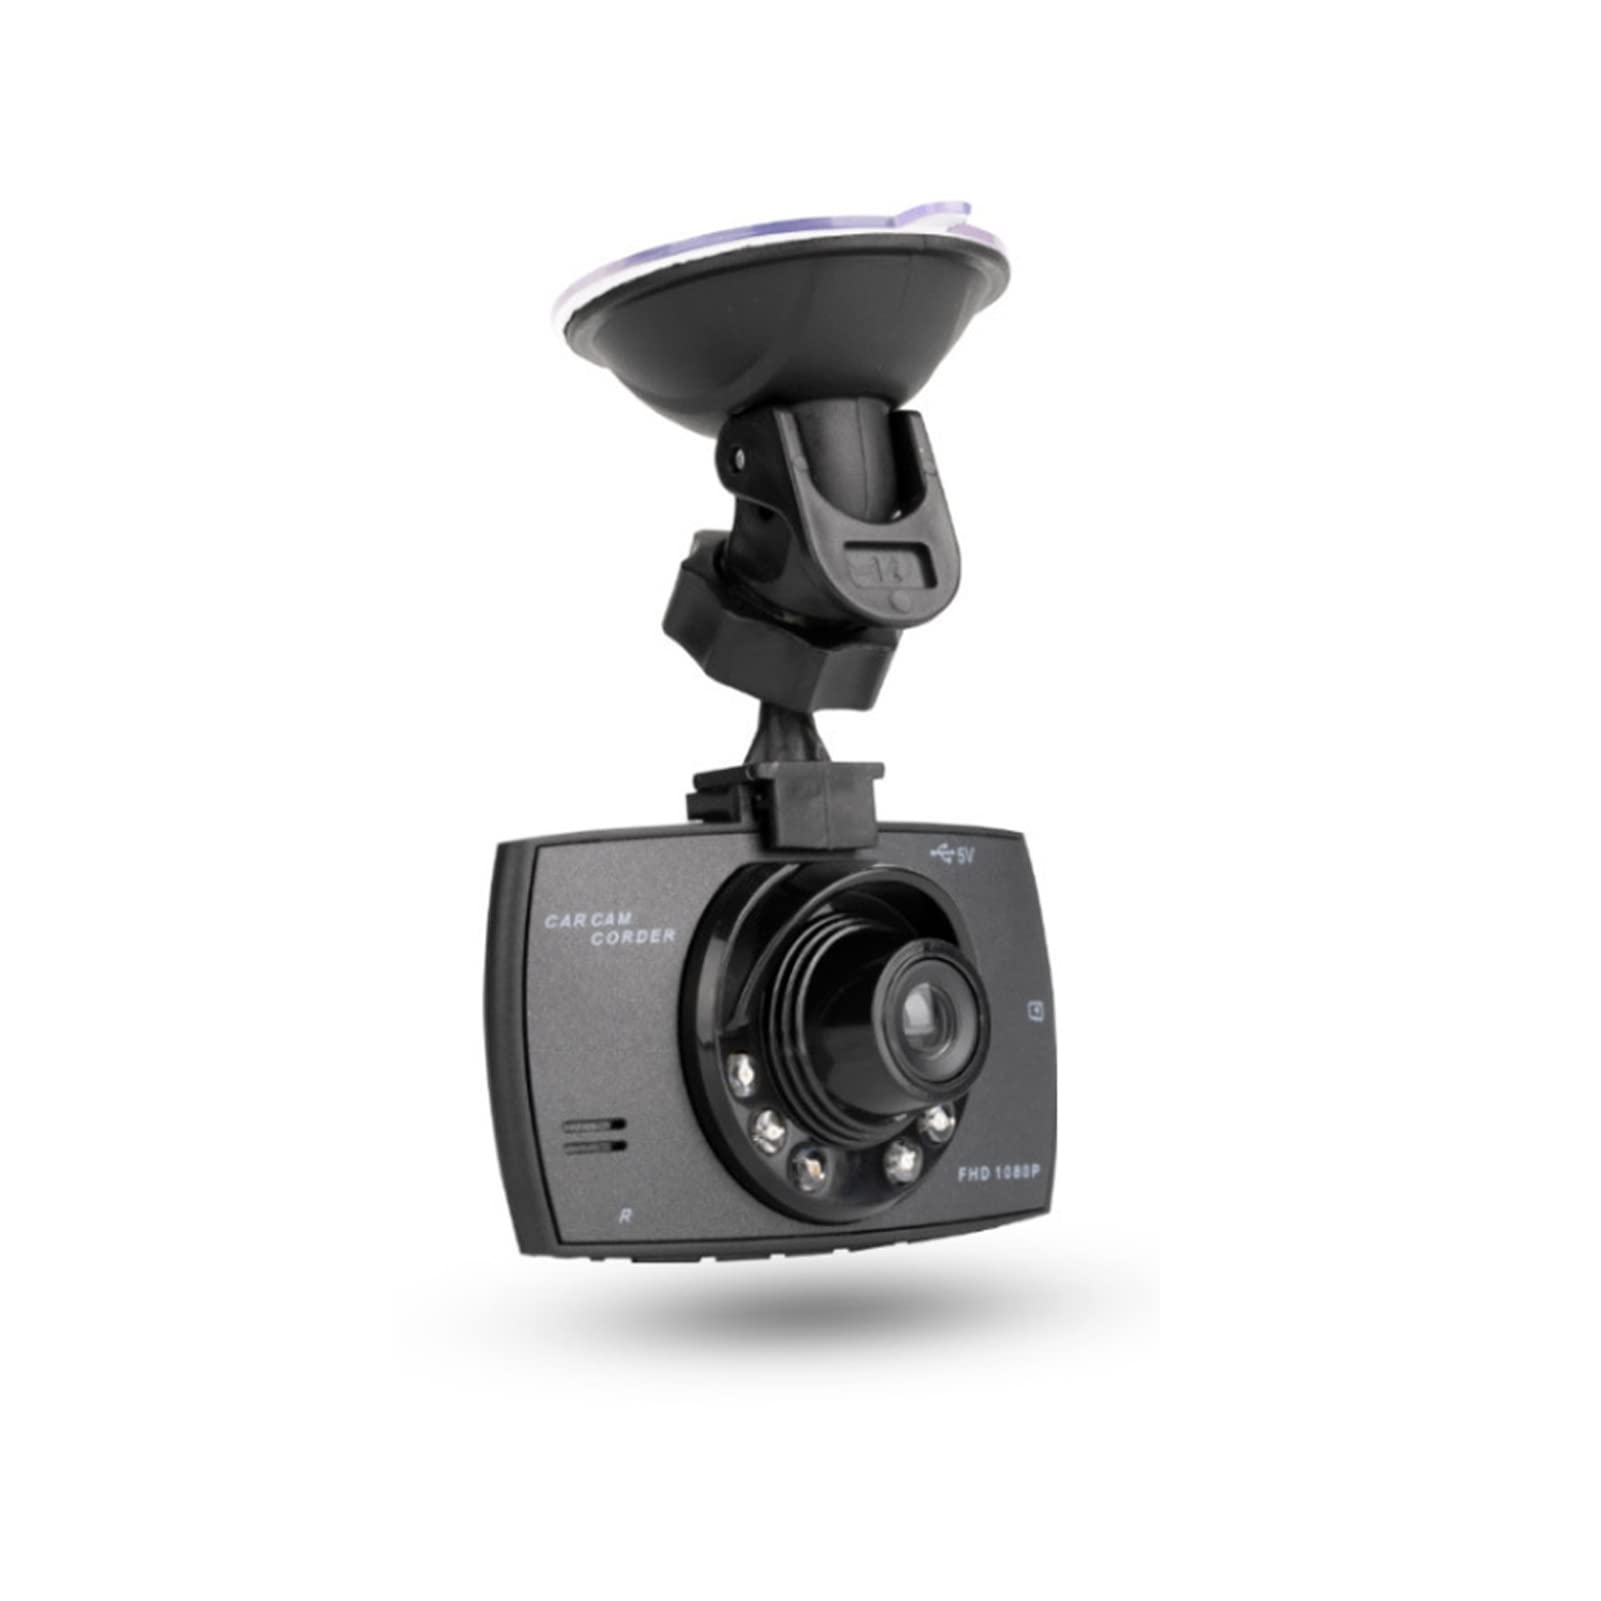
Imagem: Frente view of the Goshyda 1080P FHD Dash Cam.
Conteúdo da embalagem
Verifique se todos os itens listados abaixo estão incluídos em seu pacote:
- 1 x Driving Recorder (Dash Cam)
- 1 x Carregador de carro
- 1 x Soporte de sucção
- 1 x Manual do Usuário

Image: Contents of the Goshyda Dash Cam package, including the dash cam unit, car charger, and suction cup mount.
Configuração e instalação
- Montando a Dash Cam: Attach the suction cup mount to the dash cam. Securely affix the suction cup mount to your vehicle's windshield, ensuring it does not obstruct your view da estrada.
- Conexão de energia: Connect the car charger to the dash cam's USB port. Plug the other end of the car charger into your vehicle's cigarette lighter socket. Route the cable neatly to avoid interference with driving controls.
- Inserção de cartão de memória: Insert a compatible micro SD card (8-32 GB, not included) into the dash cam's memory card slot. Ensure the card is inserted correctly until it clicks into place.

Image: The dash cam mounted on a car windshield, showing the driver's view da estrada.
Carregando o dispositivo
The dash cam can be charged using two methods:
- Via carregador de carro: Connect the dash cam to the included car charger and plug it into your vehicle's 12V cigarette lighter socket. The device will automatically begin recording when the car starts.
- Via USB to Computer: Connect the dash cam to a computer's USB port using a compatible USB cable (not included). A green light will indicate charging. The green light will turn off automatically when the battery is fully charged.
Importante: Only use a 5V output car power supply. When using the car charger, long-press the power button or disconnect the power to turn off the recorder.
Instruções de operação
Gravação Automática
When connected to the car's 12V power supply and the vehicle starts, the dash cam will automatically power on and begin recording. In case of power failure, the recorder will automatically shut down after 15 seconds and save the recorded files.
Gravação em loop
The dash cam features seamless loop recording. When the memory card is full, the camera will automatically overwrite the oldest unlocked video files. This ensures continuous recording without manual intervention.

Image: The dash cam screen showing a recording in progress, demonstrating the loop recording function.
G-Sensor (Gravity Detection)
In the event of a collision or sudden impact, the built-in G-sensor will detect the event and automatically lock the current video file. Trancado files are protected from being overwritten by loop recording, preserving critical evidence.
Manual File Trancar
During recording, you can manually press the lock button on the dash cam to protect the current video file from being deleted or overwritten.

Image: The dash cam's front, highlighting the night vision lights and indicating G-sensor functionality in a traffic scenario.
Detecção de movimento
When enabled, the dash cam will automatically start recording if it detects motion in its field of view while parked. This feature helps monitor your vehicle when you are away.
Principais características
- 1080P Full HD Recording: Captura imagens de vídeo nítidastage at 1920x1080P resolution.
- 170-Degree Wide Angle Lens: Oferece uma ampla gama de opções. view da estrada, minimizando os pontos cegos.
- Tela LCD de 2.4 polegadas: Para tempo real viewing and playback of recordings.
- 6 Infrared Fill Lights: Enhances night vision for clearer recordings in low-light conditions.
- Sensor G: Automatically detects impacts and protects video files.
- Gravação em loop: Ensures continuous recording by overwriting old, unlocked files.
- Detecção de movimento: Records automatically when motion is detected while parked.

Image: The dash cam mounted inside a car, illustrating its 1080P Full HD recording capability and 170-degree wide-angle view.

Imagem: Um close-up view of the dash cam's lens, clearly showing the six infrared fill lights designed for improved night vision.
Especificações
| Recurso | Especificação |
|---|---|
| Pixel | 1000W (10 Megapixels) |
| Viewângulo de engate | 170 graus |
| Formato de vídeo | AVI |
| Video Encoding Mode | M-JPEG |
| Resolução de vídeo | 1920x1080P |
| Saída de vídeo | AVOUT, HD Multimedia Interface |
| Formato de saída de vídeo | PAUNTSC |
| Compatibilidade do sistema operacional | Windows 2000, Windows XP, Windows 7, etc. |
| Capacidade do cartão de memória | 8-32 GB Micro SD card (not included) |
| Bateria | 3.7V 120mAh Polymer Battery (built-in) |
| Power Consumption (Video) | 200 mAh |
| Consumo de energia (espera) | 250-315 mAh |
| Tamanho da tela | 2.4 polegadas |
| Tipo de montagem | Ventosa |
| Método de controle | Remoto |
| Taxa de quadros | 30 FPS |
| Peso do item | 172 gramas |
Manutenção
- Limpeza: Use um pano macio e seco para limpar a lente e a tela da câmera veicular. Evite usar produtos de limpeza abrasivos ou solventes.
- Temperatura: Do not expose the device to extreme temperatures, either hot or cold, as this can affect battery life and performance.
- Cartão de memória: Regularly format your memory card (at least once a month) to ensure optimal performance and prevent data corruption. Back up important files antes da formatação.
Solução de problemas
- Dispositivo não liga: Ensure the car charger is securely connected to both the dash cam and the vehicle's cigarette lighter socket. Check if the vehicle's 12V power outlet is functioning.
- Problemas de gravação: Verify that a compatible memory card is inserted and has sufficient free space. Format the memory card if necessary.
- Má qualidade de vídeo: Clean the lens of the dash cam. Ensure the windshield is clean where the camera is mounted.
- A bateria descarrega rapidamente: The built-in battery is primarily for emergency power-off and saving files. For continuous operation, the dash cam should remain connected to the car charger.
Garantia e Suporte
For warranty information or technical support, please refer to the contact details provided with your purchase or visit the official Goshyda webGuarde o comprovante de compra como prova de aquisição.