
1. Introdução
This manual provides detailed instructions for the installation, operation, and maintenance of your FLITI 110V Motion Sensor Outdoor Flood Light. Please read this manual thoroughly before installation and use to ensure proper function and safety. This hardwired security light offers 2500 lumens of brightness, an 8-meter sensing distance, and convenient remote control functionality with multiple lighting modes.
2. Recursos do Produto
- Super Bright Hardwired Design: 15-watt LED equivalent to 150-watt traditional halogen bulbs, providing 2500 lumens of high brightness. Requires connection to a power cord; not solar or battery-powered.
- Funcionalidade do controle remoto: Easily change lighting modes without needing to access the physical unit.
- Five Night Lighting Modes:
- Motion-activated: High brightness (2500LM) when motion is detected, then turns off.
- Motion-activated with low brightness standby: Low brightness (300LM) standby, switches to high brightness (2500LM) upon motion detection, then returns to low brightness.
- Always On (Micro Brightness): Maintains a constant micro brightness (300LM).
- Always On (Medium Brightness): Maintains a constant medium brightness (700LM).
- Always On (High Brightness): Maintains a constant high brightness (1000LM).
- Durable for Cold Climates: Designed with low-temperature resistant material, suitable for temperatures from -40°C to 0°C, making it ideal for Canadian winters.
- Design de rotação flexível: Adjustable light heads and sensor for optimal coverage.
- Classificação à prova d'água IP65: Resistant to rain, snow, and dust for reliable outdoor use.
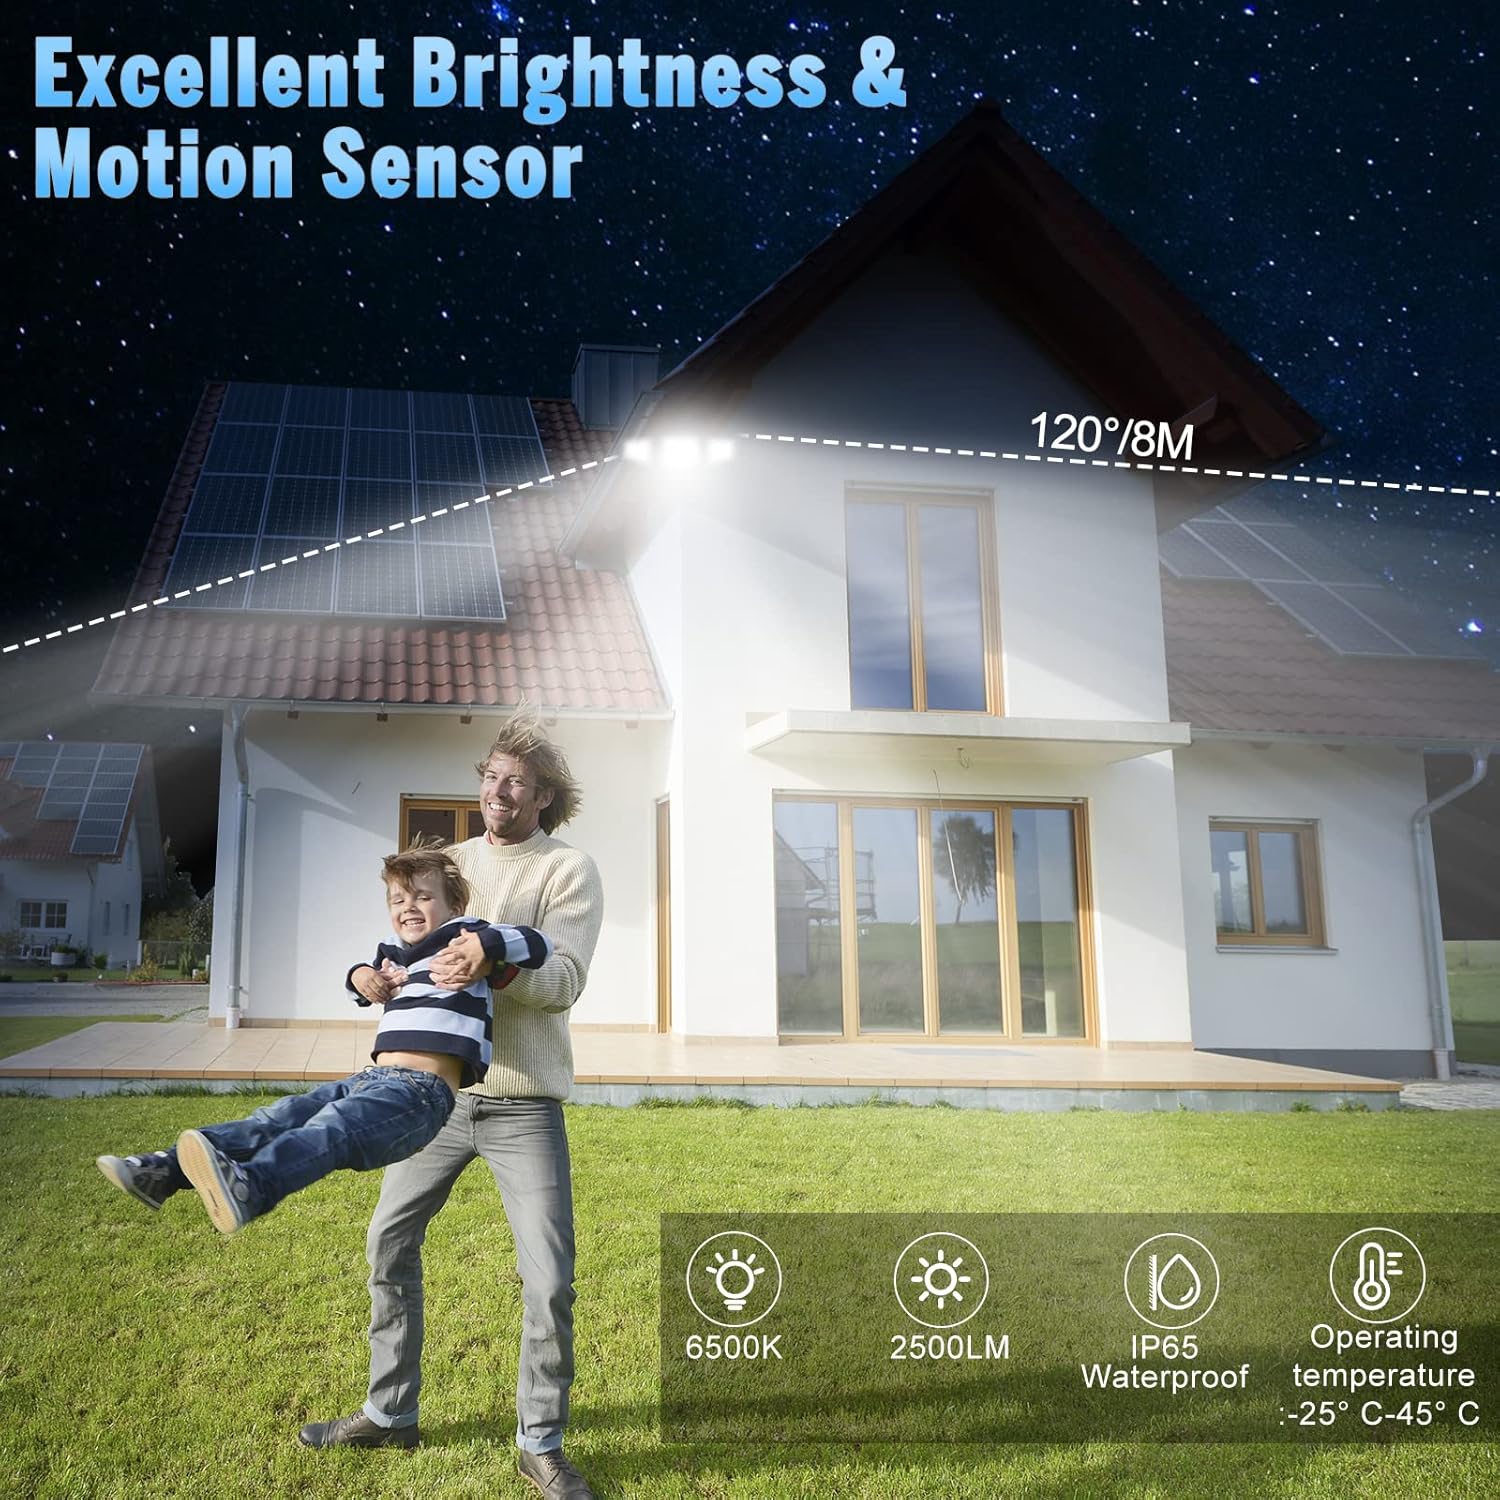
Image: The flood light illuminates a wide area with a 120-degree beam and 8-meter sensing distance. It features 6500K color temperature, 2500LM brightness, IP65 waterproof rating, and operates between -25°C and 45°C.

Image: The flood light features a flexible rotation design, allowing the light heads to adjust 360 degrees horizontally and 90 degrees vertically, and the sensor to adjust 360 degrees horizontally.
3. Informações de segurança
- Desligue sempre a energia no disjuntor antes de instalar ou realizar qualquer manutenção.
- Consulte um eletricista qualificado se não tiver certeza sobre o processo de instalação.
- Não tente modificar o produto. Quaisquer modificações podem anular a garantia e representar riscos à segurança.
- Certifique-se de que todas as conexões estejam seguras e devidamente isoladas.
- Não olhe diretamente para a fonte de luz LED quando estiver acesa, pois isso pode causar danos aos olhos.
- Mantenha o produto longe de materiais inflamáveis.
4. Instalação
This flood light is designed for wall mounting and requires hardwired electrical connection. Professional installation is recommended.
4.1 Instruções de Fiação
- Desligue a energia no disjuntor principal.
- Remove your existing light fixture, if applicable.
- Connect the live wire (black) from the flood light to the live wire from your electrical box using a wire nut.
- Connect the neutral wire (white) from the flood light to the neutral wire from your electrical box using a wire nut.
- Connect the ground wire (green/yellow) from the flood light to the ground wire from your electrical box.
- Certifique-se de que todas as conexões estejam firmes e seguras.

Image: Wiring diagram showing connections for live, neutral, and ground wires. Ensure proper insulation and secure connections.
4.2 Montagem do acessório
- After wiring, align the mounting plate of the flood light with the junction box.
- Secure the fixture to the wall using the provided screws. Ensure it is firmly attached.
- Ajuste os refletores e o sensor de movimento nos ângulos desejados.
- Apply silicone sealant around the top and sides of the mounting plate to prevent water ingress, leaving the bottom open for drainage.
- Restaure a energia no disjuntor.

Image: Step-by-step illustration of mounting the flood light to a wall, showing wiring connections and securing the fixture.
5. Instruções de operação
The FLITI Motion Sensor Outdoor Flood Light can be controlled using the included remote control.
5.1 Funções de controle remoto

Image: The remote control features ON/OFF buttons and numbered buttons (1-5) corresponding to different lighting modes.
- LIGADO/DESLIGADO: Acende ou apaga a luz.
- Mode 1 (Motion Sensor - High Brightness): Light remains off until motion is detected, then illuminates at 2500LM for a set duration (e.g., 20 seconds) before turning off.
- Mode 2 (Low Brightness Standby + Motion Sensor - High Brightness): Light stays at a low brightness (300LM) until motion is detected, then switches to 2500LM. After motion ceases, it returns to low brightness.
- Mode 3 (Always On - Micro Brightness): Light stays on continuously at 300LM.
- Mode 4 (Always On - Medium Brightness): Light stays on continuously at 700LM.
- Mode 5 (Always On - High Brightness): Light stays on continuously at 1000LM.

Imagem: Visual examples of the five lighting modes, illustrating how the light behaves with and without motion detection at different brightness levels.
5.2 Ajuste do sensor
The motion sensor can be adjusted for sensitivity and duration. Refer to the sensor unit for specific dial settings (e.g., DISTANCE, TIME).
Video: Demonstration of Mode 1 (off to high light for 20 seconds) and Mode 2 (dim to high light for 20 seconds) in action, showing how the light responds to motion.
Video: Explanation of motion sensor settings, including adjustments for sensing distance (L, M, H) and light duration (1 min, 3 min, 10 min), and a test mode.
6. Manutenção
- Limpeza: Periodically clean the light fixture with a soft, damp pano. Não use produtos de limpeza abrasivos ou solventes.
- Inspeção: Regularly inspect the wiring and housing for any signs of damage or wear.
- LEDs: A fonte de luz LED é integrada e não pode ser substituída pelo usuário.
7. Solução De Problemas
| Problema | Possível causa | Solução |
|---|---|---|
| A luz não acende. | No power; faulty wiring; sensor malfunction. | Check circuit breaker. Verify wiring connections. Test sensor sensitivity. |
| O sensor de movimento não está detectando movimento. | Sensor obstructed; incorrect sensitivity setting; ambient light interference. | Clear obstructions. Adjust sensor sensitivity (DISTANCE dial). Ensure sensor is not facing direct light sources. |
| Light stays on continuously (in motion modes). | Continuous motion detected; incorrect mode selected; sensor malfunction. | Ensure no constant motion in sensor range. Verify correct mode (Mode 1 or 2). Adjust sensor settings. |
| O controle remoto não funciona. | Bateria descarregada; controle remoto fora de alcance; obstrução. | Replace remote battery. Ensure remote is within effective range and pointed towards the light. Remove obstructions. |
8. Especificações
| Recurso | Especificação |
|---|---|
| Número do modelo | luz-12.5 |
| Fonte de energia | Electric (Hardwired) |
| Volumetage | 120 Volts |
| O quetage | 15 watts |
| Brilho | 2500 lúmens (máx.) |
| Temperatura de cor | 6500 Kelvin |
| Método de controle | Controle remoto |
| Uso interno/externo | Ar livre |
| Nível de resistência à água | IP65 à prova d'água |
| Material | Plastic, Glass (Shade) |
| Dimensões do produto | 25 mm (comprimento) x 25 mm (largura) x 25 mm (altura) |
| Peso do item | 0.96 quilos |
| Tipo de montagem | Wall Mount, Semi Flush Mount |
9. Garantia e Suporte
FLITI offers a Garantia de 1 ano for this product from the date of purchase. We also provide a 30-day money-back guarantee. If you encounter any issues or have questions regarding your FLITI Motion Sensor Outdoor Flood Light, please contact our customer support for assistance. Our goal is to provide professional and reliable LED lamps and excellent after-sales experience.