
1. Produto acabadoview
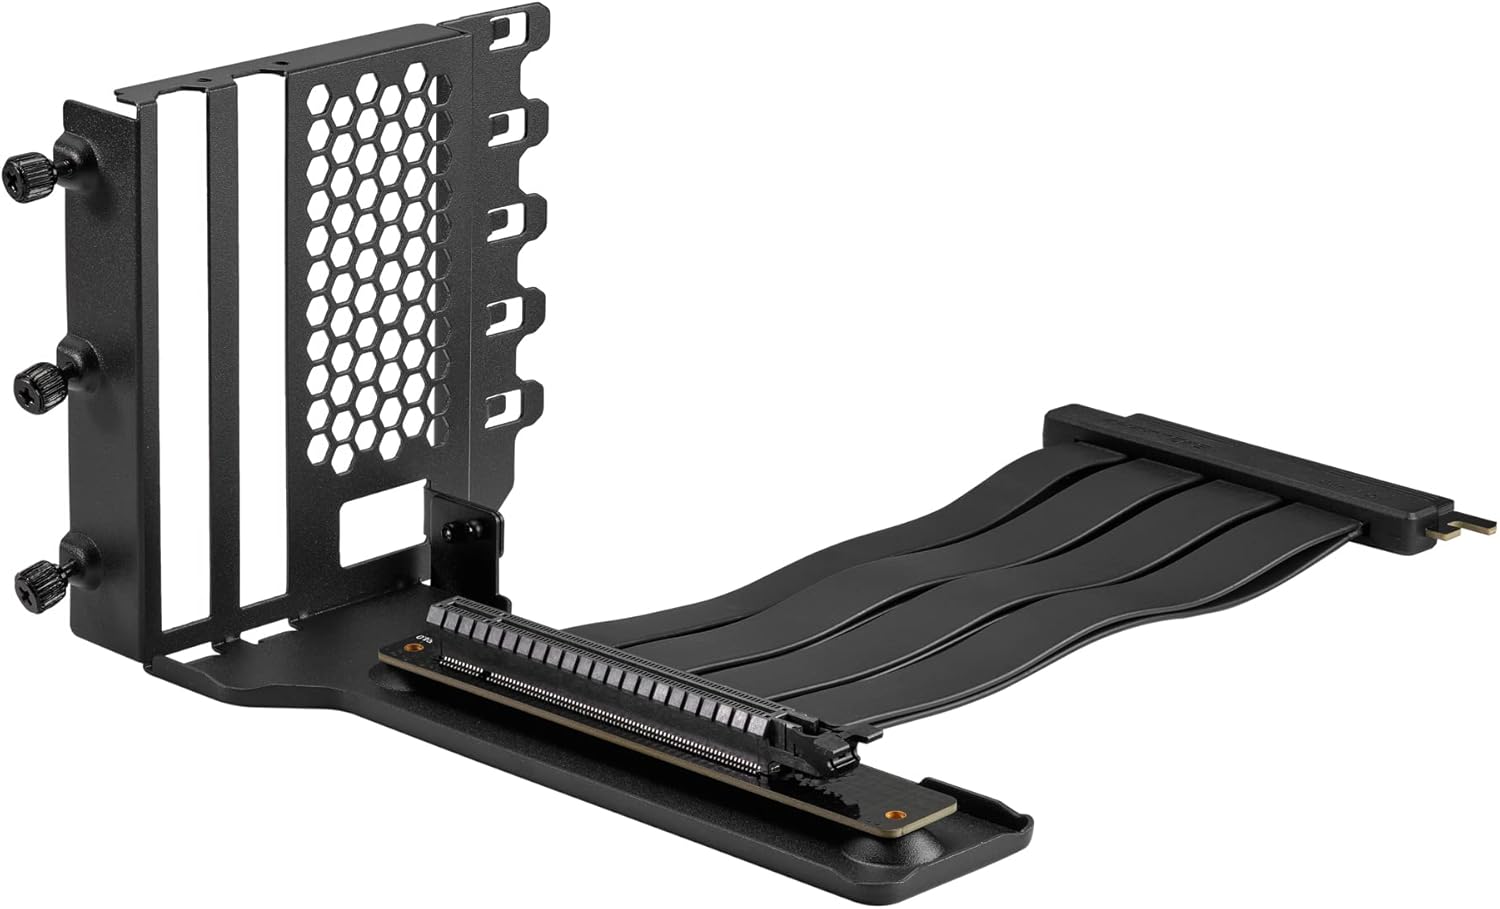
The Phanteks Gen4 Vertical GPU Bracket is designed to allow vertical placement of a graphics card within a compatible PC chassis, utilizing full PCI-E Gen4 speeds. This kit includes a 220mm Flat Line PCI-E Gen4 x16 Riser Cable, ensuring high-speed data transfer and signal integrity for optimal graphics card performance.
Os principais recursos incluem:
- Vertical mounting system compatible with 1-slot, 2-slot, 3-slot, and 4-slot graphics cards.
- Requires a chassis with 7 open PCI slots.
- Direct installation without modification in Phanteks Eclipse P300A, P360A, and P400A chassis. Other ATX chassis may require modification.
- Includes rubber pads to provide additional support and prevent graphics card sag.
- 220mm PCI-E Gen4 x16 Riser Cable with dual-layer, individually shielded cables for stable performance.
2. Conteúdo da embalagem
Verifique se todos os componentes estão presentes no pacote antes de prosseguir com a instalação.

- Vertical GPU Bracket (1x)
- PCI-E Gen4 x16 Riser Cable (220mm) (1x)
- Rubber Support Pads (various sizes) (3x)
- Parafusos de montagem (4x)
- Instruction Manual (1x)
3. Configuração e instalação
Antes de iniciar a instalação, certifique-se de que o computador esteja desligado e desconectado da tomada. Recomenda-se o uso de uma pulseira antiestática para evitar danos aos componentes causados por descarga eletrostática (ESD).
3.1. Chassis Compatibility Check
The bracket requires a PC chassis with at least 7 open PCI slots. For Phanteks Eclipse P300A, P360A, and P400A chassis, direct installation is possible. Other ATX chassis may require modification to the PCI slot area for proper fitment and display port access.
3.2. Preparando o Chassi
- Open your PC chassis and remove the side panel.
- Locate the PCI slot area at the rear of the chassis. Remove all 7 PCI slot covers. Keep the screws for later use if applicable, or use the provided screws.
- If your chassis has a horizontal bar separating the PCI slots, it may need to be removed or modified to allow the vertical bracket to sit flush and for display cables to pass through.
3.3. Installing the Vertical GPU Bracket
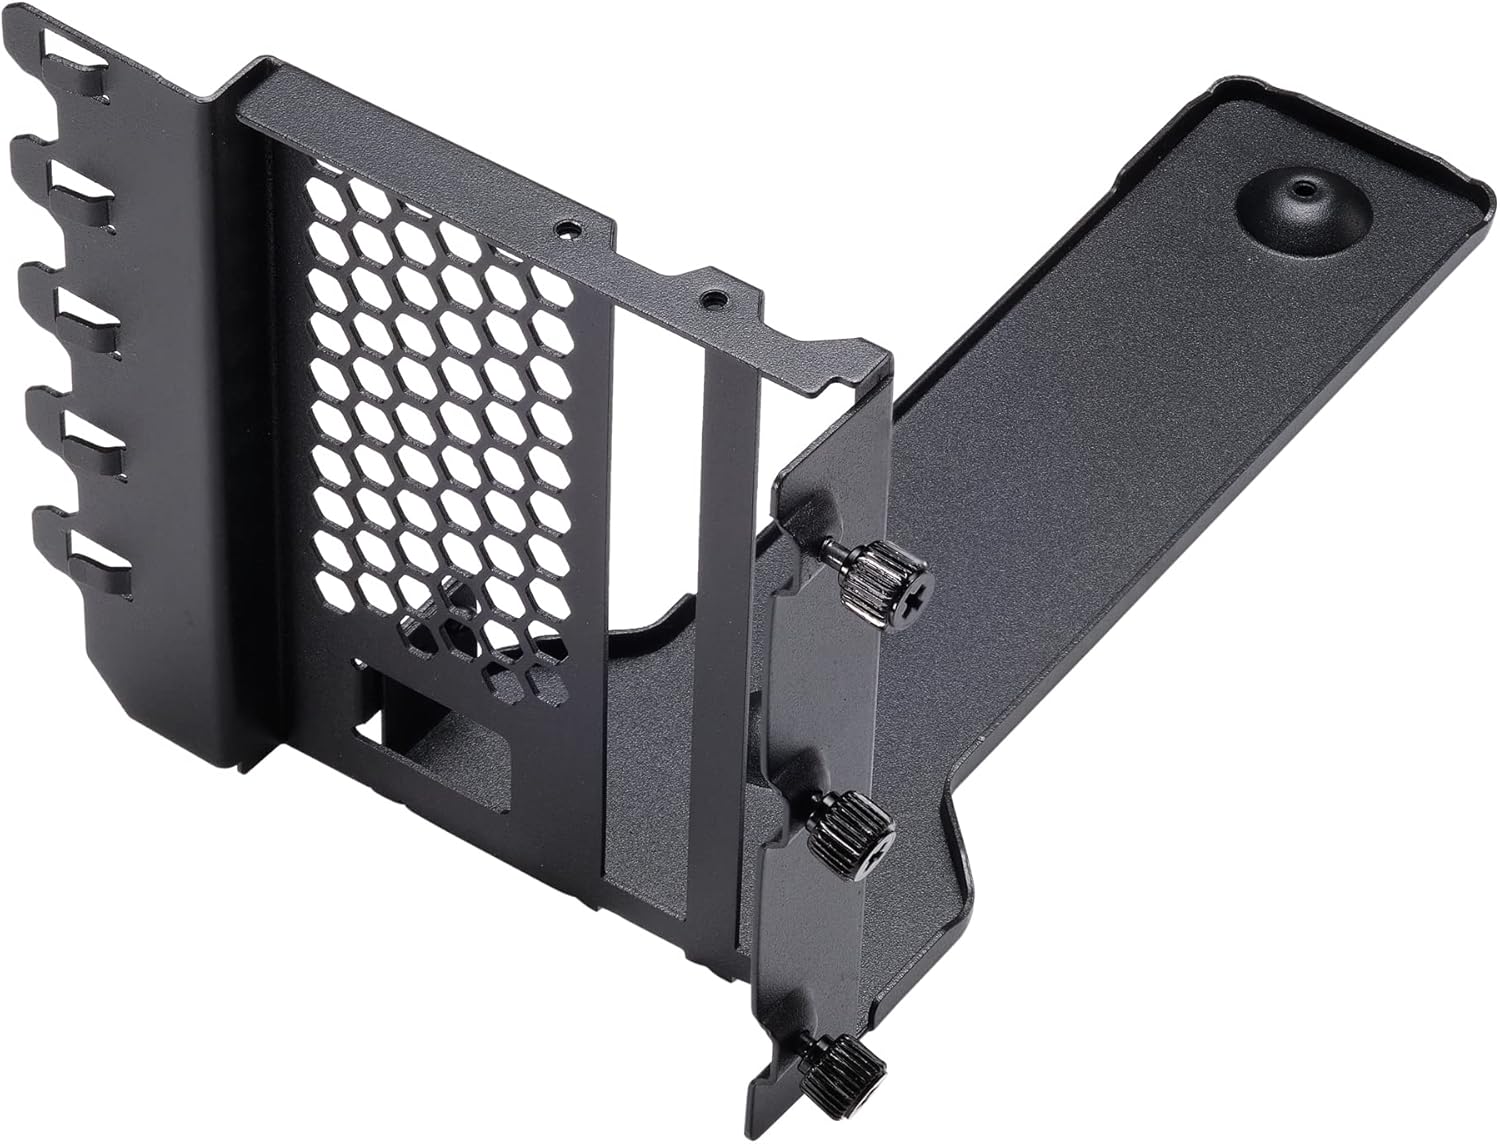
- Position the vertical GPU bracket into the chassis, aligning its mounting holes with the PCI slot screw holes.
- Secure the bracket to the chassis using the provided mounting screws or the original PCI slot screws. Ensure the bracket is firmly attached.
3.4. Connecting the Riser Cable
- Carefully insert one end of the 220mm PCI-E Gen4 x16 Riser Cable into the primary PCI-E x16 slot on your motherboard. Ensure it is fully seated.
- Route the riser cable neatly within the chassis to the vertical GPU bracket. Avoid sharp bends or kinks in the cable.
3.5. Mounting the Graphics Card
- Align your graphics card with the PCI-E slot on the vertical GPU bracket.
- Gently push the graphics card into the slot until it is fully seated.
- Secure the graphics card to the bracket using its original mounting screws or the thumb screws on the bracket.
- Connect the free end of the riser cable to the graphics card's PCI-E x16 slot. Ensure a secure connection.
- Apply the included rubber support pads to the bottom of the graphics card or the bracket's support arm to prevent sag, especially for heavier GPUs. Position them to provide stable support without obstructing fans.
4. Operação
Once the Phanteks Gen4 Vertical GPU Bracket and graphics card are installed, ensure all power cables (PCI-E power connectors) are securely connected to the graphics card. Close your chassis side panel and reconnect all peripherals and power. Power on your computer.
The PCI-E Gen4 x16 Riser Cable is designed to operate at full Gen4 speeds. Your system should automatically detect the graphics card and operate it at the highest compatible PCI-E generation. No specific software or driver installation is required for the bracket itself.
5. Manutenção
Regular maintenance helps ensure optimal performance and longevity of your components.
- Remoção de poeira: Periodically clean dust from the graphics card fans and heatsink, as well as the bracket's ventilation areas, using compressed air. Ensure the system is powered off and unplugged before cleaning.
- Inspeção de cabos: Occasionally check the riser cable for any signs of wear, damage, or loose connections.
- Support Pad Check: Verify that the rubber support pads remain in place and continue to provide adequate support to the graphics card.
6. Solução De Problemas
6.1. Sem saída de vídeo
- Verifique as conexões: Ensure the riser cable is fully seated in both the motherboard's PCI-E slot and the graphics card's PCI-E slot. Verify all power cables to the graphics card are securely connected.
- Configurações do BIOS: If your motherboard has a PCI-E 3.0 chipset and you are using a PCI-E 4.0 graphics card, you may need to manually set the PCI-E slot speed to "Gen3" or "PCI-E 3.0" in your motherboard's BIOS settings. Some motherboards may not auto-negotiate Gen4 speeds correctly through a riser cable, especially with older BIOS versions.
- Test Directly: If possible, test the graphics card by plugging it directly into the motherboard's PCI-E slot to rule out issues with the card itself.
6.2. Graphics Card Sag
- Adjust Support Pads: Ensure the included rubber support pads are correctly positioned under the graphics card to provide maximum support. Experiment with different placements or stacking if necessary.
- Montagem segura: Verify that the vertical GPU bracket is securely fastened to the chassis and the graphics card is securely fastened to the bracket.
6.3. Problemas de desempenho
- Configurações do BIOS: Confirm that your motherboard's BIOS is set to the correct PCI-E generation (Gen4 for compatible systems, or Gen3 if troubleshooting display issues on older chipsets).
- Fluxo de ar: Ensure adequate airflow around the vertically mounted graphics card. Vertical mounting can sometimes affect cooling depending on chassis design.
7. Especificações
| Recurso | Especificação |
|---|---|
| Número do modelo | PH-VGPUKT4.0_03R |
| PCI-E Generation | PCI-E 4.0 x16 |
| Riser Cable Length | 220 mm |
| Compatibilidade com GPU | 1-slot, 2-slot, 3-slot, and 4-slot graphics cards |
| Chassis Requirement | 7 open PCI slots (ATX) |
| Material | Aço com revestimento em pó |
| Cor | Preto |
| Peso do item | 1 libra (aproximadamente) |
| Resolução máxima da tela | 7680x4320 (dependent on GPU) |
8. Garantia e Suporte
For warranty information and technical support, please refer to the official Phanteks webou entre em contato com seu distribuidor local. Guarde seu comprovante de compra para eventuais solicitações de garantia.
Você pode encontrar mais informações e detalhes de contato em: www.phanteks.com
For specific regional support, refer to the contact information below:
- Phanteks Taiwan Inc.
11F., No.
Zhonghe Dist. Nova cidade de Taipei 235 - Importer EU (Axpertec Int. B.V.)
Sydneystraat 33
3047 AP Roterdã
Países Baixos - Importer US (Axpertec Inc.)
20465 E Nogueira Dr.
Cidade da Indústria, Califórnia 91789
Estados Unidos
