
Introdução
This manual provides detailed instructions for the installation, operation, and maintenance of your Mars Gaming MARSGAMING MCX ATX PC Gaming Case, Model MCF. Please read this manual thoroughly before beginning assembly to ensure proper setup and optimal performance.

Figure 1: Mars Gaming MARSGAMING MCX ATX PC Gaming Case (Model MCF)
Principais características
- Advanced Gaming Lighting: Features triple vented front and rear fans with ARGB lighting, complemented by a Metal-Mesh front design and tempered glass side window.
- Design aerodinâmico: Sophisticated look with pure geometric lines and premium finishes. The aerodynamically designed front panel enhances ventilation and airflow.
- Full ARGB Compatibility: ARGB lighting with multiple preset effects, controllable via an ARGB connector or motherboard for extensive aesthetic customization.
- Capacidade máxima de resfriamento: Includes a triple front fan system and a 120mm rear fan. Supports up to 6 x 120mm fans, removable magnetic top and bottom filters, and dual chamber design. Full support for up to 360mm liquid cooling.
- Maximum Internal Capacity: Supports ATX, micro-ATX, and mini-ITX motherboards, up to 5 hard drives, and efficient internal cable management. Accommodates VGAs up to 305mm long (330mm without front fan) and 167mm wide, and heatsinks up to 177mm high.
Conteúdo da embalagem
Verifique se todos os componentes estão presentes no pacote antes de prosseguir com a instalação.
- Mars Gaming MARSGAMING MCX ATX PC Gaming Case (Model MCF)
- 4 x 120mm ARGB Fans (pre-installed)
- Kit de acessórios (parafusos, espaçadores, abraçadeiras)
- Manual do usuário (este documento)
Instruções de configuração
1. Preparando o Caso
Place the case on a stable, flat surface. Remove the tempered glass side panel by unscrewing the thumb screws at the rear of the case and carefully sliding the panel off.
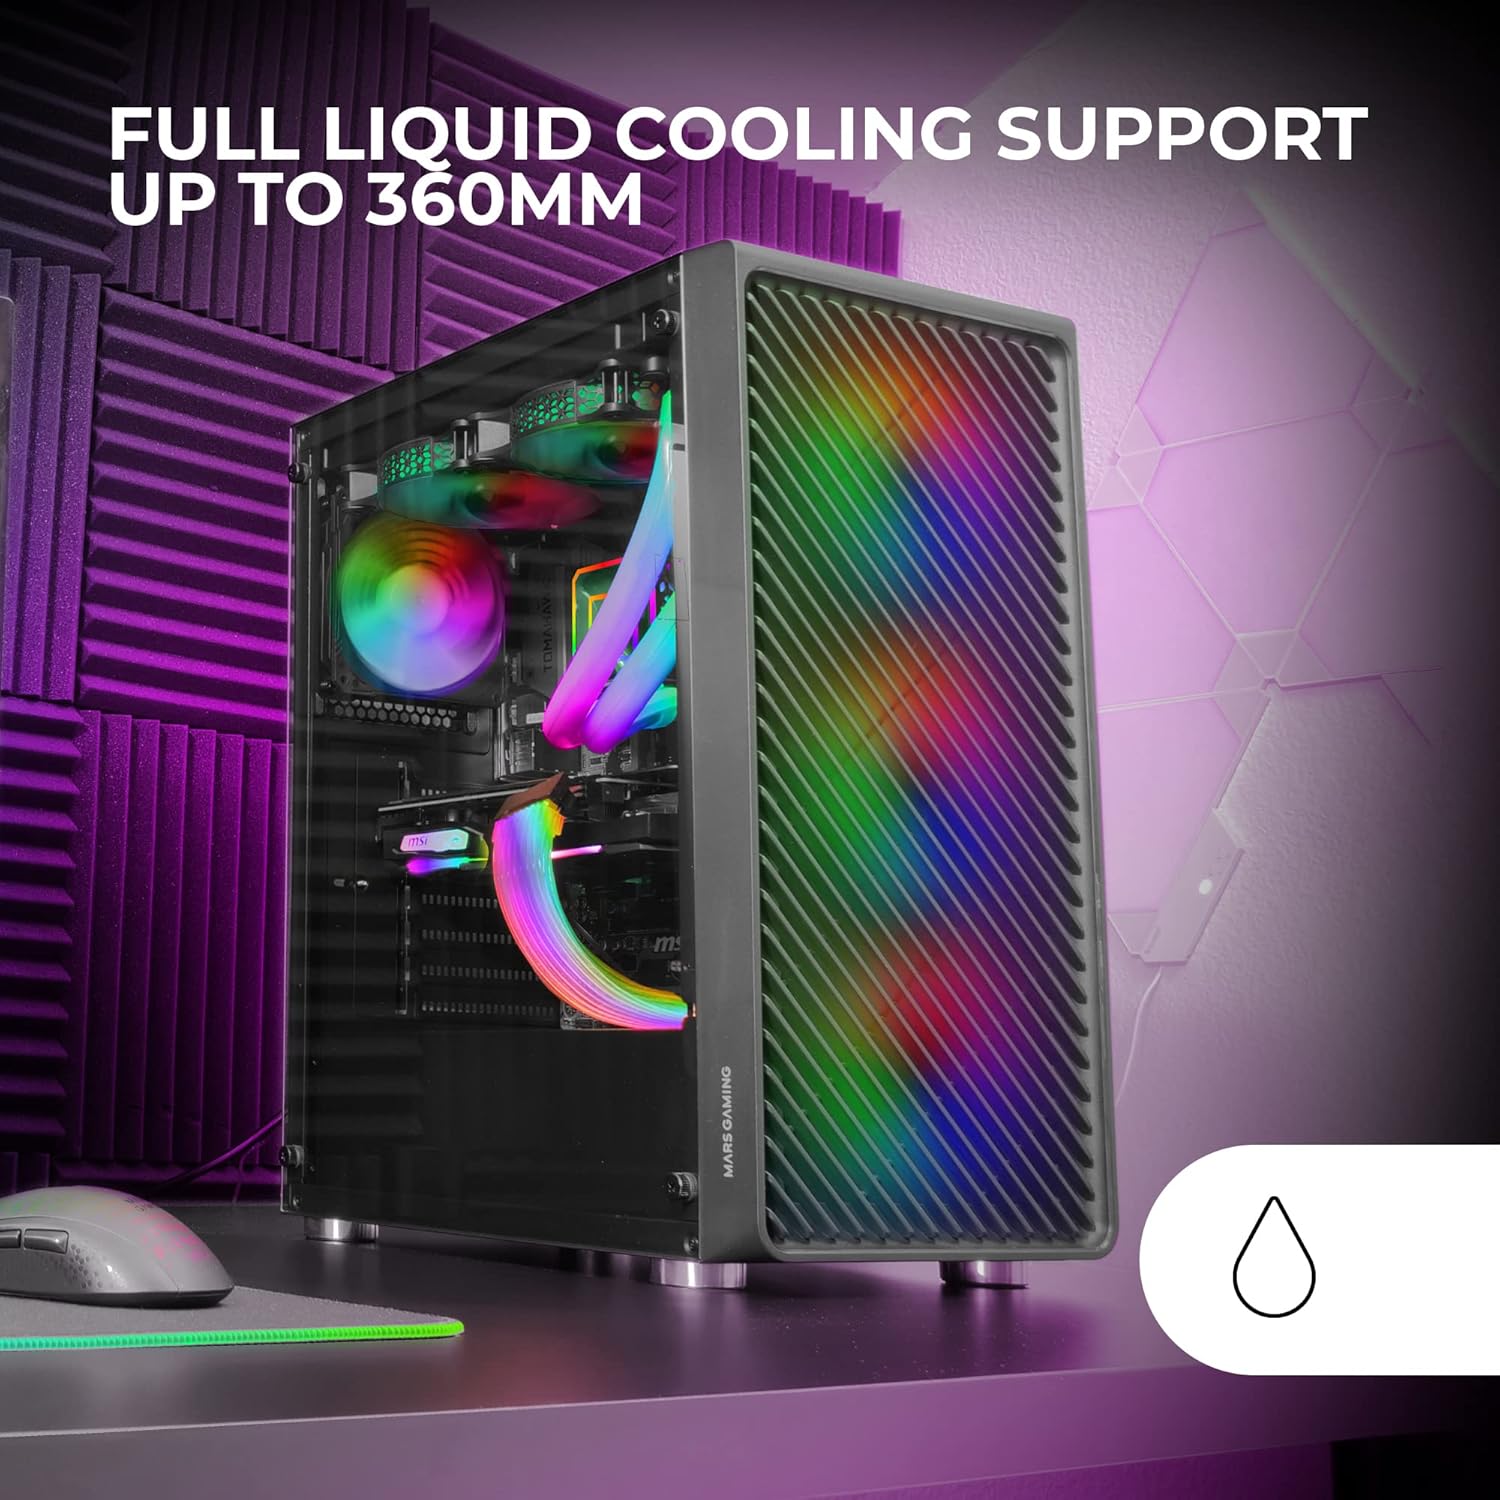
Figure 2: Tempered Glass Side Window
The front panel features a Metal-Mesh design for optimal airflow.

Figure 3: Metal-Mesh Front Panel
2. Instalação da placa-mãe
Install the appropriate standoffs for your ATX, Micro-ATX, or Mini-ITX motherboard. Carefully place the motherboard into the case, aligning it with the standoffs and the I/O shield opening. Secure the motherboard with screws from the accessory kit.
3. Instalação da Unidade de Alimentação (PSU)
The case features a bottom-mount power supply design. Slide your PSU into its designated compartment at the bottom rear of the case and secure it with screws. Route the necessary cables through the cable management cutouts.
4. Instalação da unidade de armazenamento
Install your 3.5-inch hard drives and 2.5-inch solid-state drives into the available drive bays. The case supports up to 5 hard drives. Refer to the internal layout diagram for bay locations.
5. Instalação da placa gráfica (VGA)
Remove the necessary PCI-E slot covers. Insert your graphics card into the appropriate PCI-E slot on your motherboard and secure it with screws. The case supports VGAs up to 305mm long (330mm without a front fan) and 167mm wide.
6. Cooling System Installation (Fans & Liquid Cooling)
The case comes with four pre-installed 120mm ARGB fans (three front, one rear). Additional fans can be installed as follows:
- Principal: Up to 2 x 120mm or 2 x 140mm fans.
- Frente: Up to 3 x 120mm or 2 x 140mm fans (pre-installed).
- Traseira: 1 x 120mm fan (pre-installed).
For liquid cooling, the case supports radiators up to 360mm.

Figure 4: Pre-installed 4x 120mm ARGB Fans

Figure 5: Internal Layout and Cooling Support
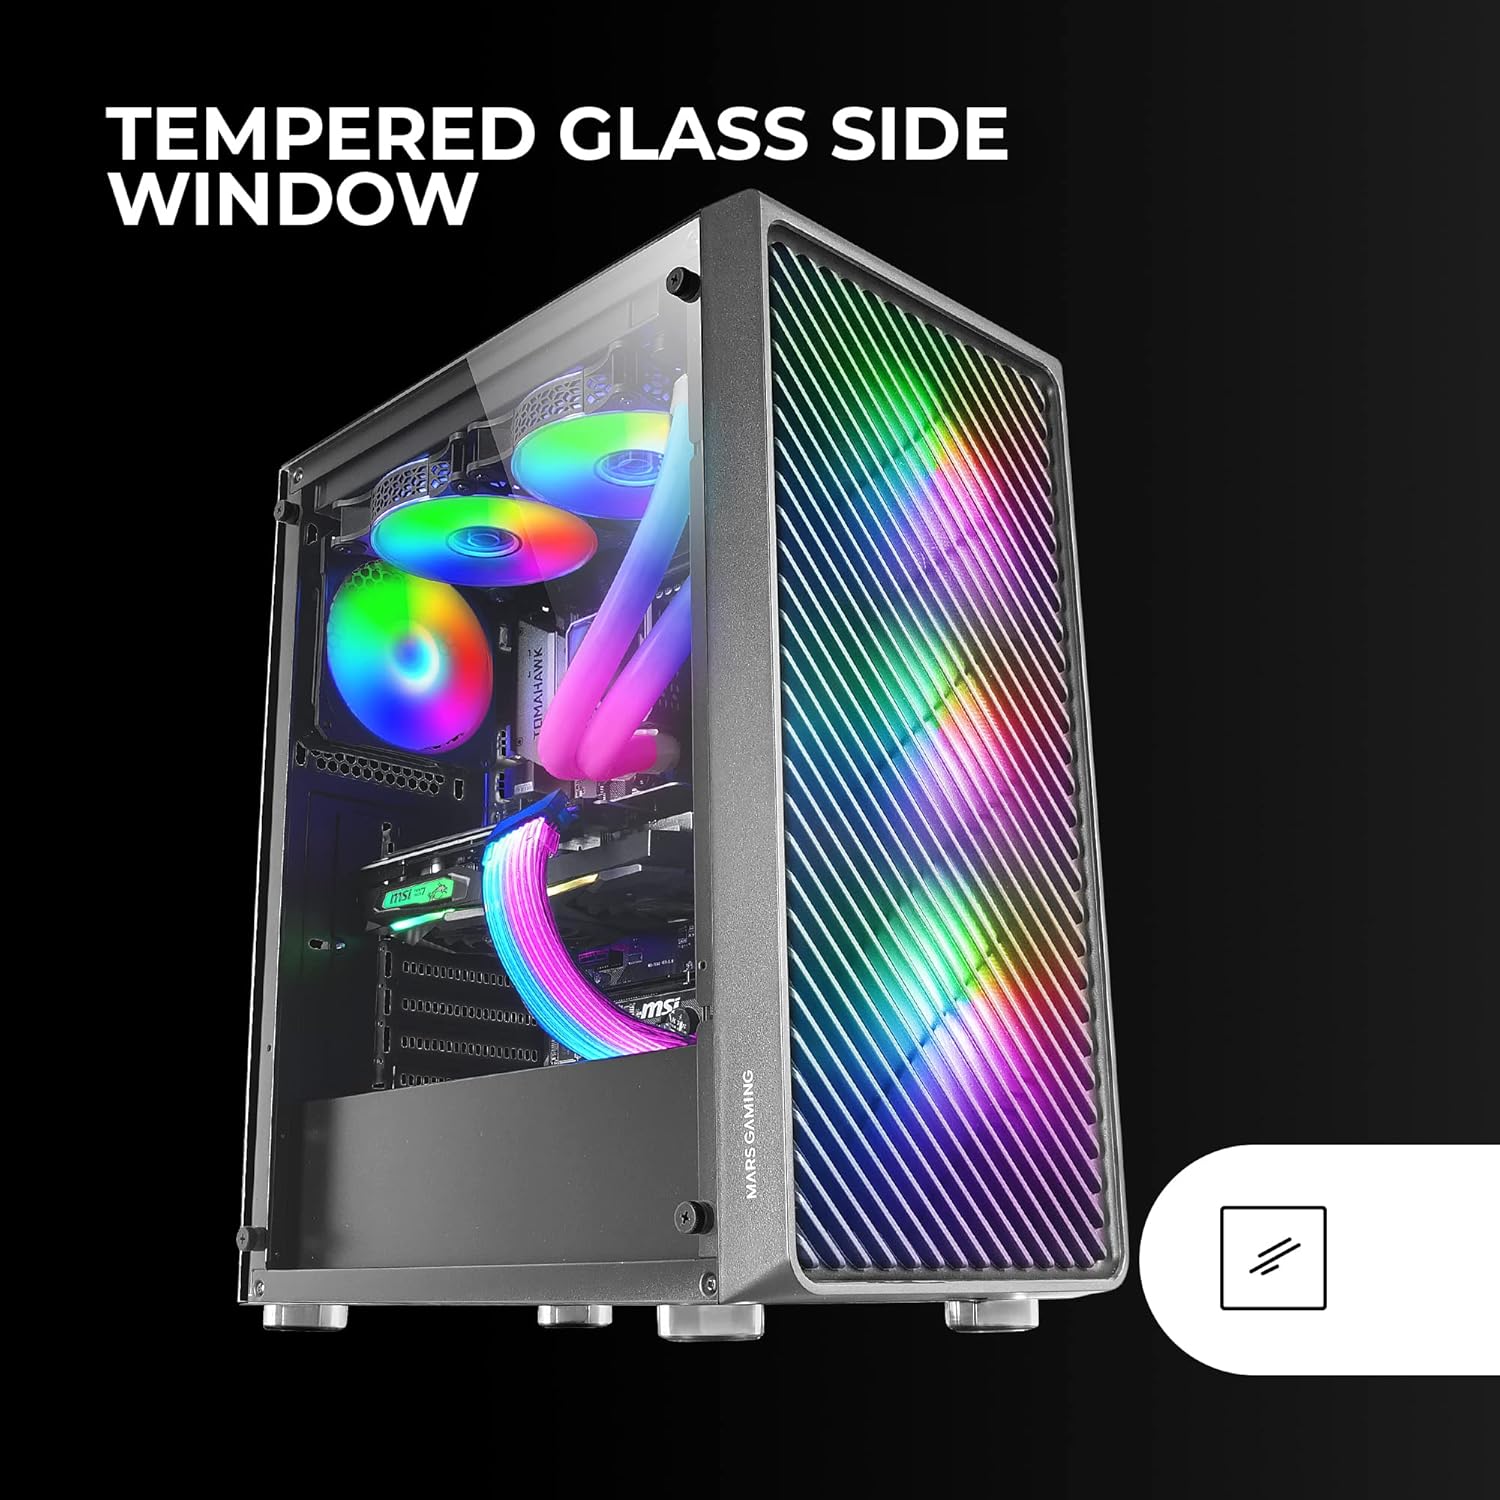
Figure 6: Liquid Cooling Support
7. Gerenciamento de cabos
Utilize as aberturas para gerenciamento de cabos e os pontos de fixação atrás da bandeja da placa-mãe para organizar e prender os cabos. Isso melhora o fluxo de ar e a estética.
8. Montagem Final
Após a instalação de todos os componentes e a organização dos cabos, recoloque o painel lateral de vidro temperado e fixe-o com os parafusos de aperto manual.
Instruções de operação
Ligando
Connect your power supply to a wall outlet. Press the power button located on the top panel of the case to turn on your system.
Controle de iluminação ARGB
The pre-installed ARGB fans can be controlled via your motherboard's ARGB software (if connected to an ARGB header) or through the integrated controller (if applicable). Refer to your motherboard manual for specific ARGB software instructions. The case offers multiple preset lighting effects.
Manutenção
Limpando o gabinete
Limpe regularmente a parte externa da capa com um pano macio e seco.amp cloth. Avoid abrasive cleaners. For interior cleaning, use compressed air to remove dust from components and fans.
Manutenção do filtro de poeira
The case features removable magnetic dust filters on the top and bottom. Periodically remove and clean these filters to maintain optimal airflow and prevent dust buildup inside the system. Wash with water and mild soap, then dry completely before reattaching.
Solução de problemas
Ventoinhas não giram / RGB não funciona
- Check all fan and ARGB connections to the motherboard or controller.
- Ensure the power supply is providing adequate power.
- Verify that ARGB software or physical controls are correctly configured.
Poor Airflow / Overheating
- Limpe todos os filtros de poeira e ventiladores.
- Ensure proper fan orientation for intake and exhaust.
- Verifique se nenhum cabo está obstruindo o fluxo de ar.
- Consider adding additional fans if temperatures remain high.
O sistema não liga.
- Verifique todas as conexões de energia, desde a fonte de alimentação até a placa-mãe e os componentes.
- Certifique-se de que o cabo do botão liga/desliga do painel frontal esteja conectado corretamente à placa-mãe.
- Verify the PSU is switched on.
Especificações
| Recurso | Detalhe |
|---|---|
| Marca | Jogos de Marte |
| Nome do modelo | MCF |
| Tipo de caso | Torre Média |
| Compatibilidade da placa-mãe | ATX, Micro ATX, Mini-ITX |
| Material | Metal |
| Cor | Preto |
| Dimensões do item (P x L x A) | 14.96"P x 8.5"L x 18.11"A |
| Peso do item | 4.7 quilos |
| Internal Bays Quantity | 5 (for 3.5" Hard Disk Form Factor) |
| Comprimento máximo da GPU | 305mm (330mm without front fan) |
| Altura máxima do refrigerador da CPU | 177 mm |
| Ventiladores pré-instalados | 4 ventiladores ARGB de 120 mm |
| Método de resfriamento | Ar, Água |
| Suporte de Refrigeração Líquida | Radiador de até 360 mm |
| Tipo de montagem da fonte de alimentação | Montagem inferior |
| Total de portas USB | 2 (USB 2.0) |
| Características especiais | RGB Lighting, Tempered Glass Side Panel, Metal-Mesh Front Panel |
Garantia e Suporte
For warranty information and technical support, please refer to the official Mars Gaming webou entre em contato com o departamento de atendimento ao cliente. Guarde seu comprovante de compra para eventuais solicitações de garantia.
Fabricante: Jogos de Marte