
Shutao STC-3028
Manual do Usuário do Controlador de Temperatura e Umidade STC-3028 24V
Model: STC-3028 (13443ST-1)
Brand: Shutao
Produto acimaview
The STC-3028 is a versatile 24V temperature and humidity controller designed for precise environmental management. It features a dual digital display for simultaneous monitoring of temperature and humidity, making it ideal for applications such as incubators, terrariums, and other controlled environments. This device supports both heating/cooling and humidifying/dehumidifying functions.
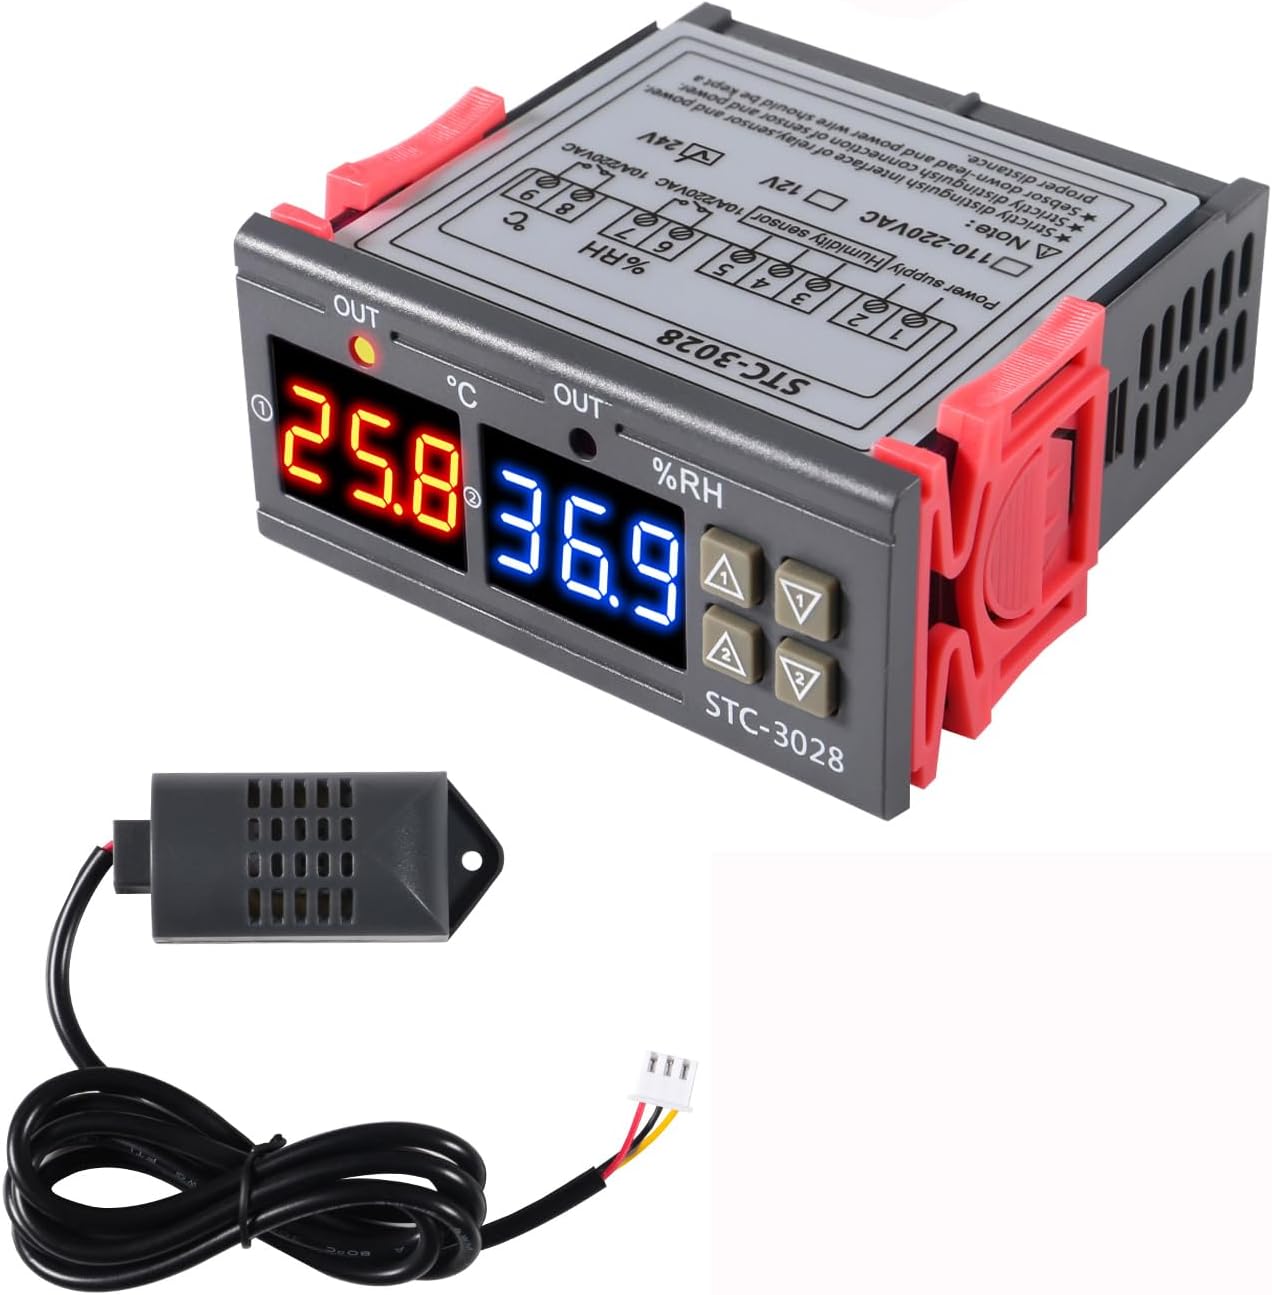
Image: The STC-3028 controller unit with its integrated temperature and humidity sensor. The controller features a dual digital display showing temperature in red and humidity in blue.
Especificações técnicas
| Especificação | Valor |
|---|---|
| Vol de entradatage | CA 24V |
| Medição da faixa de temperatura | -50°C a +110°C |
| Faixa de medição de umidade | 00%RH to +100%RH |
| Precisão da temperatura | ±1°C |
| Precisão de umidade | ± 0.1% RH |
| Relay Output Contact Capacity | 10A/240VAC |
| Tipo de exibição | Digital |
| Material | Plástico |
| Dimensões (C x L x A) | 75 mm x 85 mm x 27 mm (aproximadamente 2.95 pol x 3.34 pol x 1.06 pol) |
| Peso do item | 0.48 onças (aprox. 0.03 lbs) |
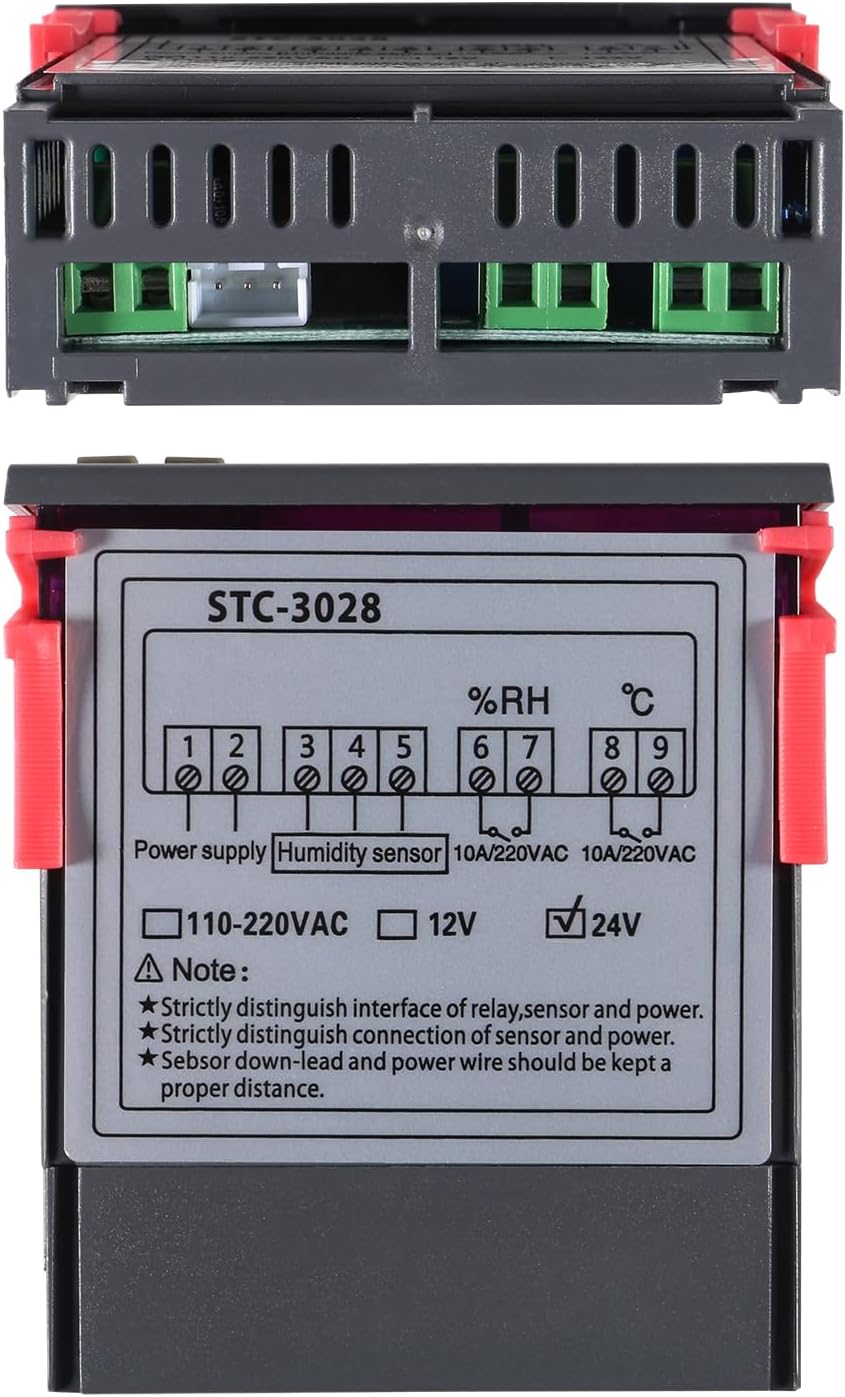
Image: Diagram showing the dimensions of the STC-3028 controller: 75mm (2.95 inches) length, 85mm (3.34 inches) width, and 27mm (1.06 inches) height.
Conteúdo da embalagem
O pacote inclui os seguintes itens:
- 1 x STC-3028 Temperature and Humidity Controller
- 1 x Integrated Sensor (for temperature and humidity measurement)
Configuração e instalação
Diagrama de fiação
Proper wiring is crucial for the safe and correct operation of the STC-3028 controller. Refer to the diagram below for connection details.
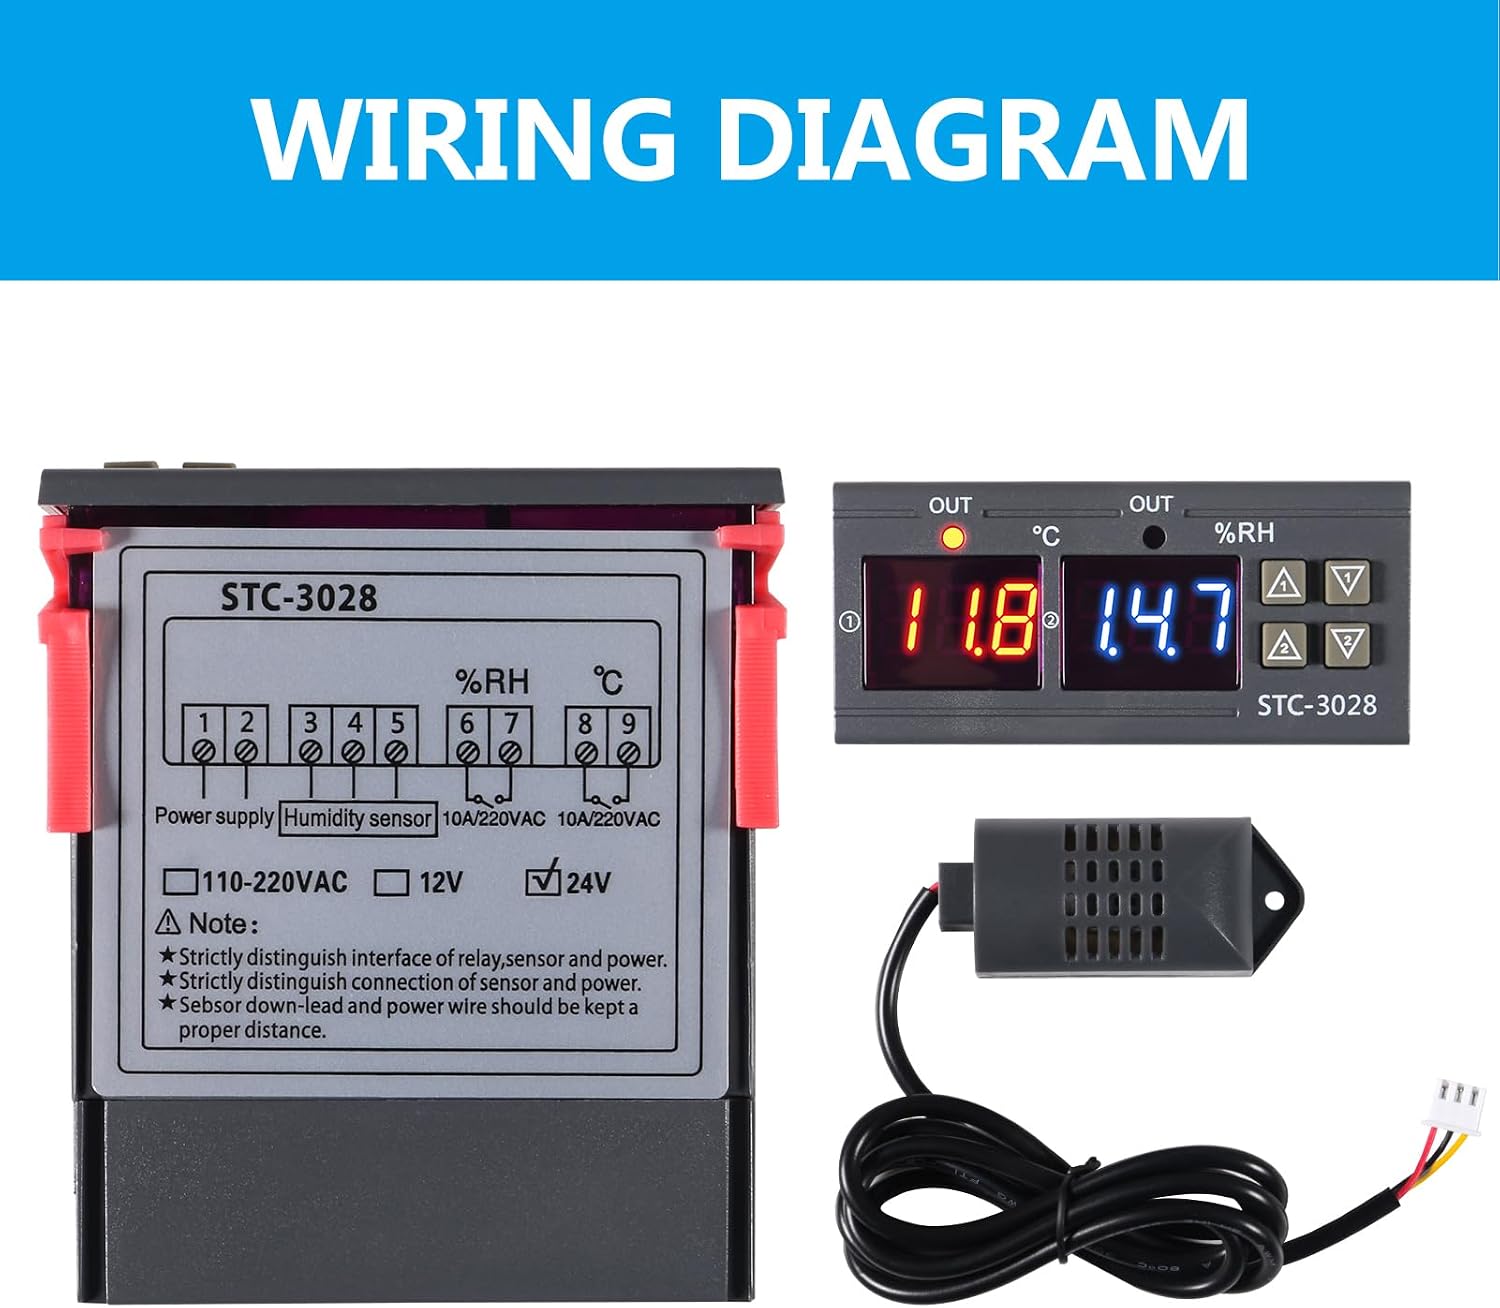
Image: A visual representation of the STC-3028 wiring diagram. It shows terminals for power supply (1-2), humidity sensor (3-5), and output relays for temperature (6-7) and humidity (8-9). The diagram also indicates voltage options (110-220VAC, 12V, 24V) and important notes regarding distinguishing interfaces and maintaining proper wire distance.
Notas importantes:
- Distinga rigorosamente a interface do relé, do sensor e da fonte de alimentação.
- Strictly distinguish the connection of the sensor and power supply.
- The sensor down-lead and power wire should be kept a proper distance apart to avoid interference.
- Garanta o vol corretotage (24V) is supplied as indicated on the unit.
Montagem
The STC-3028 is designed for panel mounting. Ensure adequate space for ventilation, especially around the heat dissipation grids on the sides of the unit.
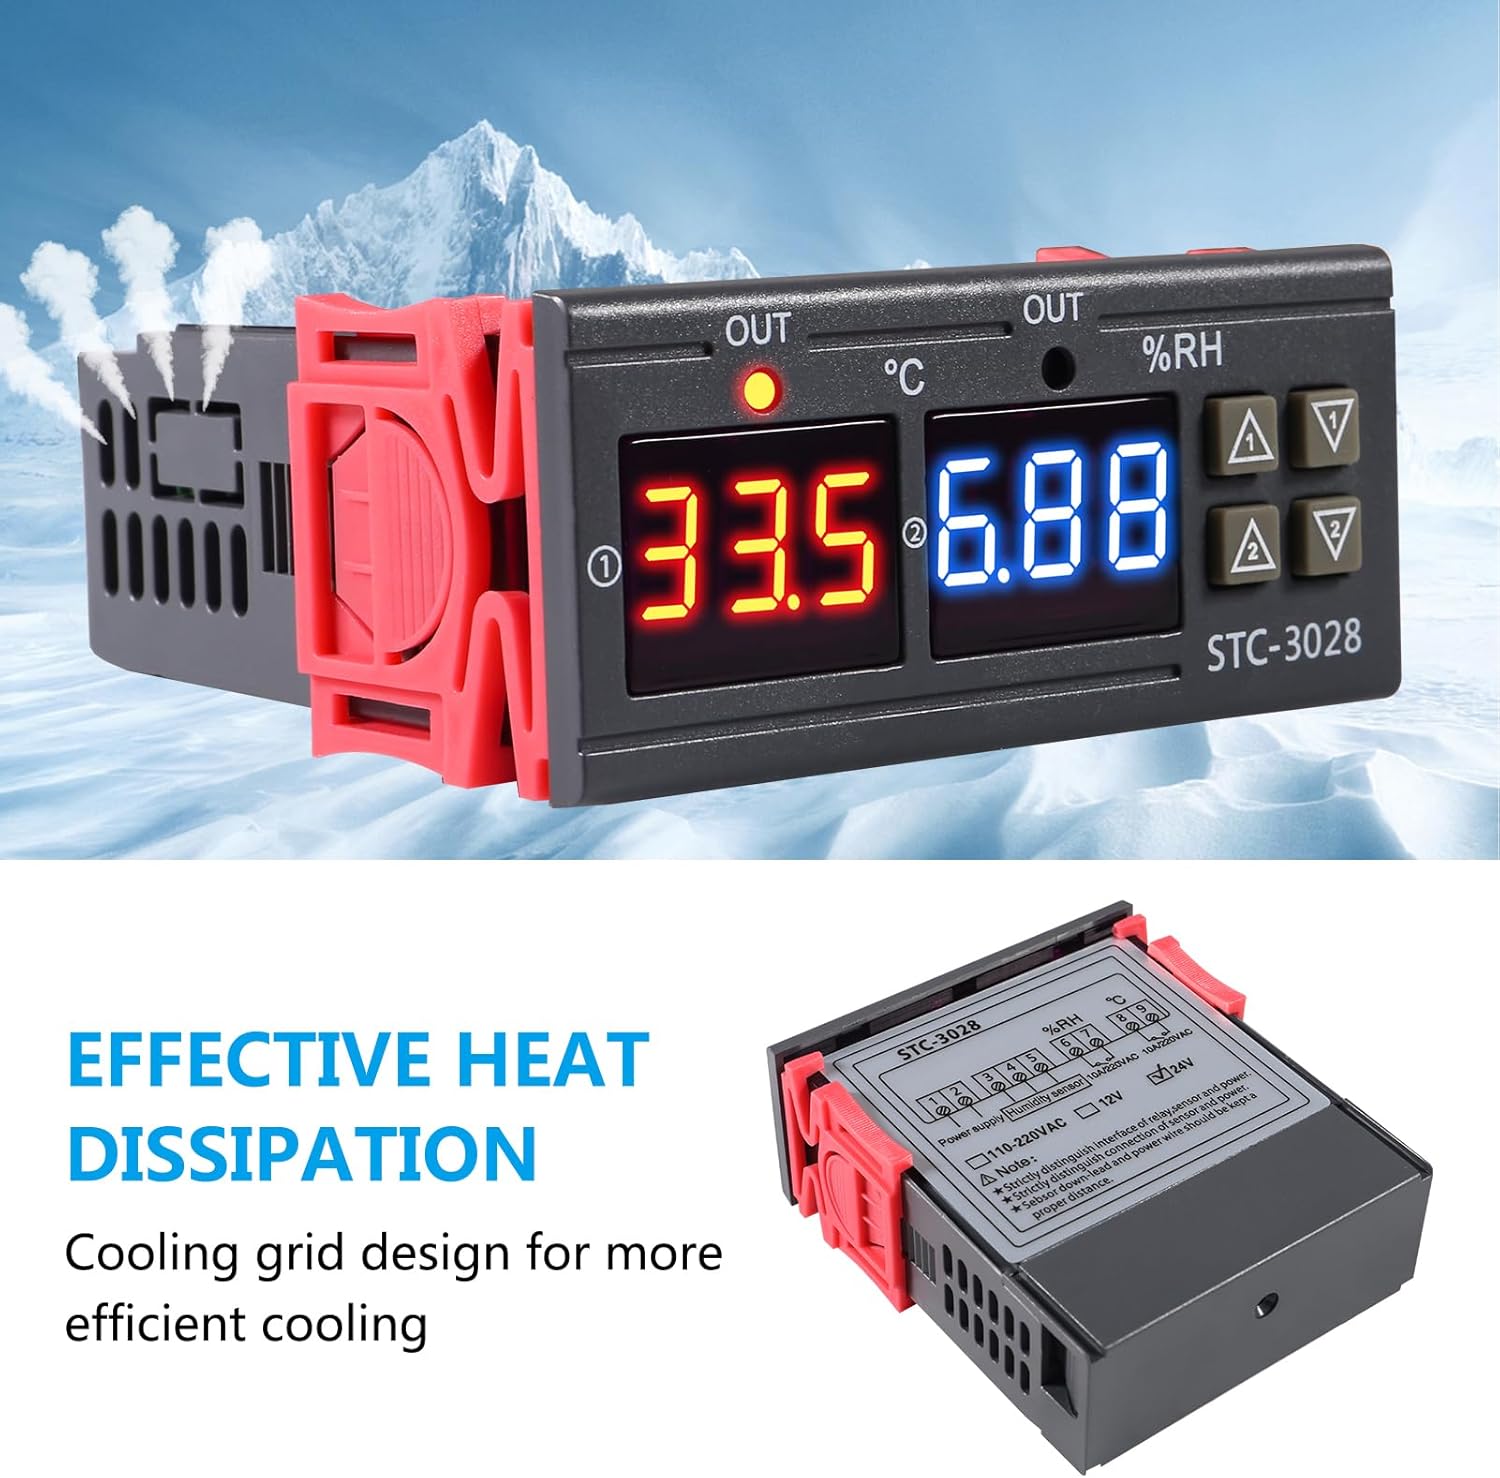
Image: The STC-3028 controller with a visual representation of air flowing through its side vents, indicating effective heat dissipation. The image highlights the cooling grid design for efficient cooling.
Instruções de operação
Setting Startup Temperature/Humidity
- Pressione o "up" button once to display the current starting temperature or humidity setting.
- Pressione e segure o "up" button for approximately 3 seconds until the display flashes.
- Use o "up" e "down" keys to adjust the desired starting temperature or humidity value.
- The setting will automatically save after a few seconds of inactivity or by pressing another button.
Setting Stop Temperature/Humidity
- Pressione o "down" button once to display the current stop temperature or humidity setting.
- Pressione e segure o "down" button for approximately 3 seconds until the display flashes.
- Use o "up" e "down" keys to adjust the desired stop temperature or humidity value.
- The setting will automatically save after a few seconds of inactivity or by pressing another button.
Temperature/Humidity Correction (Calibration)
To correct or calibrate the temperature and humidity readings:
- Pressione o "up" e "down" botões simultaneamente.
- Follow the on-screen prompts to adjust the offset for temperature or humidity. Refer to the product's advanced settings for detailed calibration procedures if available.
Manutenção
- Limpeza: Regularly wipe the unit with a soft, dry cloth. Do not use abrasive cleaners or solvents.
- Cuidados com o sensor: Keep the integrated sensor clean and free from dust or debris to ensure accurate readings. Avoid exposing the sensor to extreme physical shock or moisture beyond its operating range.
- Ventilação: Ensure the ventilation grids on the sides of the unit are not obstructed to allow for proper heat dissipation.
- Desconexão de energia: Always disconnect power before performing any maintenance or wiring adjustments.
Solução de problemas
| Problema | Possível causa | Solução |
|---|---|---|
| O visor mostra "LLL" ou "HHH" | Sensor error, sensor disconnected, or reading out of range. | Check sensor connection. Ensure sensor is within operating temperature/humidity range. Replace sensor if damaged. |
| Unidade não liga | Sem fonte de alimentação, volume incorretotage, ou fiação defeituosa. | Verify power connection and ensure 24V AC supply. Check wiring according to the diagram. |
| Output relay not activating | Settings incorrect, or relay faulty. | Review startup and stop settings. Ensure the measured value is outside the set range to trigger the relay. Check relay wiring. |
| Leituras imprecisas | Sensor dirty, sensor interference, or needs calibration. | Clean the sensor. Ensure sensor wires are kept separate from power wires. Perform temperature/humidity correction. |
Garantia e Suporte
For warranty information and technical support, please contact Shutao customer service. Keep your purchase receipt as proof of purchase.
Contact information may be available on the product packaging or the manufacturer's official website.
Ask a question about this manual
Ask about setup, troubleshooting, compatibility, parts, safety, or missing instructions. Manuals+ will review the question and use this page’s manual context to help answer it.