1. Introdução
This manual provides detailed instructions for the installation, operation, and maintenance of your Real HD A-Series 16 Channel PoE IP Camera System. This system includes the ARN-1610S 4K H.265 NVR and 12 ANV-L7012R 4MP IP Dome Weatherproof Cameras. Please read this manual thoroughly before using the product to ensure proper setup and functionality.
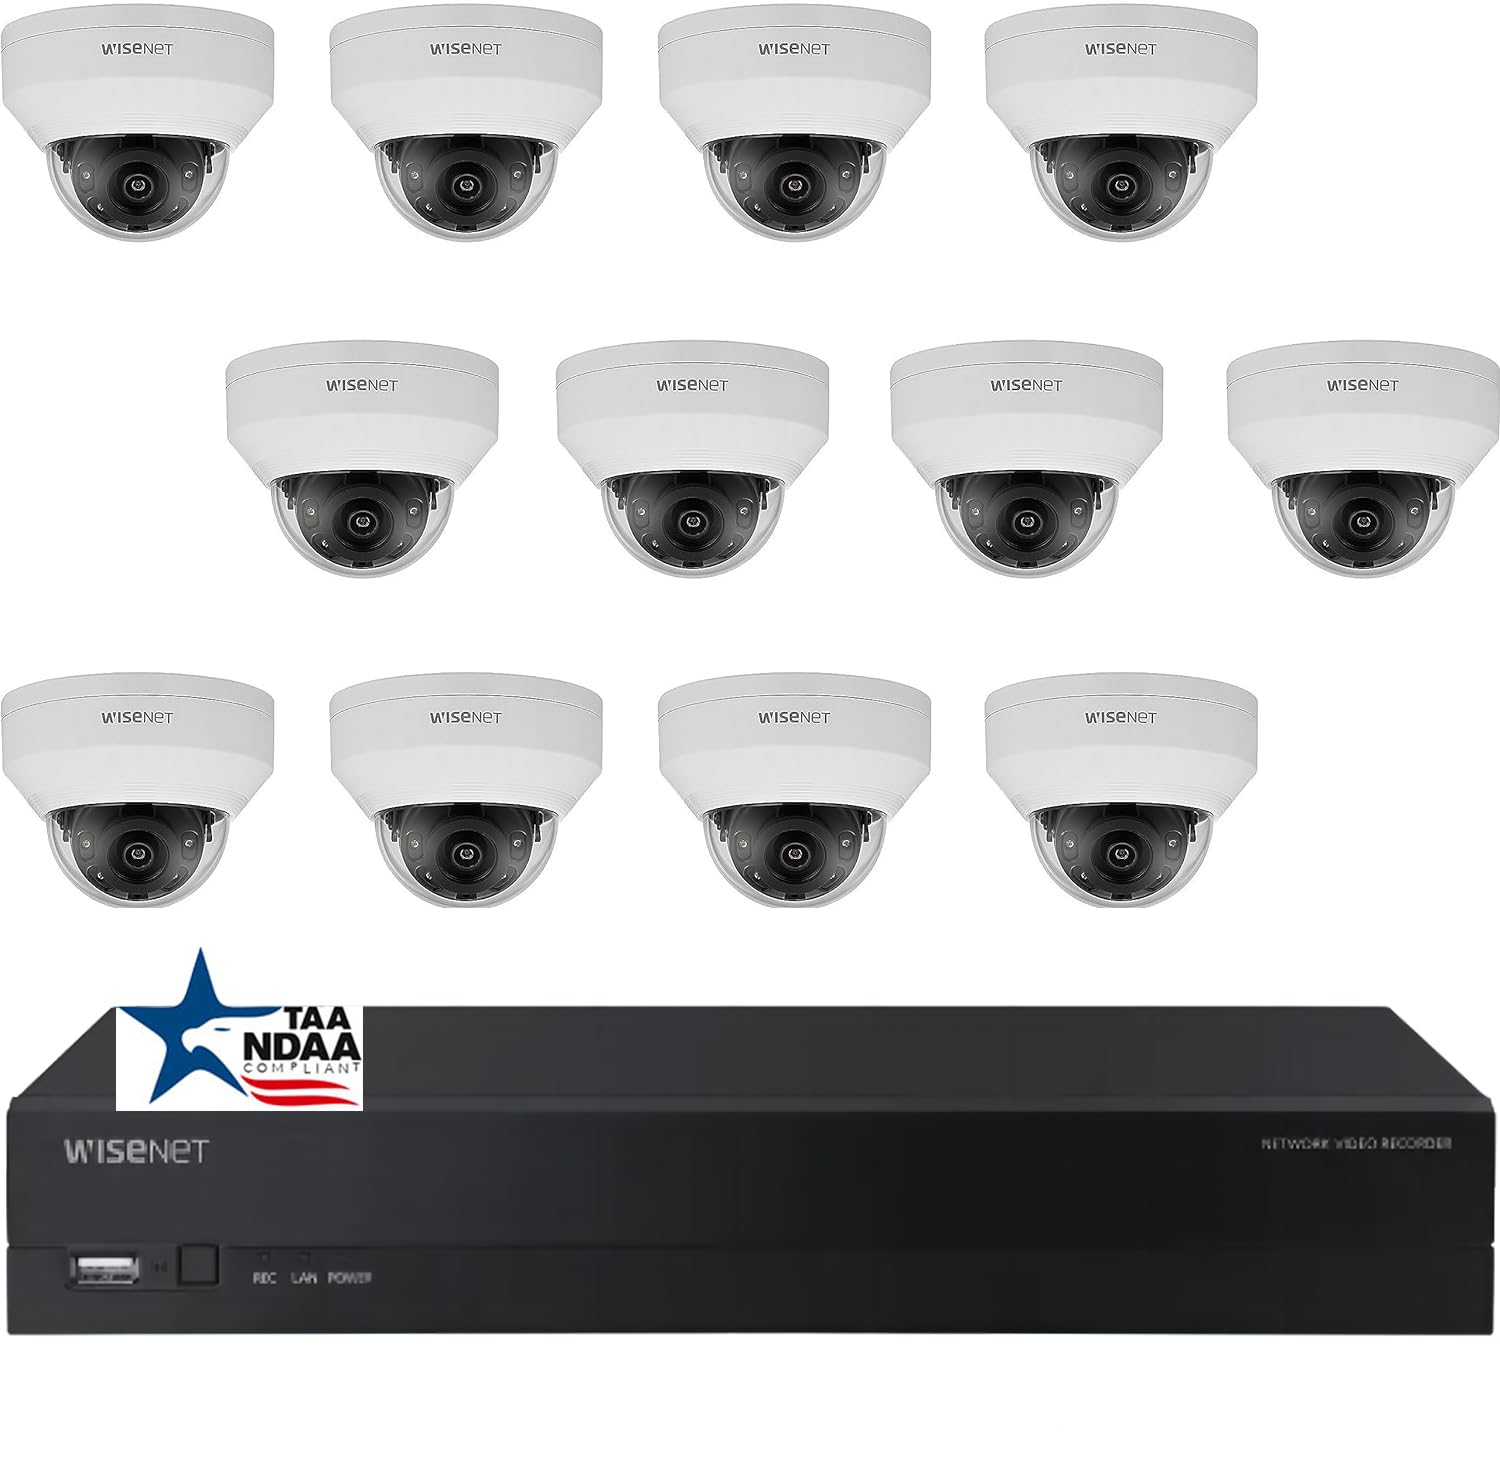
Imagem: Acimaview of the Real HD A-Series 16 Channel PoE IP Camera System, showing the NVR and dome cameras.
2. Informações de segurança
Siga sempre as precauções básicas de segurança ao usar este produto para reduzir o risco de incêndio, choque elétrico e ferimentos. Guarde este manual para futuras consultas.
- Utilize apenas o adaptador de energia especificado para este dispositivo.
- Do not expose the NVR to rain or moisture.
- Ensure proper ventilation for the NVR to prevent overheating.
- Não tente desmontar ou modificar o produto.
- A instalação deve ser realizada por pessoal qualificado caso você tenha dúvidas sobre alguma das etapas.
3. Conteúdo da embalagem
Verifique se todos os itens listados abaixo estão incluídos em sua embalagem. Caso algum item esteja faltando ou danificado, entre em contato com o vendedor.
- 1 x ARN-1610S 16 Channel PoE NVR with 4TB HDD
- 12 x ANV-L7012R 4MP IP Dome Weatherproof Cameras
- Adaptador de energia para NVR
- Mouse USB
- Guia de início rápido
- Parafusos e buchas de montagem para câmeras
Observação: Ethernet cables for connecting cameras to the NVR are not included and must be purchased separately.
4. Configuração
4.1 NVR Overview

Imagem: Frente view of the ARN-1610S NVR, showing LED indicators and USB ports.

Imagem: Traseira view of the ARN-1610S NVR, displaying PoE ports, VGA, HDMI, LAN, and power input.
4.2 câmera sobreview

Imagem: Frente view of the ANV-L7012R 4MP IP Dome Camera.
4.3 Conexão do sistema
Siga estes passos para conectar seu NVR e suas câmeras:
- Connect Monitor/TV: Connect a monitor or TV to the NVR's HDMI or VGA port. For optimal performance, a 1080P monitor/TV is recommended.
- Conectar Mouse: Conecte o mouse USB incluído a uma das portas USB do NVR.
- Conectar câmeras: Connect the IP cameras to the NVR's PoE ports using Ethernet cables. The NVR provides power and data through these ports.
- Connect Router (Optional for Remote Access): Connect the NVR's LAN port to your network router using an Ethernet cable for remote viewcapacidades de aprendizagem.
- Conecte a energia: Conecte o adaptador de energia do NVR ao NVR e, em seguida, a uma tomada elétrica.

Image: Connection diagram illustrating how to connect the NVR to a monitor, mouse, cameras, router, and power source.
4.4 Mobile App Setup (Wisenet Mobile)
To access your surveillance system remotely, download the Wisenet Mobile app:
- Scan the QR code below with your smartphone or tablet.
- Download and install the Wisenet Mobile app from Google Play Store or Apple App Store.
- Follow the in-app instructions to add your NVR by scanning the QR code displayed on the NVR's monitor interface.

Image: QR codes for downloading the Wisenet Mobile app from Google Play e Loja de aplicativos da Apple.
5. Instruções de operação
5.1 NVR Interface Basics
Upon powering on, the NVR will boot up and display the live view from connected cameras. Use the USB mouse to navigate the on-screen menus. Right-click to access the main menu, which includes options for live view, playback, recording settings, system configuration, and more.
5.2 Modos de gravação
O NVR suporta vários modos de gravação:
- Gravação contínua: Gravações 24 horas por dia, 7 dias por semana.
- Gravação de detecção de movimento: Grava somente quando há detecção de movimento pela câmera. view.
- Gravação programada: Registros em horários específicos do dia ou da semana.
- Gravação de Alarme: Records when an alarm event (e.g., sensor trigger) occurs.
Configure these settings in the NVR's menu under Registro > Agendamento or Event > Motion Detection.
5.3 Advanced Image Features
Your cameras are equipped with advanced image processing features to enhance video quality:
- WDR (Ampla Faixa Dinâmica): Balances extremely bright and dark areas in the same scene to provide clear images.
- 3DNR (3D Digital Noise Reduction): Reduz o ruído da imagem, especialmente em condições de pouca luz, para vídeos mais nítidos.
- BLC (Backlight Compensation): Improves the visibility of objects in front of a strong backlight.
- Infravermelho Inteligente: Automatically adjusts the intensity of the infrared LEDs to prevent overexposure of objects close to the camera, ensuring clear night vision.

Image: Visual comparison demonstrating the effects of WDR, 3DNR, and BLC on video quality.

Image: Comparison illustrating the improved clarity and balanced illumination provided by Smart IR compared to ordinary IR night vision.
6. Manutenção
6.1 Limpeza
- Câmeras: Limpe periodicamente a lente da câmera com um pano macio e seco.amp pano. Evite produtos de limpeza abrasivos.
- NVR: Keep the NVR free from dust. Ensure ventilation openings are not blocked.
6.2 atualizações de firmware
Verifique o fabricante website periodically for firmware updates. Firmware updates can improve performance, add new features, or fix bugs. Follow the instructions provided with the firmware update carefully.
6.3 Gerenciamento de Disco Rígido
The NVR is equipped with a 4TB surveillance-grade hard drive. The system is configured to overwrite the oldest recordings when the hard drive is full. You can adjust recording retention settings in the NVR menu.
7. Solução De Problemas
| Problema | Possível causa | Solução |
|---|---|---|
| Nenhuma imagem é exibida no monitor. | Loose cable connection, incorrect input source, NVR not powered on. | Check HDMI/VGA cable, ensure monitor is on correct input, verify NVR power. |
| Camera not showing video | Ethernet cable issue, camera not powered, camera fault. | Check Ethernet cable connection to NVR PoE port, try a different port/cable. |
| Não consigo acessar o NVR remotamente. | NVR not connected to router, network configuration issues, app setup error. | Ensure NVR is connected to router, check network settings on NVR, re-add NVR to mobile app. |
| Visão noturna ruim | Dirty lens, IR obstruction, camera placement. | Clean camera lens, ensure no objects are blocking the IR illuminators, adjust camera angle. |
8. Especificações
ARN-1610S NVR
- Canais: 16 Channel PoE
- Compressão de vídeo: H.265
- Saída de vídeo: 4K (3840 x 2160 pixels)
- Armazenar: 4TB Surveillance Hard Drive (Pre-installed)
- Portas USB: 2
- Interface de hardware: Ethernet
- Sistema operacional: Hanwha A Series NVR OS
- Fonte de energia: Elétrico com fio
- Dimensões: 18 x 20 x 16 polegadas
ANV-L7012R IP Dome Camera
- Resolução: 4 MP (2560 x 1440 pixels)
- Lente: Lente fixa 2.8mm
- Campo de View: 100° Horizontal Field of View (HFoV), 108° Viewângulo de engate
- Faixa de visão noturna: Até 65 pés
- Classificação à prova de intempéries: IP67
- Características especiais: Night Vision, Built-in Microphone, WDR, 3DNR, BLC, Smart IR
- Temperatura de operação: -30 °C a 60 °C (-22 °F a 140 °F)
- Tecnologia de Sensor Óptico: CMOS
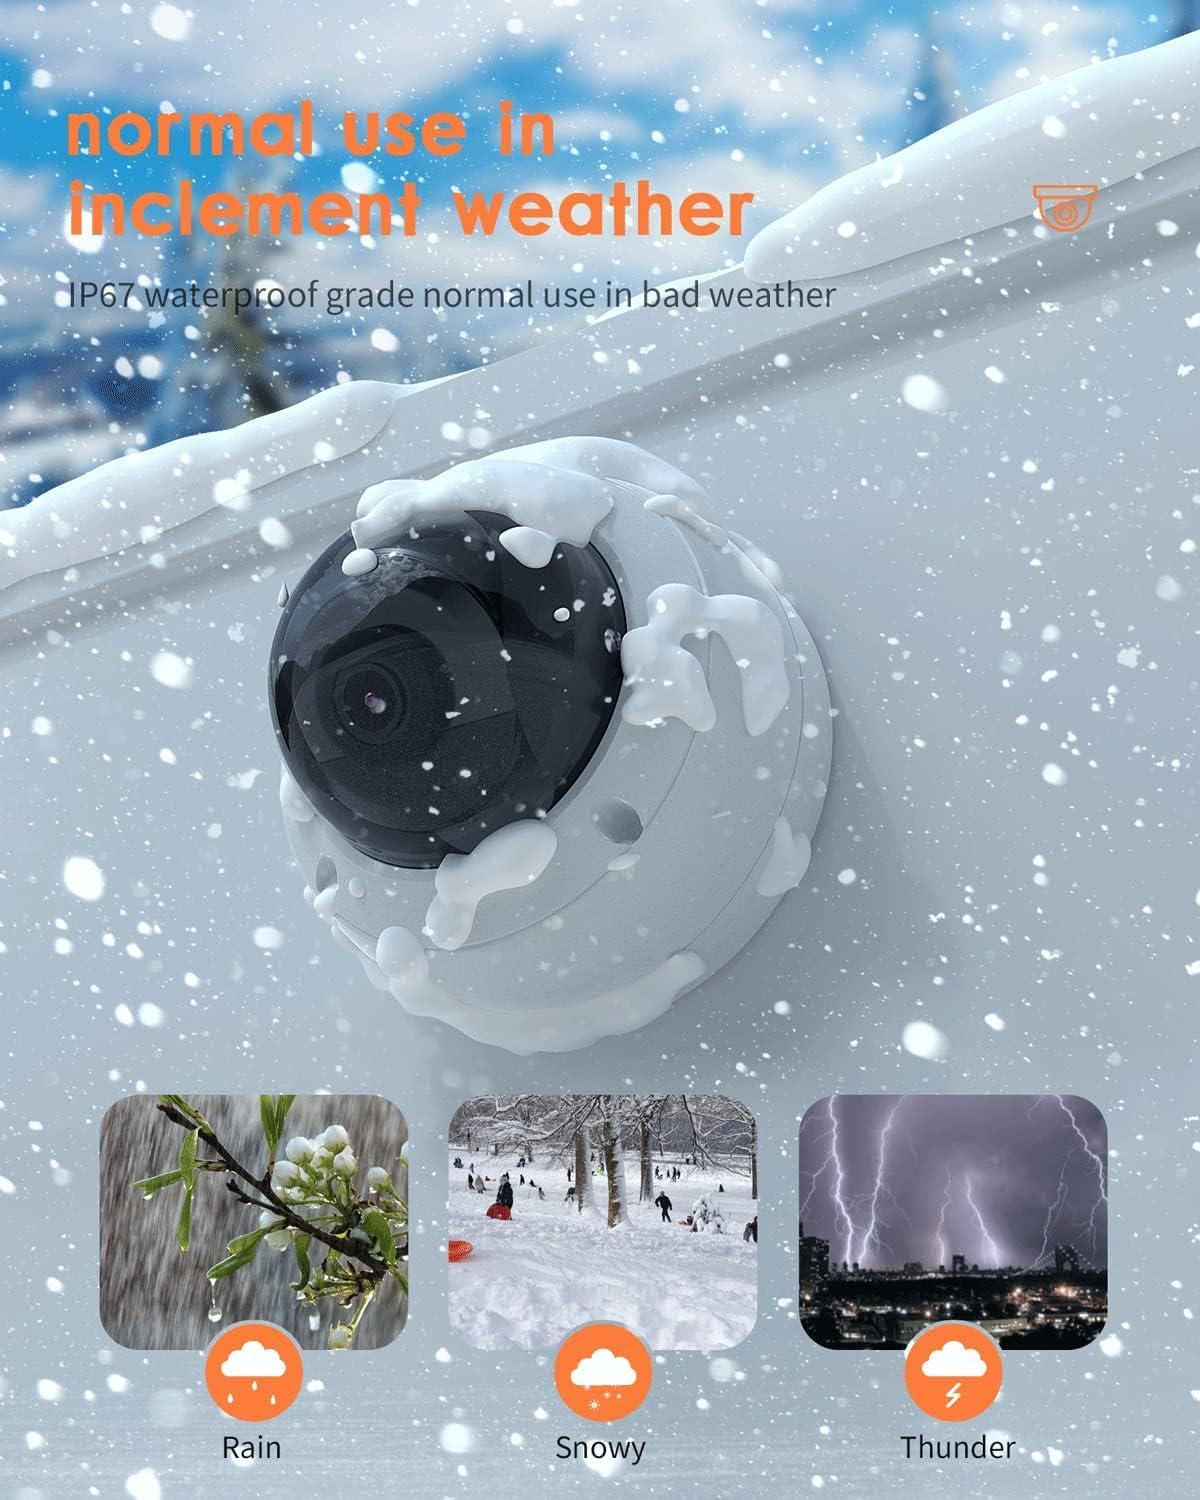
Image: The ANV-L7012R camera demonstrating its IP67 weatherproof capability in various conditions including rain, snow, and thunder.
9. Garantia e Suporte
9.1 Informações de garantia
This product comes with a standard manufacturer's warranty. Please refer to the warranty card included in your package or visit the Real HD official webConsulte o site para obter os termos e condições detalhados da garantia. Guarde o comprovante de compra como prova de aquisição para eventuais solicitações de garantia.
9.2 Suporte Técnico
If you encounter any issues that cannot be resolved using the troubleshooting guide, please contact Real HD customer support. Contact information can be found on the Real HD website ou na embalagem do seu produto.