1. Introdução
Obrigado pela compra.asing the Generic 48 x 24 Inch White Tabletop Standing Desk. This manual provides important information regarding the assembly, operation, maintenance, and troubleshooting of your new desk. Please read this manual thoroughly before assembly and use to ensure safe and proper operation. Keep this manual for future reference.
Informações de segurança
- Verifique se todos os componentes estão presentes e sem danos antes da montagem. Não utilize o produto se alguma peça estiver faltando ou com defeito.
- Monte a mesa sobre uma superfície macia e limpa para evitar arranhões.
- Mantenha crianças e animais de estimação afastados durante a montagem. Peças pequenas podem causar asfixia.
- Do not overload the desk. Refer to the 'Specifications' section for weight capacity.
- Ensure the desk is stable and level before placing items on it.
- Mantenha as mãos e os dedos afastados das partes móveis durante o ajuste de altura.
2. Conteúdo da embalagem
Verifique se todos os seguintes componentes estão incluídos no seu pacote:
- Desk Tabletop (White, 48 x 24 inches)
- Desk Legs (2 units)
- Suporte da barra transversal/estrutura
- Metal Drawer with Glides
- Crank Handle for Height Adjustment
- Foot Pads/Levelers (4 units)
- Ferragens de montagem (parafusos, porcas, chave Allen)
- Manual de instruções
3. Configuração e montagem
Follow these steps to assemble your standing desk. It is recommended to have two people for assembly.
Step 1: Attach Desk Legs to Tabletop
Carefully place the tabletop upside down on a soft, clean surface. Align the desk legs with the pre-drilled holes on the underside of the tabletop. Secure them using the provided screws and Allen wrench.

Image: Desk legs being attached to the tabletop. Ensure all screws are tightened securely.
Step 2: Install Crossbar/Frame Support
Attach the crossbar between the two desk legs. This provides additional stability and support for the desk frame. Use the designated bolts and nuts to secure it firmly.

Image: Detail of the perforated crossbar connecting the desk legs, enhancing structural integrity.
Step 3: Install Metal Drawer
Slide the metal drawer into its designated slot under the tabletop. Ensure the drawer glides are properly aligned and the drawer slides smoothly. Secure any retaining screws if provided.

Image: The integrated metal drawer, shown partially open, providing convenient storage.
Step 4: Attach Crank Handle and Foot Pads
Insert the crank handle into its port on the side of the desk. Attach the adjustable foot pads to the bottom of each desk leg. These pads help level the desk on uneven surfaces and protect your floor.
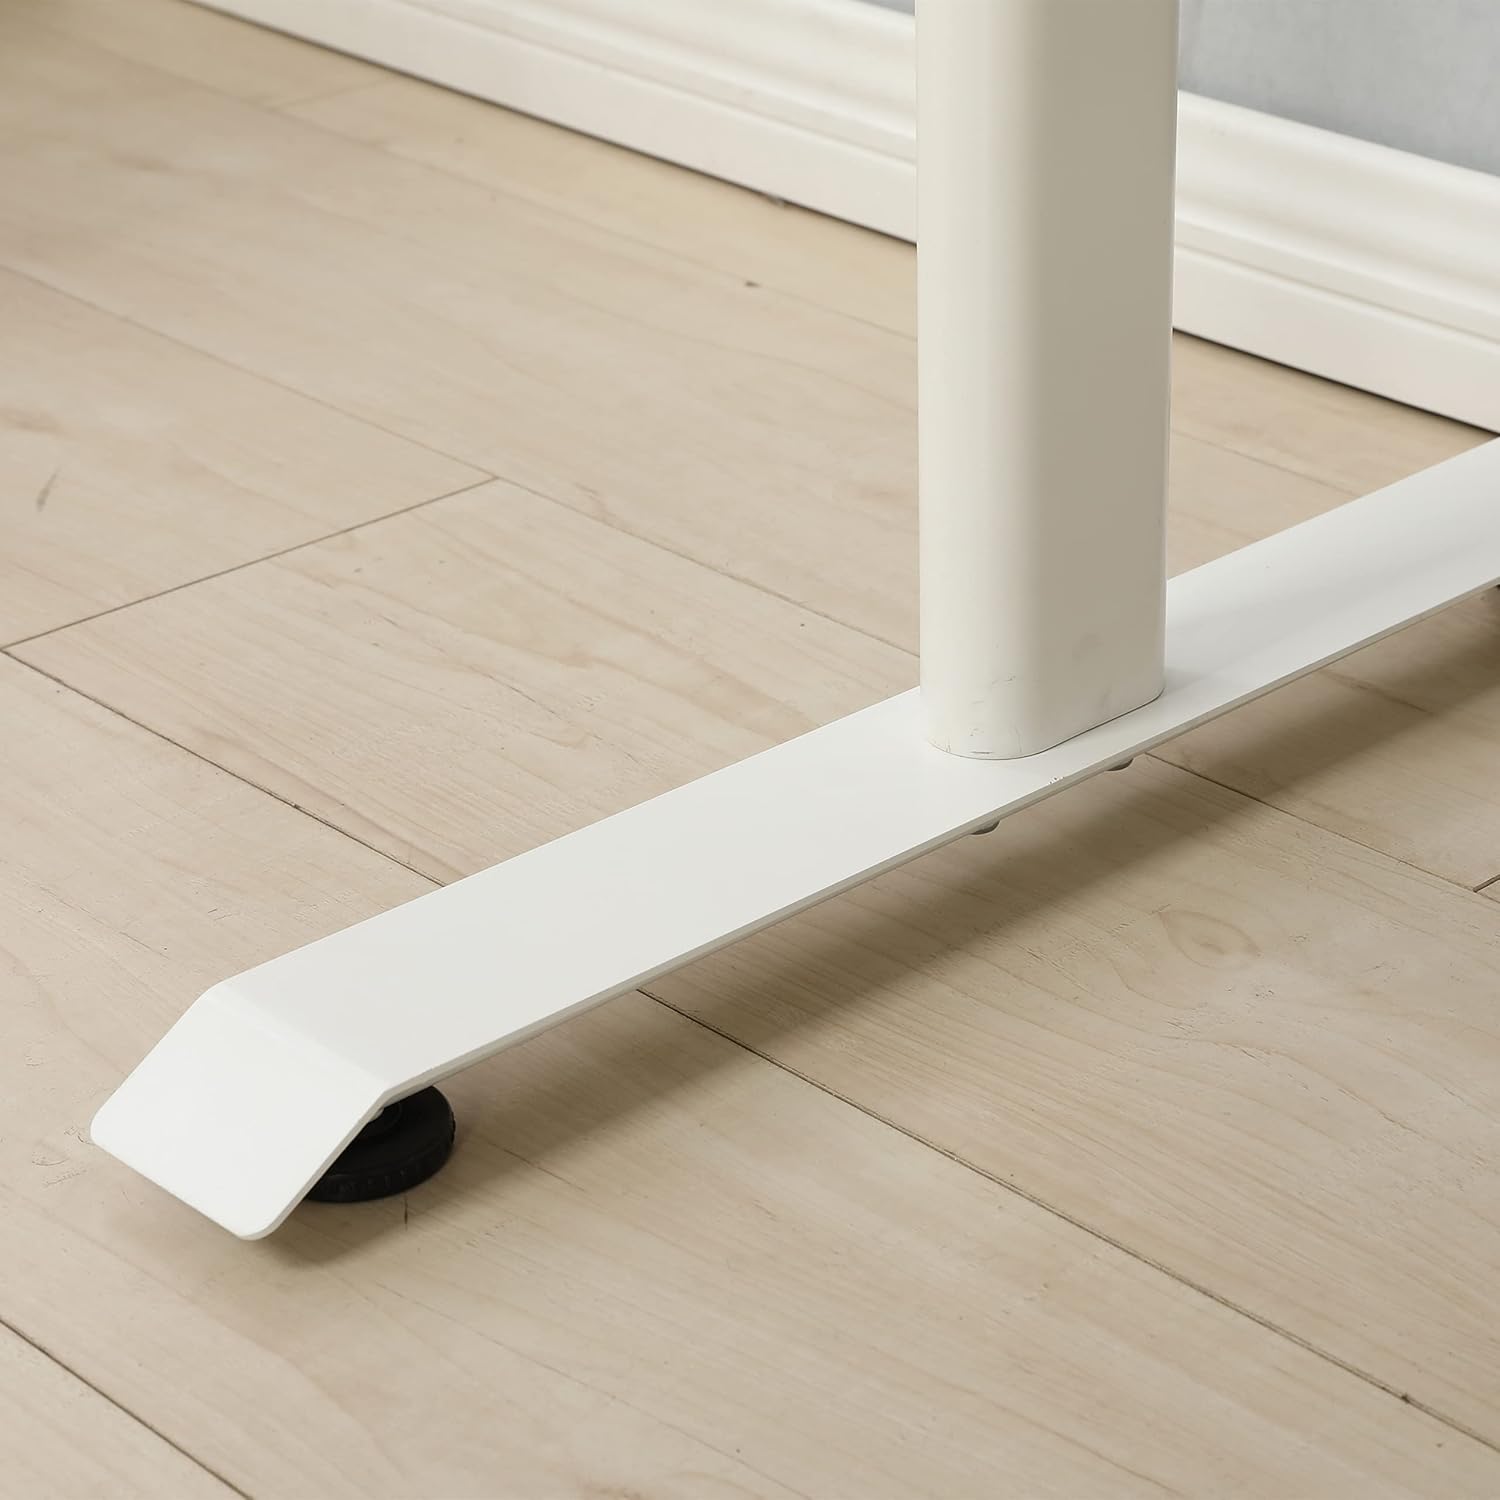
Image: An adjustable foot pad at the base of a desk leg, designed for stability and floor protection.
Etapa 5: Verificação final
Once assembled, carefully turn the desk upright. Ensure all screws and bolts are tight. Check for stability and adjust the foot pads if necessary to eliminate any wobbling.

Image: The fully assembled standing desk, viewed from the front, ready for use.
4. Instruções de operação
Ajustando a altura da mesa
This standing desk features a manual crank system for height adjustment. To change the desk height:
- Locate the crank handle on the side of the desk.
- Insert the crank handle firmly into its port.
- Rotate the crank handle clockwise to raise the desk.
- Rotate the crank handle counter-clockwise to lower the desk.
- Adjust to your desired ergonomic height, whether sitting or standing.
- Remove the crank handle when not in use to prevent accidental adjustments or obstruction.
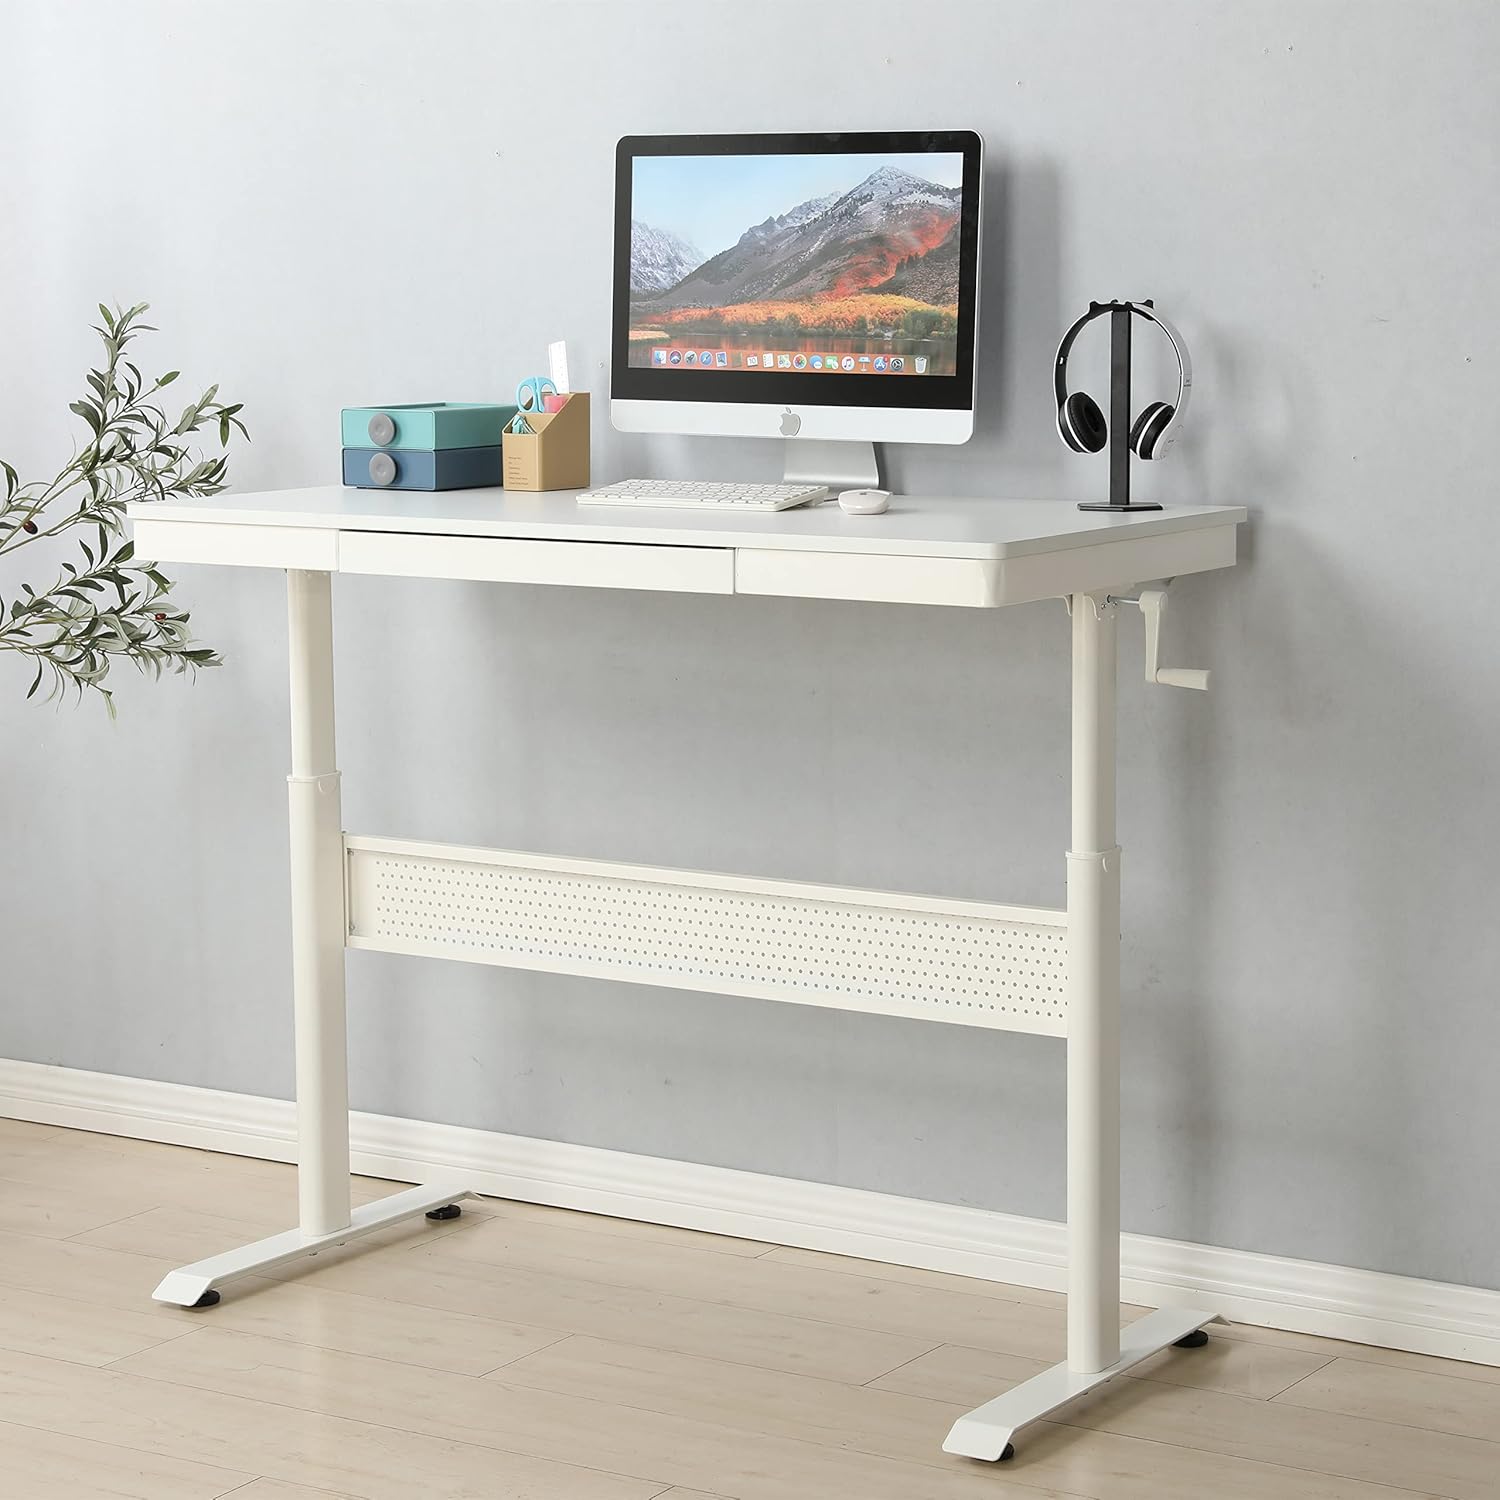
Image: The standing desk with the manual crank handle positioned for height adjustment.
5. Manutenção
Regular maintenance will help prolong the life and functionality of your standing desk.
- Limpeza: Limpe a superfície e a estrutura da mesa com um pano macio e seco.amp pano. Evite produtos químicos agressivos ou abrasivos que possam danificar o acabamento.
- Verificação de hardware: Verifique periodicamente todos os parafusos e porcas para garantir que estejam bem apertados. Reaperte-os, se necessário, para manter a estabilidade.
- Manutenção da gaveta: Ensure the drawer glides are free of debris for smooth operation.
- Lubrificação: The height adjustment mechanism is generally maintenance-free. If you notice any stiffness, consult customer support before applying lubricants.
6. Solução De Problemas
Caso encontre algum problema com sua mesa, consulte os problemas e soluções comuns a seguir:
| Problema | Possível causa | Solução |
|---|---|---|
| A mesa está bamba. | Loose hardware; uneven floor; uneven foot pads | Check and tighten all screws and bolts. Adjust the foot pads to level the desk on uneven surfaces. |
| Crank handle is stiff or difficult to turn | Mechanism obstruction; excessive weight on desk | Ensure no objects are obstructing the lifting mechanism. Reduce weight on the desk. Contact support if issue persists. |
| A gaveta não desliza suavemente. | Debris in glides; misaligned glides | Clean the drawer glides. Check for proper alignment of the drawer and glides. |
If you encounter a problem not listed here or if the suggested solutions do not resolve the issue, please contact customer support.
7. Especificações
| Recurso | Detalhe |
|---|---|
| Marca | Genérico |
| Número do modelo | home-office-desks |
| Dimensões do produto (P x L x A) | 47.24" x 23.62" x 29.52" |
| Cor | Branco |
| Tipo de material superior | Liga de aço |
| Material base | Liga de aço |
| Número de gavetas | 1 |
| Montagem necessária | Sim |
| Recurso especial | Durable, Adjustable Height |
8. Garantia e Suporte
This product is offered with a 30-day easy return policy. For any questions, assistance, or to report missing/damaged parts, please contact customer support through the retailer where the product was purchased.
Manufacturer: SeeTruth


