1. Produto acabadoview
The VIMIN VM-S250501M is a 2.5G Web Managed Ethernet Switch designed for high-performance network environments. It features five 2.5 Gigabit RJ45 ports and one 10 Gigabit SFP+ port, providing flexible connectivity options for various devices. This switch supports multiple speeds (100Mbps, 1Gbps, 2.5Gbps) with intelligent auto-negotiation, making it suitable for 2.5G NAS, gaming PCs, WiFi 6 routers, and 4K video streaming. It incorporates essential Layer 2 management features such as Link Aggregation, IGMP Snooping, Quality of Service (QoS), and VLAN support, all accessible through a user-friendly web-based graphical interface.
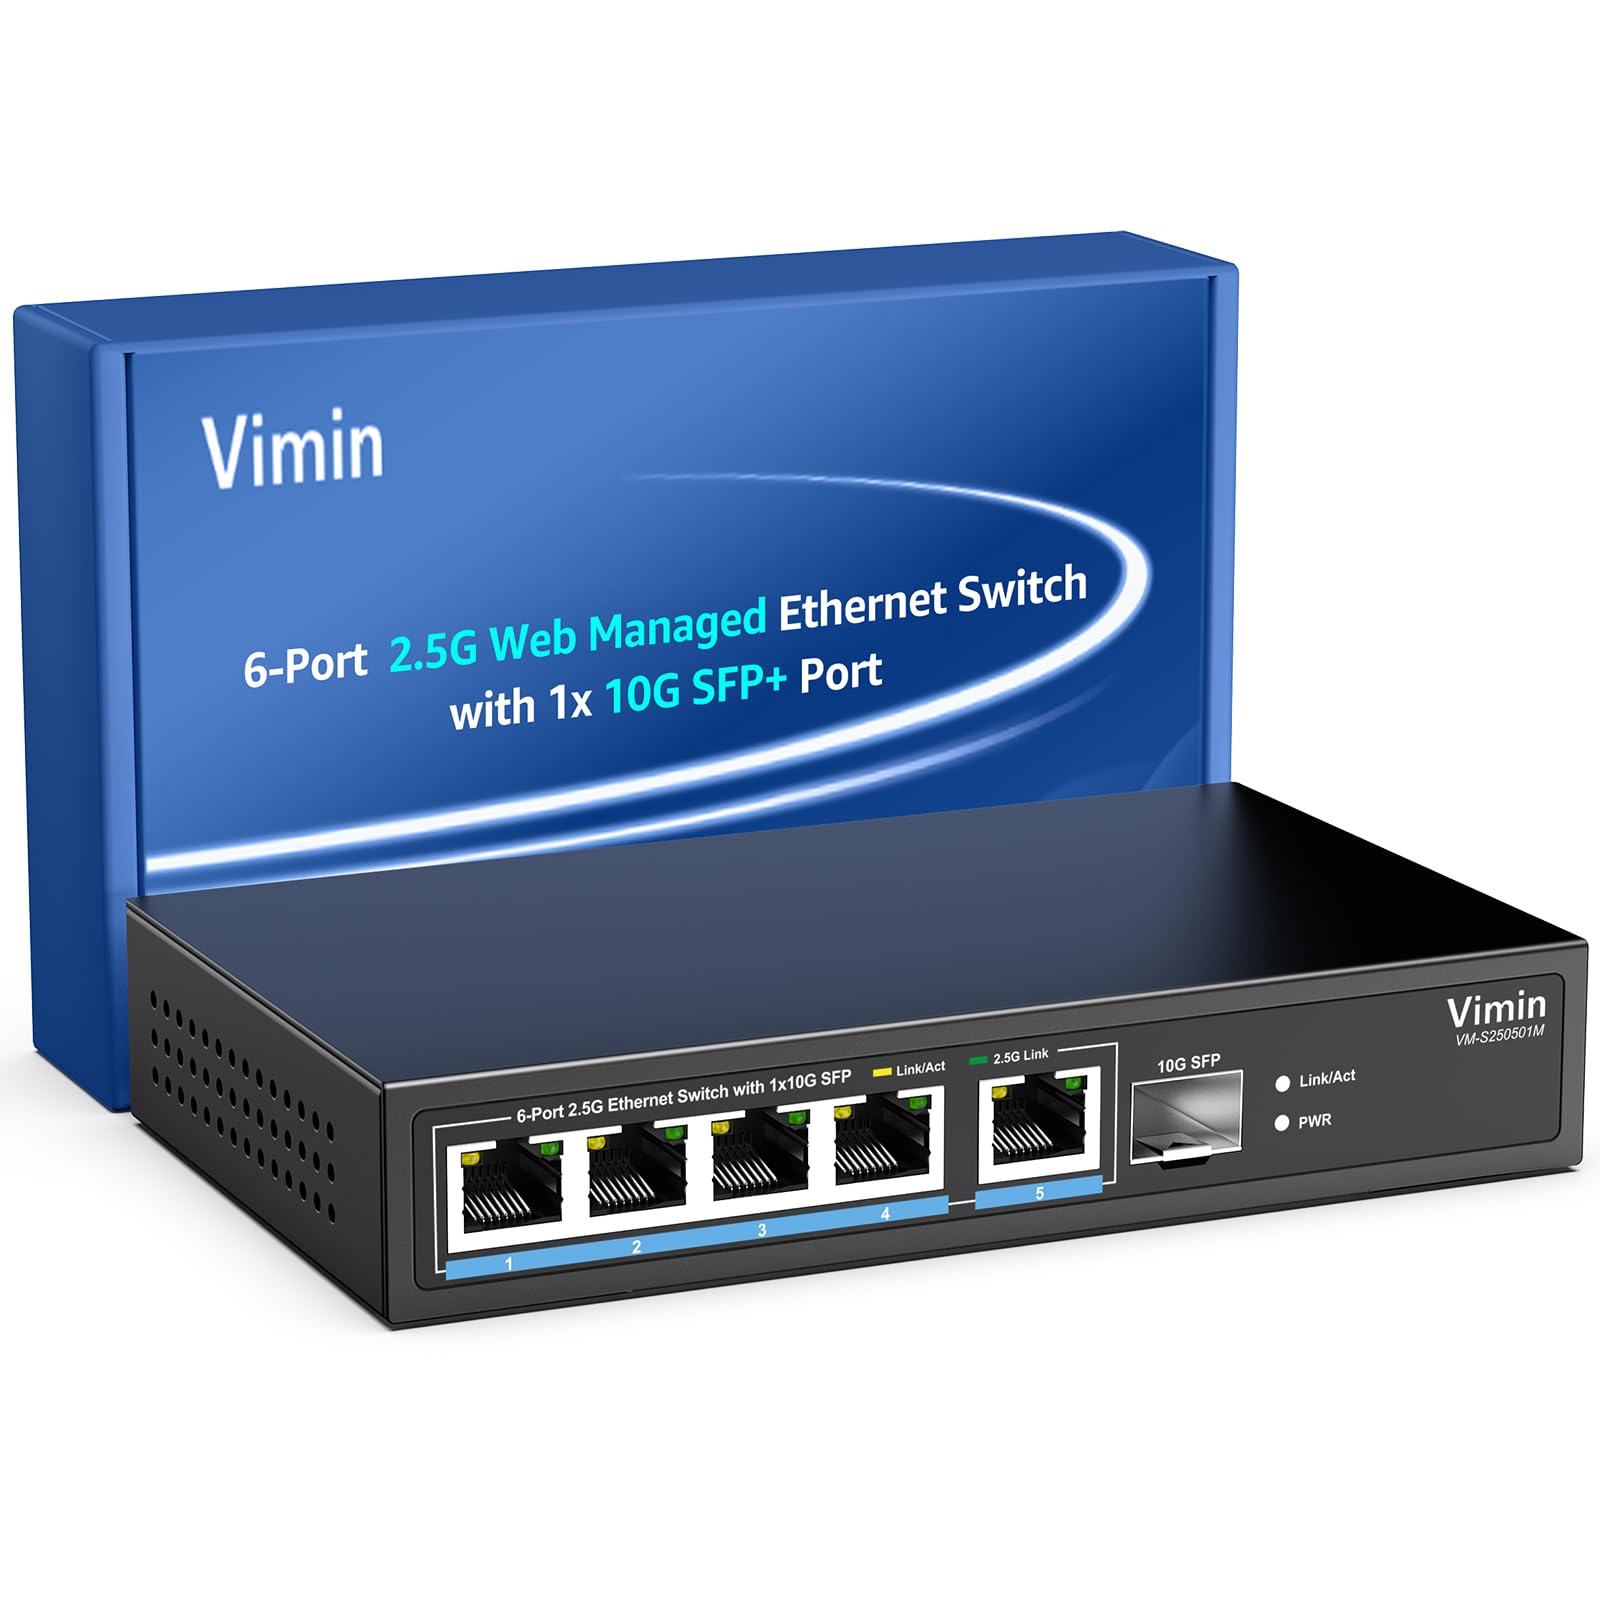
Figura 1: Frente view of the VIMIN VM-S250501M switch, showing the 2.5G RJ45 ports, 10G SFP+ port, and LED indicators.

Figure 2: Illustration highlighting the durability, high compatibility, and versatility of the switch.
2. Instruções de configuração
2.1 Conteúdo da embalagem
Verifique se os seguintes itens estão incluídos em seu pacote:
- 1 x VIMIN VM-S250501M 2.5G Web Switch Ethernet gerenciado
- 1 x adaptador de energia
- 1 x Manual do Usuário

Figure 3: The switch, power cable, and user manual are included in the package.
2.2 Instalação Física
The switch can be placed on a desktop or mounted on a wall. Ensure proper ventilation around the device.
- Colocação da área de trabalho: Coloque o switch em uma superfície plana e estável.
- Montagem na parede: The switch features two mounting holes at the base for wall installation. Use appropriate screws (not included) to secure the device to a wall.
2.3 Conexão de energia
- Connect the power adapter to the DC 12V/1A power port on the rear panel of the switch.
- Conecte a outra extremidade do adaptador de energia a uma tomada elétrica padrão.
- The Power LED indicator on the front panel will illuminate when the switch is powered on.
2.4 Conectando dispositivos de rede
Connect your network devices (e.g., computers, NAS, routers, access points) to the switch using appropriate Ethernet cables.
- Portas RJ45 (1-5): Use Category 5e (Cat5e) or Category 6 (Cat6) UTP cables for optimal performance with 1G/2.5G connections. For 100Mbps, Cat5 cables are sufficient.
- SFP+ Port (6): Insert a compatible 1G/2.5G/10G SFP+ optical fiber module (not included) into the SFP+ slot, then connect a fiber optic cable.

Figure 4: Illustrates connecting devices to the switch and recommended cable types for different speeds.
3. Operando o interruptor
3.1 Indicadores LED
Os LEDs do painel frontal fornecem informações de status em tempo real:
- 5*2.5G Ports (RJ45):
- Yellow: Indicates a 10/100/1000Mbps link or activity.
- Green: Indicates a 2.5Gbps link.
- 1*10G SFP (SFP+ Port):
- Green: Indicates a 1G/2.5G/10G link.
- Flashing: Indicates data transmission.
- PWR (Potência):
- Ligado: O dispositivo está ligado.
- Desligado: O dispositivo está desligado.

Figure 5: Detailed explanation of the LED indicators on the switch.
3.2 Acessando o Web Interface de Gestão
The switch can be configured and managed via a web-based graphical user interface (GUI).
- Certifique-se de que seu computador esteja conectado a uma das portas RJ45 do switch.
- Abra um web navegador (ex: Chrome, Firefox, Edge).
- In the address bar, enter the default IP address: 192.168.1.199.
- Pressione Enter. Uma página de login será exibida.
- Enter the default username and password:
- Nome de usuário: administrador
- Senha: administrador
- Click "Log In" to access the management interface.
Recomenda-se alterar a senha padrão após o login inicial por motivos de segurança.

Figura 6: Captura de tela do web management interface login page.
3.3 Basic Management Features
O web interface provides access to various Layer 2 management functions:
- Link de agregação: Combine multiple physical links into a single logical link for increased bandwidth and redundancy. Supports static link aggregation.
- Quadro Jumbo: Support for larger Ethernet frames (up to 12KB) to improve network efficiency for large data transfers.
- VLAN (Rede Local Virtual): Segment your network into smaller, isolated broadcast domains. Supports up to 32 VLANs (on 4K VLAN IDs), MTU/Port/802.1Q VLAN.
- Qualidade de Serviço (QoS): Prioritize network traffic to ensure critical applications receive sufficient bandwidth. Supports port-based, 802.1p, and DSCP priority, with 4 priority queues, rate limiting, and storm control.
- Espionagem IGMP: Otimizar a entrega de tráfego multicast, evitando o envio desnecessário de pacotes multicast para todas as portas.
- Espelhamento de porta: Copy traffic from one or more source ports to a destination port for network monitoring and analysis.
- Teste de cabo: A diagnostic tool to check the status and length of connected Ethernet cables.

Figura 7: Overview of the basic management features available through the web interface.
4. Manutenção
4.1 Cuidados Gerais
- Keep the switch in a cool, dry environment, away from direct sunlight, heat sources, and moisture.
- Ensure adequate airflow around the device to prevent overheating.
- Limpe a parte externa do interruptor com um pano macio e seco. Não use produtos de limpeza líquidos ou aerossóis.
4.2 atualizações de firmware
Periodically check the VIMIN official webSite para atualizações de firmware. As atualizações de firmware podem fornecer novos recursos, melhorias de desempenho e reforços de segurança. Siga atentamente as instruções fornecidas com o pacote de atualização de firmware.
4.3 Reiniciar o dispositivo
If the switch is not functioning correctly or you forget the login credentials, you can reset it to factory default settings. Locate the "Reset" button on the rear panel of the switch. With the switch powered on, use a paperclip or a similar pointed object to press and hold the Reset button for approximately 5-10 seconds until the LEDs flash, then release. The switch will restart with factory default settings.
5. Solução De Problemas
5.1 Sem energia
- Certifique-se de que o adaptador de energia esteja conectado firmemente tanto ao interruptor quanto a uma tomada elétrica em funcionamento.
- Verifique se a tomada está funcionando conectando outro aparelho.
- Verifique se o adaptador de energia apresenta algum dano visível.
5.2 No Link/Connectivity
- Check the Ethernet cables connected to the switch and your devices. Ensure they are securely plugged in and not damaged.
- Verify the Link/Act LEDs on the switch for the connected ports. If they are off, there might be a cable issue or the connected device is not powered on/configured correctly.
- Try using a different Ethernet cable or port.
- Ensure the connected device's network adapter is enabled and configured correctly.
5.3 Velocidade de rede lenta
- Ensure you are using Cat5e or Cat6 cables for 1G/2.5G connections. Lower category cables may limit speed.
- Check the Link/Act LED color for the connected port. A yellow LED on a 2.5G port indicates a 1G or lower connection.
- Verify that your connected devices (e.g., network card, NAS) support 2.5G or 10G speeds.
- Check for network congestion or high traffic on your network.
- Consider updating the switch firmware.
5.4 Não é possível acessar Web Interface
- Ensure your computer is on the same network segment as the switch. The default IP is 192.168.1.199, so your computer's IP should be in the 192.168.1.x range (e.g., 192.168.1.100) with a subnet mask of 255.255.255.0.
- Verify that the Ethernet cable is properly connected and the Link/Act LED is on.
- Limpe o cache do seu navegador ou tente usar um navegador diferente.
- If you have changed the switch's IP address and forgotten it, or forgotten the login password, perform a factory reset (refer to Section 4.3).
6. Especificações
| Modelo | VM-S250501M |
| Padrões | IEEE 802.3/802.3u/802.3ab/802.3bz/802.3x/802.3cb |
| Portos | 5 x 10/100/1000/2500 Mbps RJ45, 1 x 10G SFP+ slot |
| Capacidade de comutação | 45 Gbps |
| Tabela de endereços MAC | 4K |
| Taxa de encaminhamento de pacotes | 33.48 Mpps |
| Moldura Jumbo | 12 KB |
| Buffer de pacote | 8 Mbit |
| Fonte de energia | 12 V/1 A CC |
| Network Cable (Max 100m) |
|
| Método de montagem | Desktop and Wall Mount |
| Temperatura de operação | 0℃ ~ 45℃ (32℉ ~ 113℉) |
| Temperatura de armazenamento | -40℃ ~ 70℃ (-40℉ ~ 158℉) |
| Umidade operacional | 10% ~ 90% sem condensação |
| Umidade de armazenamento | 5% ~ 95% sem condensação |
| Peso | 380 g |
| Dimensões (C x L x A) | 160 x 95 x 30 mm (6.3 x 3.7 x 1.2 polegadas) |
| Material da caixa | Metal |
| Cor | Preto |
7. Garantia e Suporte
7.1 Garantia do Produto
The VIMIN VM-S250501M 2.5G Web Managed Ethernet Switch comes with a garantia de um ano A partir da data da compra, esta garantia cobre defeitos de fabricação e assegura que o produto atende aos padrões de desempenho especificados em condições normais de uso. Guarde seu comprovante de compra para eventuais solicitações de garantia.
7.2 Suporte Técnico
VIMIN provides suporte técnico vitalício for this product. If you encounter any issues or have questions regarding the setup, operation, or troubleshooting of your switch, please contact our support team.
Informações de contato:
- E-mail: support@vimintech.com
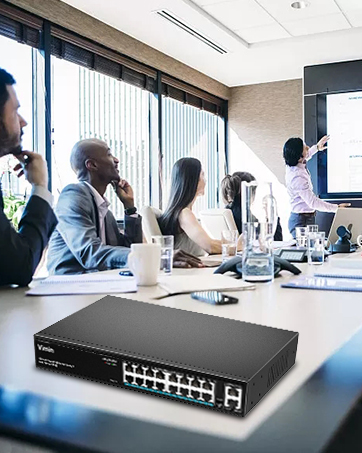
Figure 8: VIMIN support information, including email contact.