
1. Introdução
Thank you for choosing the VCHICS Digital Audio Amplifier Receiver Module. This device is designed to provide versatile audio playback options, including Bluetooth, USB, TF card, and FM radio, with adjustable bass and treble controls. This manual will guide you through the setup, operation, and maintenance of your ampmódulo lifier.
2. Principais características
- MP3 music playback from TF card, USB disk, and Bluetooth.
- Adjustable Treble, Bass, and Master Volume controls.
- Integrated Bluetooth receiver for wireless audio streaming.
- Built-in FM radio function.
- AUX port for connection to PC, phone, or CD players.
- Supports AC 110-220V or DC 12-24V input voltage.
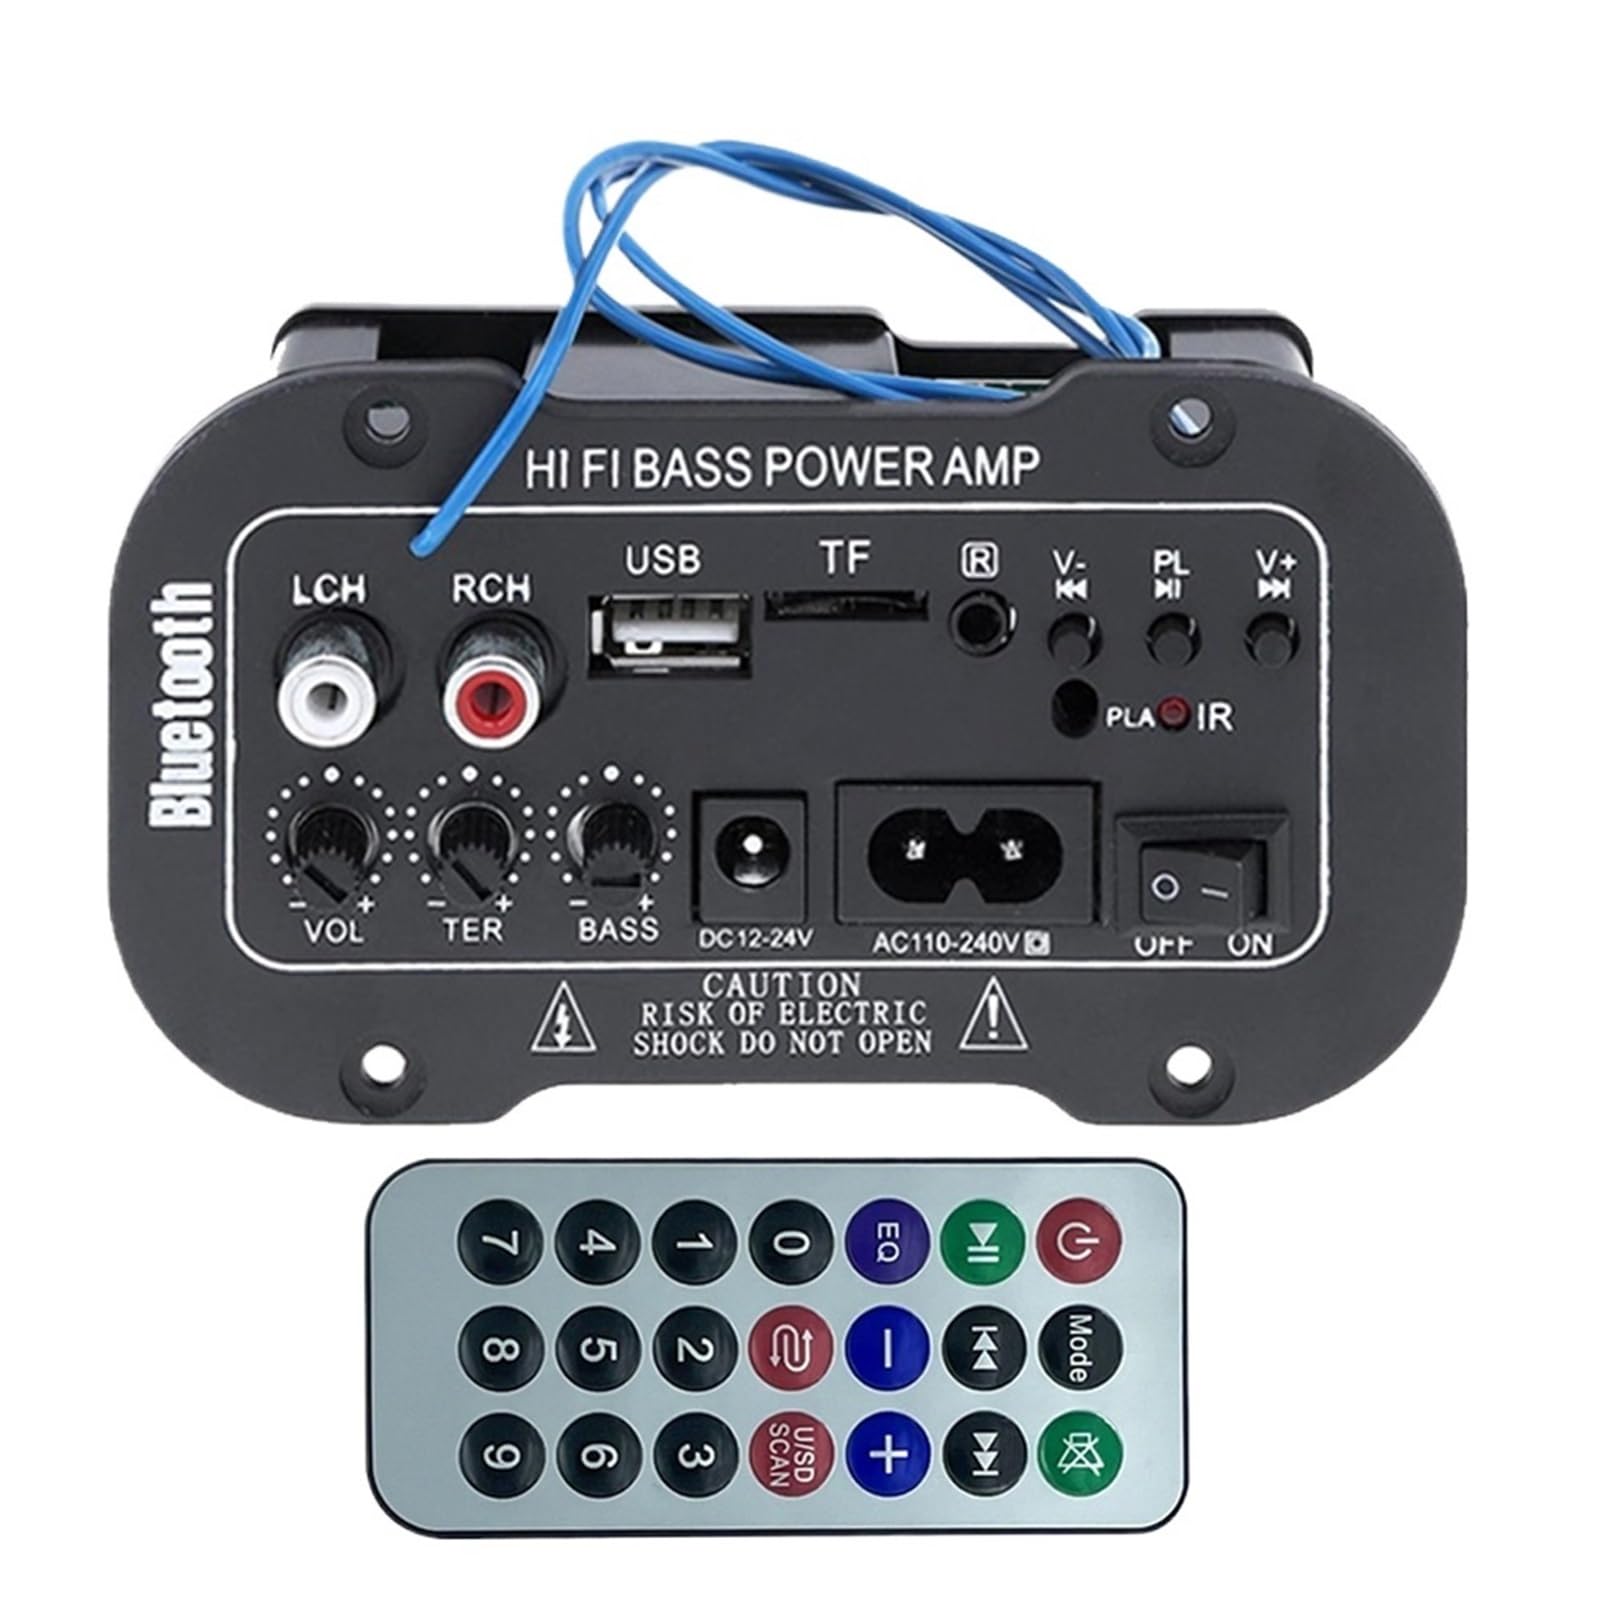
Figura 1: Overview of the VCHICS Digital Audio Amplifier Receiver Module.
3. Especificações
| Especificação | Valor |
|---|---|
| Versão Bluetooth | 2.1+EDR |
| Vol operacionaltage | 9-20 V DC |
| Poder de trabalho | 25-30 W |
| Codificador | SBC |
| Impedância | 4 Ohms |
| Tamanho da unidade do alto-falante | 133 milímetros |
| Sensibilidade | 200hv |
| Resposta de frequência | 20-20000 Hz |
| Peso do item | 400 gramas |
| Número de canais | 1 |
| Número do modelo | 1005005454581585 |

Figure 2: Product dimensions (11.7cm x 6.5cm x 4.5cm / 10cm x 4cm).
4. Controles e conexões
Familiarize yourself with the various controls and connection ports on your ampmódulo elevador:

Figura 3: Detalhado view of controls and connection points.
- LCH / RCH (Audio Input): Left and Right channel audio input for external devices.
- Entrada USB: Para conectar pen drives USB para reprodução de MP3.
- Slot TF: For inserting TF (MicroSD) cards for MP3 playback.
- Previous / Next (V- / V+): Navigate tracks or adjust volume in certain modes.
- Play / Pause (PL/IR): Play/pause audio, or initiate FM scan. IR indicates Infrared Sensor for remote control.
- Indicador: Luz de estado.
- Sensor infravermelho: For receiving signals from a remote control (if included or compatible).
- DESLIGADO / LIGADO: Power switch for the module.
- AC110-240V: Entrada de alimentação CA.
- DC12-24V: Entrada de alimentação CC.
- Ajuste de graves: Rotary knob to adjust bass levels.
- Ajuste de agudos: Rotary knob to adjust treble levels.
- Ajuste de volume: Botão giratório para ajustar o volume principal.
- Botão Bluetooth: Ativa o modo Bluetooth.
5. Configuração
5.1 Conexão de Energia
- Garantir o amplifier module is switched OFF.
- Connect the appropriate power supply to either the CA 110-240 V entrada ou o DC12-24V input. Use only the specified voltagalcance para evitar danos.
5.2 Conexão de alto-falante
Connect your speakers to the output terminals of the amplifier module. Ensure correct polarity (+/-) for optimal sound quality.
5.3 Antenna Connection (for FM Radio)
If using the FM radio function, connect the provided FM antenna to the designated antenna port for better reception.
6. Instruções de operação
6.1 Ligar/Desligar
Alternar o DESLIGADO / LIGADO switch to power on or power off the module.
6.2 Conexão Bluetooth
- Pressione o MODO button (or the Bluetooth button if labeled) to switch the amplifier to Bluetooth mode.
- On your mobile phone or Bluetooth device, open the Bluetooth settings and search for available devices.
- Selecione o amplifier's Bluetooth device name (usually "Bluetooth" or similar) from the list to connect.
- Once successfully paired, you can play audio from your device through the ampmais vivo.
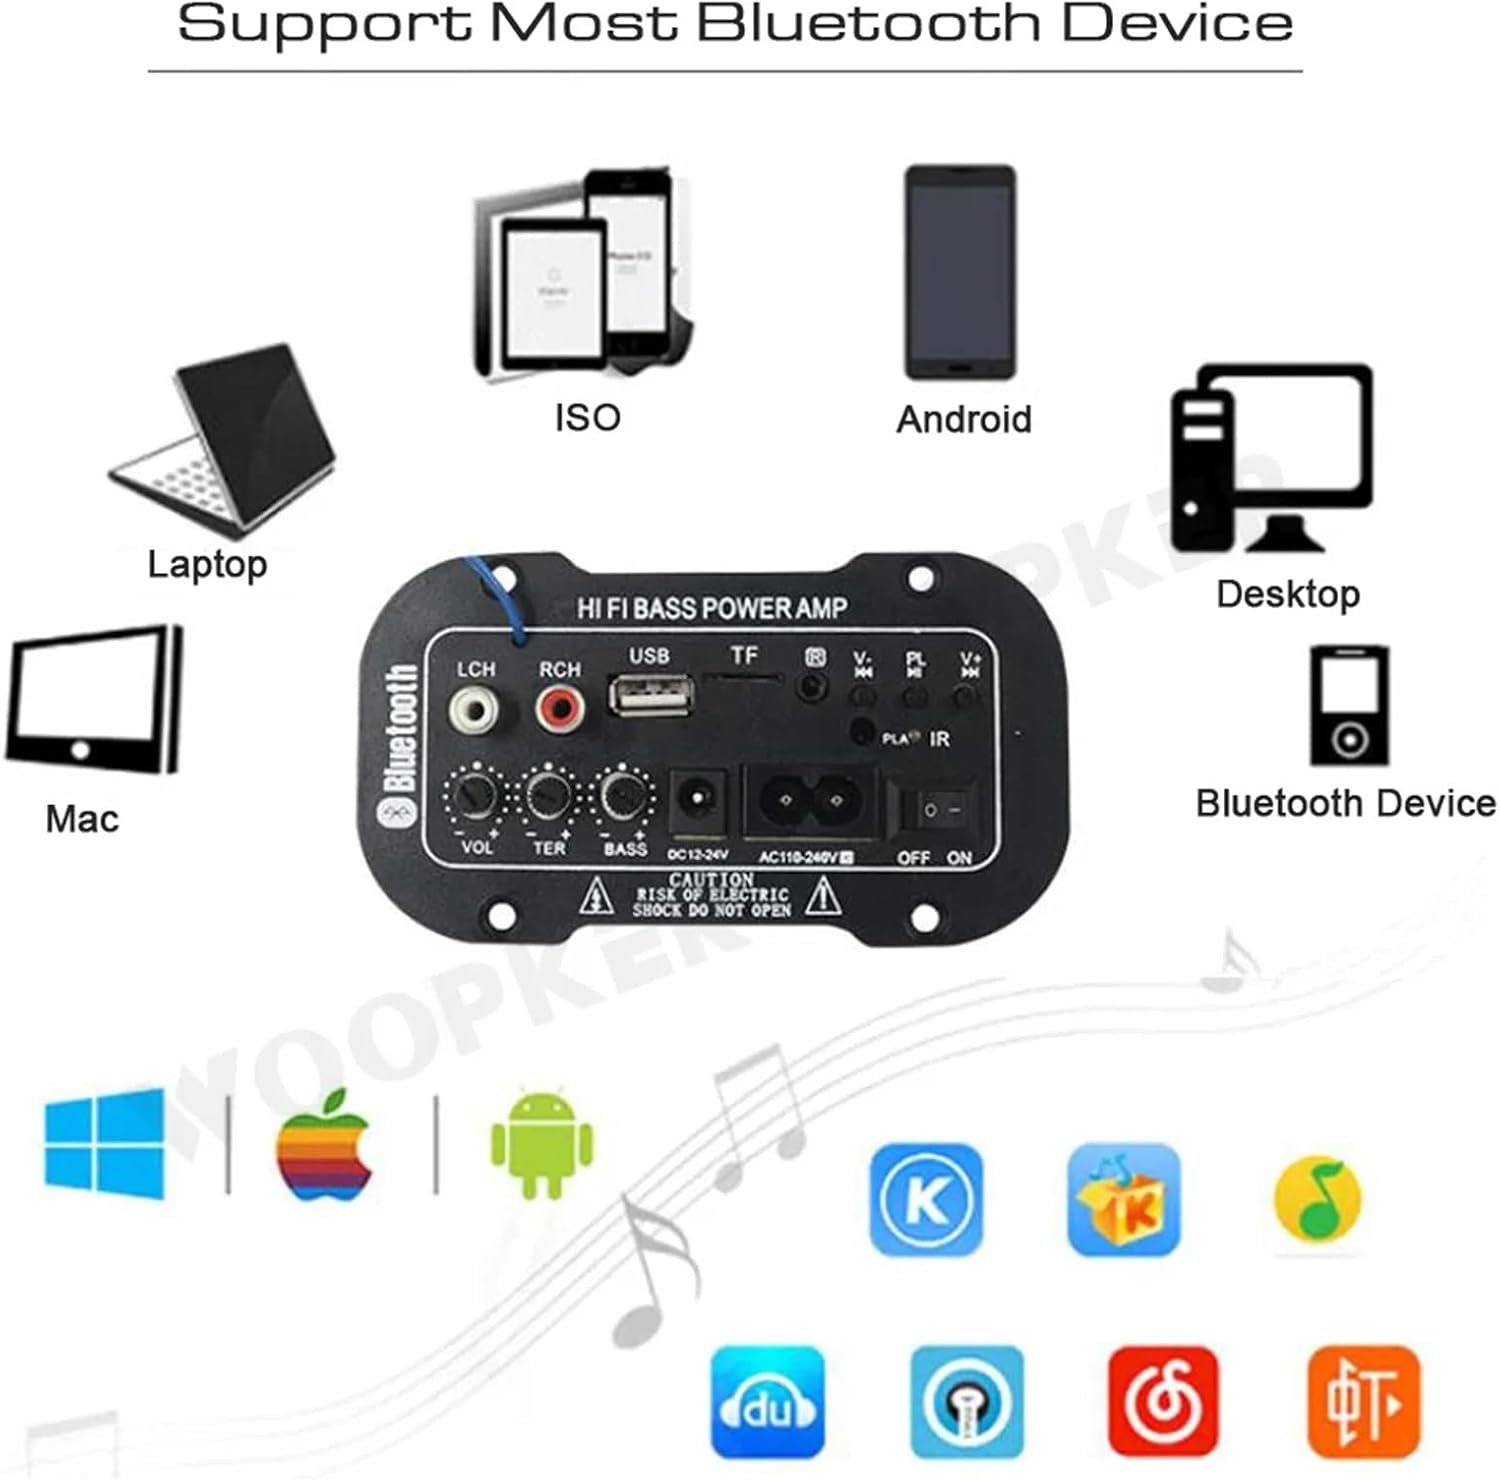
Figura 4: A amplifier module supports various Bluetooth devices including laptops, phones, and desktops.
6.3 Operação de rádio FM
- Ensure the radio antenna is properly connected.
- Pressione o MODO botão para alternar o amplifier to FM radio mode.
- Pressione o Reproduzir / Pausar button to initiate an automatic scan for all available FM channels. The module will save them automatically.
- Use o Anterior Próximo buttons to switch between saved radio stations.
Reprodução de cartão TF/USB de 6.4 polegadas
- Insira uma unidade flash USB no Slot USB or a TF (MicroSD) card into the Slot TF.
- The module should automatically detect the storage device and begin playing MP3 files. Caso contrário, pressione o MODO button to cycle through input sources until USB or TF mode is active.
- Use o Anterior Próximo buttons to change tracks and the Reproduzir / Pausar botão para controlar a reprodução.
6.5 Entrada AUX
Connect an external audio source (e.g., PC, phone, CD player) to the LCH / RCH (Audio Input) ports using an appropriate audio cable. Press the MODO button to select the AUX input source.
6.6 Ajustando o áudio
Use o Ajuste de volume, Ajuste de agudos, e Ajuste de graves rotary knobs to fine-tune your audio output to your preference.
7. Solução De Problemas
- Sem energia: Ensure the power cable is securely connected and the power switch is in the ON position. Verify the power source is active and providing the correct voltage (AC 110-240V or DC 12-24V).
- Sem som: Check speaker connections for correct polarity. Ensure the volume is turned up. Verify the correct input mode (Bluetooth, FM, USB, TF, AUX) is selected. Test with a different audio source.
- Bluetooth não conecta: Certifique-se de que o amplifier is in Bluetooth mode. Ensure your device's Bluetooth is enabled and within range. Try restarting both the ampAmplificador e seu dispositivo Bluetooth.
- Recepção FM ruim: Ensure the FM antenna is properly connected and extended. Try repositioning the antenna or the amplifier for better signal.
- O cartão USB/TF não está funcionando: Ensure the USB drive or TF card contains compatible MP3 audio files. Check that the storage device is inserted correctly and not corrupted.
8. Manutenção
- Mantenha o amplifier module clean by wiping it with a soft, dry cloth.
- Evite expor o dispositivo à umidade, temperaturas extremas ou luz solar direta.
- Do not attempt to disassemble or repair the module yourself, as this may void any warranty and cause damage.
9. Garantia e Suporte
Para informações sobre garantia e suporte técnico, consulte a documentação fornecida no momento da compra ou entre em contato com o revendedor. Guarde o comprovante de compra para eventuais solicitações de garantia.