Hoestr A32
Manual do Usuário da Câmera Corporal Hoestr A32
Portable Body Cam with 180° Rotatable Lens and Motion Detection
Introdução
Thank you for choosing the Hoestr A32 Body Camera. This compact and versatile device is designed for various recording needs, from personal security to outdoor sports and professional use. Featuring a 180° rotatable lens, motion detection, and high-definition video recording, the A32 ensures you capture every important moment. Please read this manual carefully to understand the camera's functions and ensure proper operation.

Figure 1: Hoestr A32 Body Camera and 64GB TF Card
O que está na caixa
- 1 x Hoestr A32 Body Camera
- 1 x 64GB TF Card (pre-installed or separate)
- 1 x cabo USB-C
- 1 x Manual do Usuário
Produto acimaview
Familiarize yourself with the various components and controls of your A32 Body Camera.

Figure 2: A32 Body Camera Components and Controls
- Camera (180° Rotatable Lens): Captures video and photos. Can be rotated for various angles.
- Buraco de corda: Para fixar uma alça de pulso ou um cordão.
- Record/Save Video Button: Slide up to start/stop video recording.
- Power On/Off; Play Button: Long press to power on/off. Short press to play/pause in playback mode.
- Pré Botão: Navigation button for menu and playback.
- Próximo botão: Navigation button for menu and playback. Also used to mark/protect files durante a gravação.
- Vol+ / Vol- Buttons: Adjust volume during playback.
- Record/Save Audio Button: Slide up to start/stop audio recording.
- Redefinir furo: Para restaurar as configurações de fábrica (use um pino).
- Botão de menu: Acesse as configurações e opções da câmera.
- Botão de retorno: Go back in menu or exit playback.
- Slot Micro SD: For inserting the TF (Micro SD) card. Supports up to 128GB (FAT32 format).
- Porta USB Tipo-C: Para carregamento e transferência de dados.

Figure 3: 180° Rotatable Lens Design
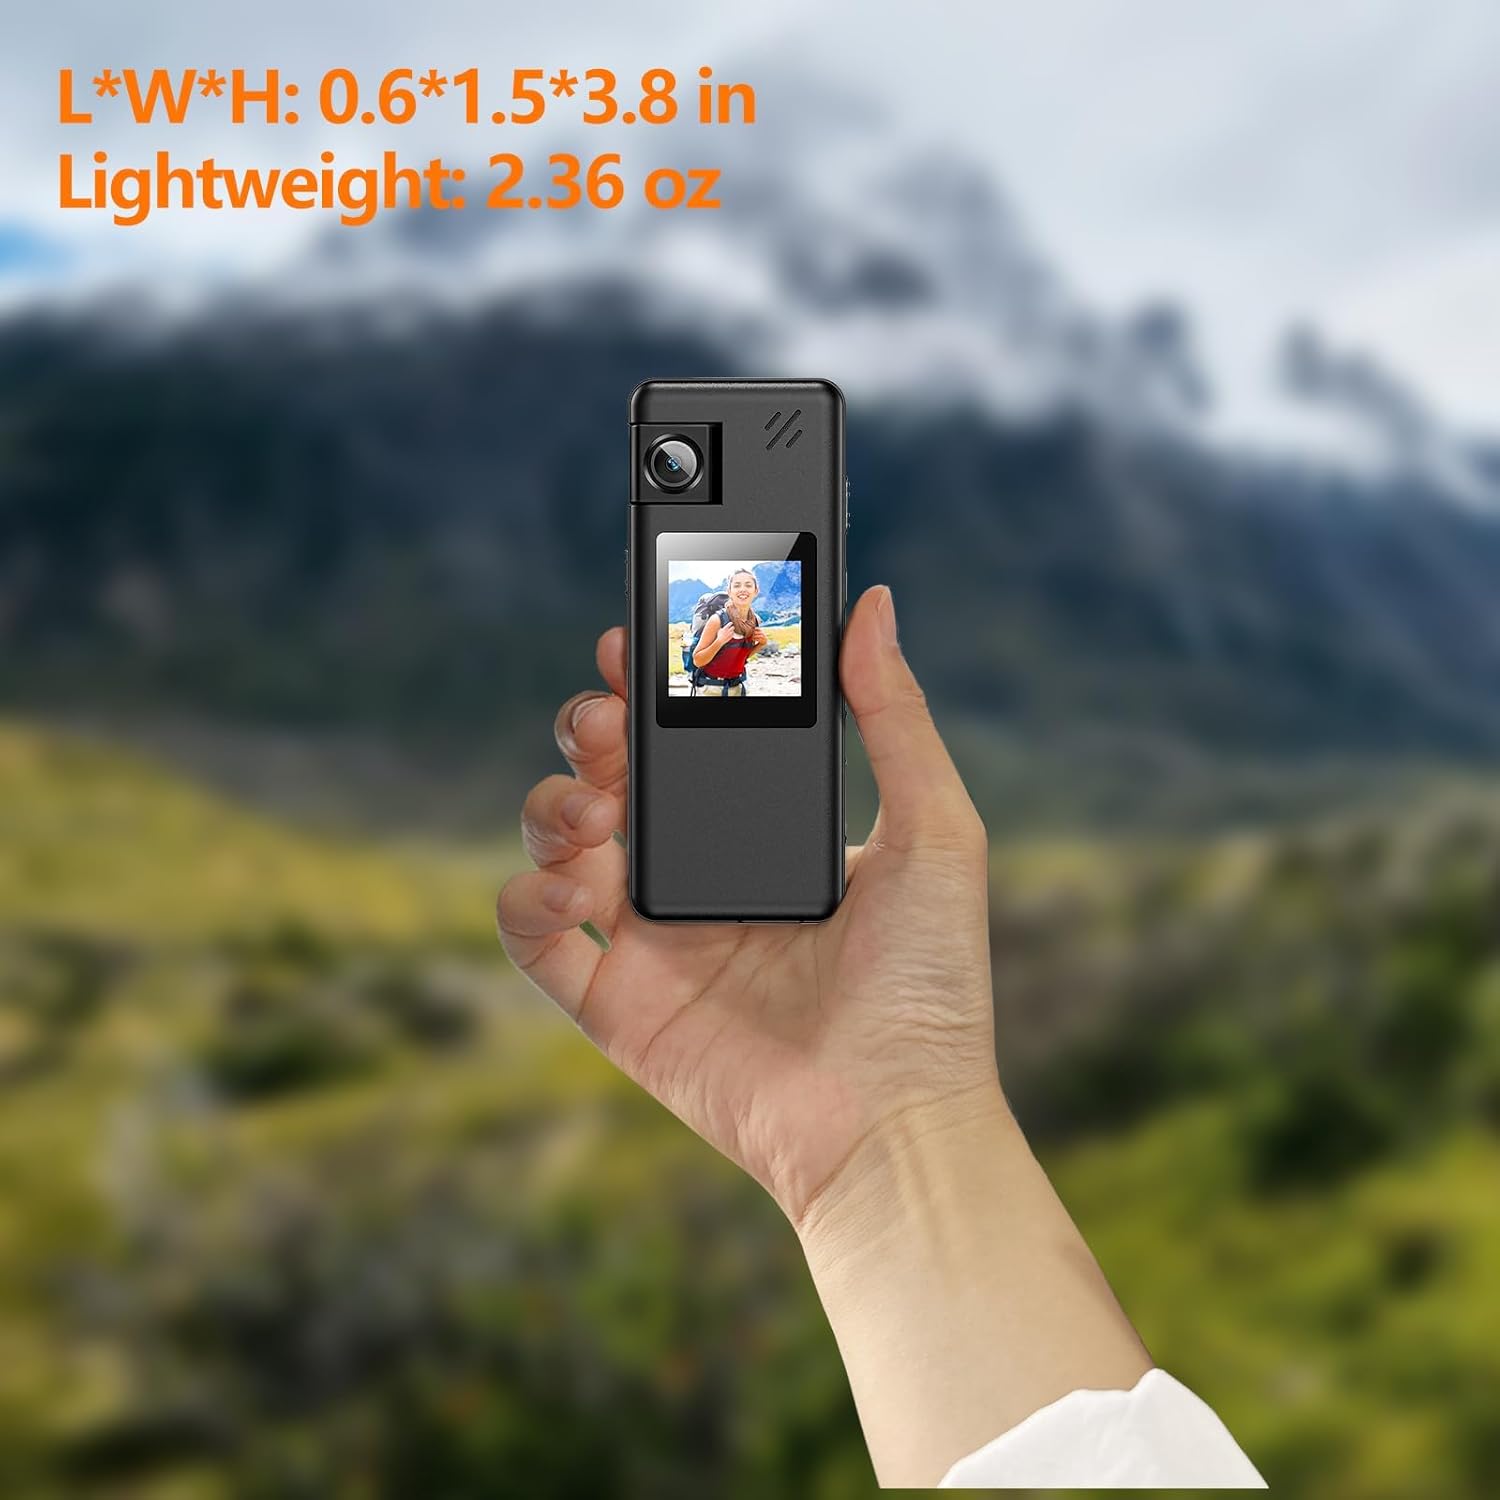
Figure 4: Compact Size and Lightweight Design
Configurar
1. Inserindo o cartão TF
The A32 Body Camera comes with a 64GB TF card. Ensure it is properly inserted before use.
- Locate the Micro SD slot on the side of the camera.
- Gently push the TF card into the slot until it clicks into place. Ensure the gold contacts are facing the correct direction (usually towards the screen).
- To remove, push the card in again until it clicks, then release, and it will spring out.

Figure 5: Quick Operation Help - Step 1: Insert TF Card
2. Carregando a bateria
The camera has a built-in 1800mAh rechargeable lithium battery. Fully charge the camera before first use.
- Connect the provided USB-C cable to the camera's USB Type-C port.
- Conecte a outra extremidade do cabo a um adaptador de energia USB (não incluído) ou à porta USB de um computador.
- The charging indicator light will show the charging status. A full charge typically takes about 3 hours.

Figure 6: Battery Information and Charging
Instruções de operação
1. Ligar/desligar
- Ligar: Long press the 'Power On/Off; Play' button until the screen lights up.
- Desligar: Long press the 'Power On/Off; Play' button until the screen turns off.
2. Gravação de vídeo
- Slide the 'Record/Save Video' button upwards to start video recording. The recording indicator will flash.
- Slide the 'Record/Save Video' button downwards to stop and save the video.
- During recording, you can press the 'Next' button to mark and protect important files de exclusão acidental.

Figure 7: One-Touch Recording
3. Gravação de áudio
- Slide the 'Record/Save Audio' button upwards to start audio recording.
- Slide the 'Record/Save Audio' button downwards to stop and save the audio file.
4. Captura de fotos
- From the main interface, press the 'Menu' button to switch to photo mode.
- Press the 'Play' button to take a snapshot.
5. Reprodução
- In standby mode, short press the 'Power On/Off; Play' button to enter playback mode.
- Use the 'Pre' and 'Next' buttons to navigate through recorded files.
- Press the 'Power On/Off; Play' button to play/pause the selected file.
- Use 'Vol+' and 'Vol-' buttons to adjust playback volume.
- Press the 'Return' button to exit playback mode.
6. Detecção de movimento
Activate motion detection in the camera settings. When enabled, the camera will automatically start recording when motion is detected.
7. Gravação em loop
The camera supports loop recording, automatically saving files every 10 minutes to prevent loss due to excessively large files. When the memory card is full, the oldest fileOs arquivos serão sobrescritos por novas gravações.
8. File Management (Connecting to Computer)
You can manage your recorded files by connecting the camera to a computer.
- Connect the camera to your Windows/Mac computer using the provided USB-C cable.
- The camera will appear as a removable disk.
- Você pode view, play, delete, or rename video, audio, and photo files directly on your computer.
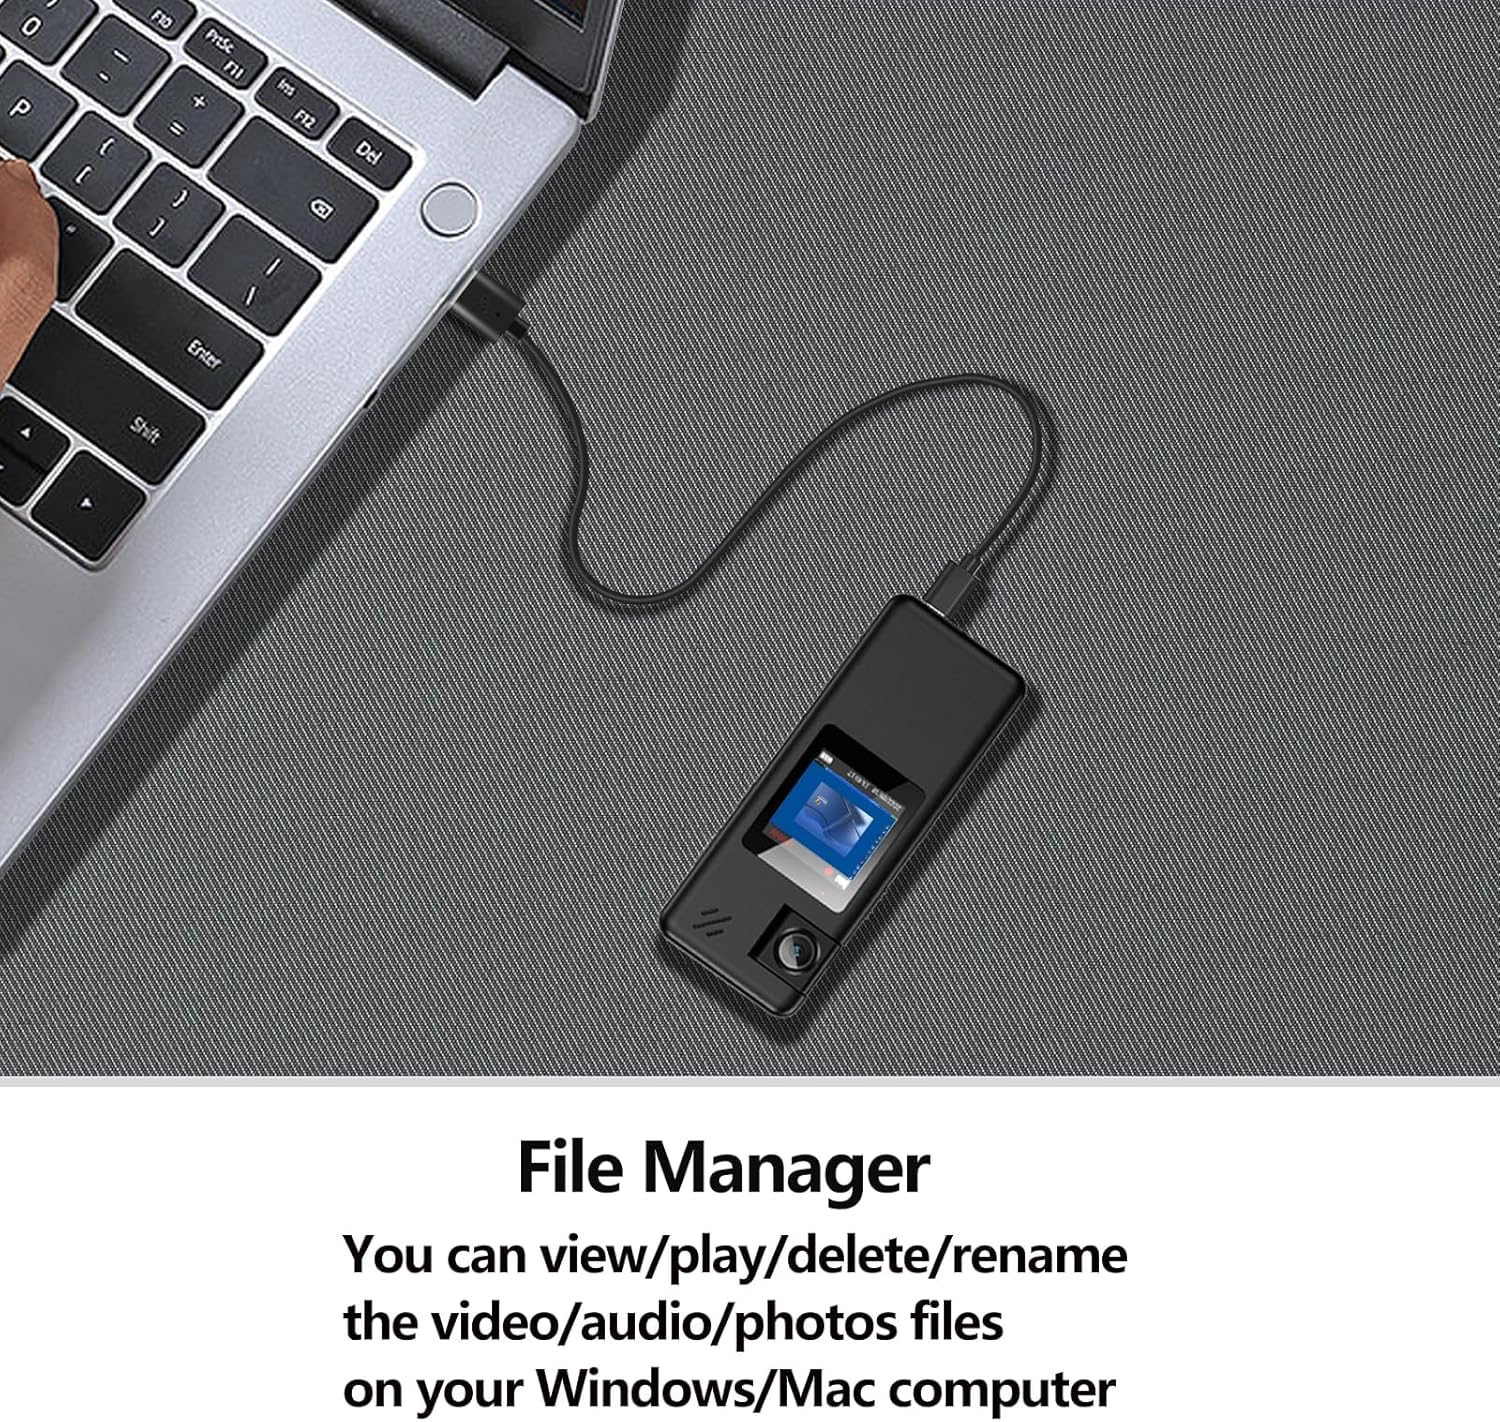
Figure 8: Connecting to Computer for File Gerenciamento
9. Vídeo de demonstração oficial do produto
Watch the official product video for a visual guide on the A32 Body Camera's features and operation.
Video 1: A32 128GB Body Camera Demonstration. This video showcases the camera's design, rotatable lens, ease of use, and various recording capabilities.
Manutenção
- Keep the camera clean. Use a soft, dry cloth to wipe the lens and body.
- Evite expor a câmera a temperaturas extremas, luz solar direta ou alta umidade.
- Do not disassemble the camera, as this will void the warranty.
- Guarde a câmera em local fresco e seco quando não estiver em uso.
Solução de problemas
| Problema | Possível causa | Solução |
|---|---|---|
| A câmera não liga. | Bateria fraca; Falha do sistema. | Charge the camera fully. Insert a pin into the reset hole to restart the device. |
| Não é possível gravar vídeo/áudio. | TF card full; TF card not inserted or faulty; Incorrect mode. | Excluir antigo files or replace TF card. Ensure TF card is properly inserted. Check recording mode. |
| Qualidade de vídeo/áudio ruim. | Lens dirty; Low light conditions; Microphone obstructed. | Clean the lens. Ensure adequate lighting. Check microphone for obstructions. |
| A câmera congela. | Problema de software. | Insert a pin into the reset hole to restart the device. |
Especificações
| Recurso | Detalhe |
|---|---|
| Modelo | A32 |
| Resolução de captura de vídeo | 1080FHD/1080P/720P |
| Rotação da lente | 180° |
| Grande Angular | Aproximadamente 130° |
| Tela de exibição | LCD de 1.3 polegadas |
| Capacidade da bateria | Íon de lítio 1800mAh |
| Tempo de Gravação de Vídeo | 8-10 hours (screen off) |
| Audio Recording Time | 14 hours (screen off) |
| Tempo de carregamento | Aproximadamente 3 horas |
| Armazenar | Supports Micro SD (TF) card up to 128GB (FAT32 format) |
| Dimensões (C*L*A) | 3.8 x 0.6 x 1.5 polegadas |
| Peso | 2.36 onças |
| Conectividade | USB Tipo C |
| Formato de captura de vídeo | MOV |
| Formato de áudio suportado | MP3, WAV |
Garantia e Suporte
Hoestr provides a Garantia de 2 ano from the date of purchase. If you encounter any non-human quality problems with your product within this period, please contact our after-sales team through the backend channel. We are committed to providing a money-back or new product replacement within 24 hours on working days.
For further assistance or inquiries, please refer to the contact information provided with your purchase or visit the official Hoestr store on Amazon.
Hoestr Store Link: Visit the Hoestr Store