1. Introdução
Thank you for choosing the Zeuslap Z13KT 13.3-inch Portable Touchscreen Monitor. This device is designed to enhance your productivity and entertainment experience with its high-resolution 2K IPS display, 100% sRGB color gamut, and responsive touch functionality. This manual provides essential information for the safe and efficient use of your monitor, including setup, operation, maintenance, and troubleshooting.
2. Informações de segurança
- Leia atentamente todas as instruções antes de usar o monitor.
- Não exponha o monitor à chuva, umidade ou temperaturas extremas.
- Evite colocar o monitor perto de fontes de calor ou sob luz solar direta.
- Utilize apenas o adaptador de energia e os cabos fornecidos ou recomendados pelo fabricante.
- Não tente desmontar ou reparar o monitor por conta própria. Encaminhe todos os serviços de manutenção a pessoal qualificado.
- Clean the monitor with a soft, dry cloth. Avoid using liquid cleaners or aerosols.
- Mantenha o monitor longe de campos magnéticos fortes.
3. Conteúdo da embalagem
Por favor, verifique o conteúdo da embalagem ao desembalar. Se algum item estiver faltando ou danificado, entre em contato com o vendedor.
- Zeuslap Z13KT Portable Monitor
- USB-C to USB-C Cable (for power and video/touch)
- Cabo Mini HDMI para HDMI (para vídeo)
- Cabo USB-A para USB-C (para alimentação)
- Adaptador de energia (se incluído)
- Protective Cover/Stand
- Manual do usuário (este documento)
4. Produto acabadoview
Familiarize-se com os componentes e portas do monitor.
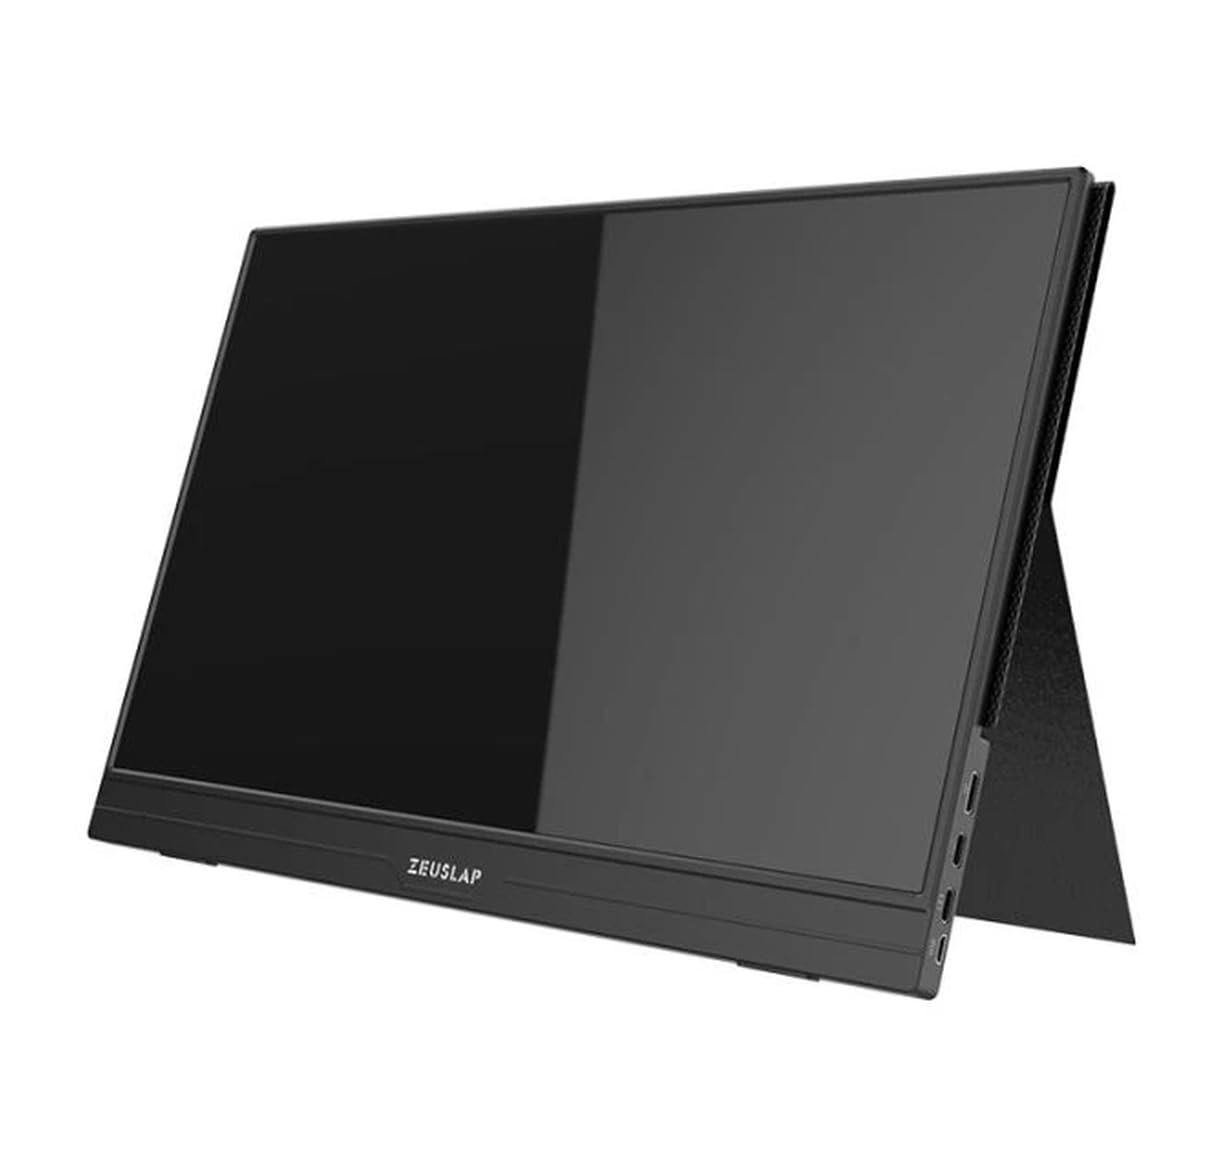
Figura 4.1: Frente view of the Zeuslap Z13KT portable monitor, showcasingraças ao seu design fino e à tela.
4.1. Componentes do Monitor
- 13.3-inch 2K IPS Touchscreen: Main display area with touch input capability.
- Botão de energia: Turns the monitor on/off and can be used to access the OSD menu.
- Botões de menu/navegação: For navigating the On-Screen Display (OSD) menu.
- Palestrantes: Saída de áudio integrada.
4.2. Available Ports
- USB-C Port (Full-featured): For power, video signal, and touch data transmission from compatible devices (e.g., laptops, smartphones).
- USB-C Port (Power Only): For connecting to an external power adapter to supply power to the monitor.
- Miniporta HDMI: For video signal input from devices like gaming consoles, cameras, or older laptops.
- Conector de áudio de 3.5 mm: Para conectar fones de ouvido ou alto-falantes externos.
5. Configuração
Follow these steps to connect your Zeuslap Z13KT monitor to your device.
5.1. Connecting to a Laptop/PC (USB-C with DisplayPort Alt Mode)
- Ensure your laptop's USB-C port supports DisplayPort Alternate Mode (DP Alt Mode) and power delivery.
- Connect one end of the provided USB-C to USB-C cable to the full-featured USB-C port on the monitor.
- Connect the other end of the USB-C to USB-C cable to your laptop's compatible USB-C port.
- The monitor should automatically detect the signal and power on. If not, press the monitor's power button.
- For touch functionality, ensure the USB-C connection is established correctly.
5.2. Connecting to a Laptop/PC (HDMI + USB for Power/Touch)
- Conecte uma extremidade do cabo Mini HDMI para HDMI à porta Mini HDMI do monitor.
- Connect the other end of the HDMI cable to your laptop's HDMI port.
- For power, connect the USB-A to USB-C cable from your laptop's USB-A port (or a power adapter) to the power-only USB-C port on the monitor.
- For touch functionality, if your laptop has a USB-A port, connect the USB-A end of the USB-A to USB-C cable to your laptop and the USB-C end to the full-featured USB-C port on the monitor. This will provide touch data.
- The monitor should power on and display the image.
5.3. Connecting to a Smartphone (USB-C with DisplayPort Alt Mode)
Note: Not all smartphones support video output via USB-C. Check your phone's specifications.
- Connect one end of the USB-C to USB-C cable to the full-featured USB-C port on the monitor.
- Connect the other end of the USB-C to USB-C cable to your compatible smartphone's USB-C port.
- The monitor will draw power from the phone. For extended use or if the phone cannot supply enough power, connect an external power adapter to the monitor's power-only USB-C port.
- The monitor should display your phone's screen, and touch functionality should be active.
6. Instruções de operação
6.1. Ligar/desligar
- Para ligar: Pressione o botão Liga/Desliga.
- Para desligar: Pressione e segure o botão Liga/Desliga por 3 segundos.
6.2. Menu de exibição na tela (OSD)
O menu OSD permite ajustar várias configurações do monitor.
- Accessing the OSD: Press the Menu button (or short press the Power button, depending on model variation).
- Navegação: Use the navigation buttons (or touch gestures if enabled) to move through menu options.
- Seleção: Press the Menu button (or tap) to select an option.
- Saída: Navigate to the "Exit" option or wait for the OSD to time out.
6.3. Common OSD Settings
- Brilho contraste: Ajuste os níveis de luminância e contraste da tela.
- Configurações de cores: Modifique a temperatura da cor, a tonalidade e a saturação.
- Fonte de entrada: Selecione manualmente entre as entradas USB-C e Mini HDMI.
- Proporção da tela: Change the display aspect ratio (e.g., 16:9, 4:3).
- Volume: Adjust the built-in speaker volume.
- Linguagem: Selecione o idioma do menu OSD.
6.4. Funcionalidade de tela sensível ao toque
The monitor supports multi-touch gestures. Ensure your device (laptop/smartphone) is compatible and connected via a full-featured USB-C cable for touch input to function.
- Tocar: Equivalente a um clique do mouse.
- Deslize: For scrolling or navigating.
- Ampliar com os dedos: For zooming in or out on content.
7. Manutenção
7.1. Limpeza do monitor
- Desligue sempre o monitor da tomada antes de o limpar.
- Use um pano macio e sem fiapos para limpar delicadamente a tela e o vidro.asing.
- Para manchas persistentes, aplique levementeampMolhe o pano com água ou com uma solução de limpeza específica para telas. Não borrife o líquido diretamente na tela.
- Evite usar produtos de limpeza abrasivos, álcool ou soluções à base de amônia, pois podem danificar a superfície da tela.
7.2. Armazenamento
- When not in use, store the monitor in a cool, dry place.
- Use the provided protective cover to prevent scratches and dust accumulation.
- Evite colocar objetos pesados em cima do monitor.
8. Solução De Problemas
Se você encontrar problemas com seu monitor, consulte os problemas e soluções comuns a seguir.
| Problema | Possível causa | Solução |
|---|---|---|
| Sem imagem/Sem sinal |
|
|
| Tela sensível ao toque não funciona |
|
|
| Tela piscando ou instável |
|
|
| Sem áudio nos alto-falantes do monitor |
|
|
9. Especificações
| Recurso | Detalhe |
|---|---|
| Modelo | ZL-Z13KT |
| Tamanho da tela | 13.3 polegadas |
| Resolução | 2560 x 1600 (2K) |
| Taxa de atualização | 60Hz |
| Tipo de painel | IPS |
| Gama de cores | 100% sRGB |
| Brilho | 300 cd/m² |
| Tela sensível ao toque | Sim |
| Conectividade | 2x USB-C (1x Full-featured, 1x Power), 1x Mini HDMI, 1x 3.5mm Audio Jack |
| Entrada de energia | USB-C (5V-20V) |
10. Garantia e Suporte
Specific warranty information for the Zeuslap Z13KT monitor is not available in the provided product data. Please refer to the warranty card included with your product or visit the official ZEUSLAP website para obter termos e condições detalhados da garantia.
For technical support, product inquiries, or service requests, please contact your retailer or the manufacturer directly through their official support channels.