
1. Introdução
This manual provides essential information for the installation, operation, and maintenance of your Hikvision IDS-7208HQHI-M1/XT 8-Channel 5MP Turbo HD DVR. Please read this manual thoroughly before using the product to ensure correct and safe operation. Keep this manual for future reference.
The Hikvision IDS-7208HQHI-M1/XT is an advanced 8-channel Digital Video Recorder designed for high-definition surveillance systems. It supports various video input formats, including Turbo HD, AHD, CVI, CVBS, and IP cameras, offering versatile compatibility. Key features include 5MP recording capability, H.265+ video compression for efficient storage, AcuSense technology for intelligent motion detection, and remote access via the Hik-Connect app.
2. Conteúdo da embalagem
Verify that all items are present and in good condition upon unpacking. If any items are missing or damaged, contact your supplier immediately.
- DVR main unit
- Adaptador de energia
- Mouse USB
3. Recursos do Produto
The Hikvision IDS-7208HQHI-M1/XT DVR offers a range of features designed for effective surveillance:
- 8-Channel DVR with 5MP HD Support: Supports multiple analog HD camera formats and up to 8 channels of real-time video monitoring and recording.
- Two-Way Audio Support: Enables audio communication through compatible cameras.
- Built-In AcuSense Technology: Smart analysis minimizes false alarms by focusing on human and vehicle-based motion detection.
- Remote Access via Hik-Connect App: View live video, playback recordings, and receive alerts anytime on your smartphone.
- Efficient Storage with H.265+ Compression: Saves bandwidth and hard disk space while maintaining clear video quality.
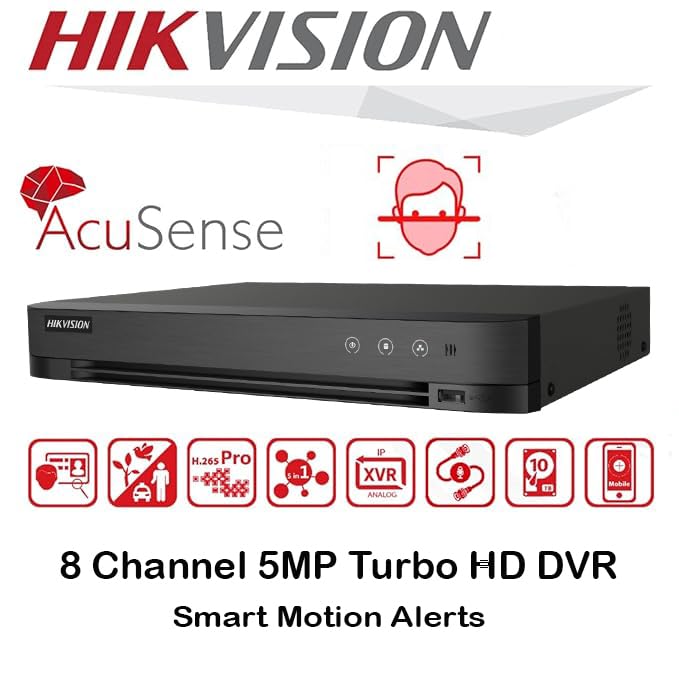
Imagem: Acimaview of key features including AcuSense, H.265+ compression, and 5MP resolution support.
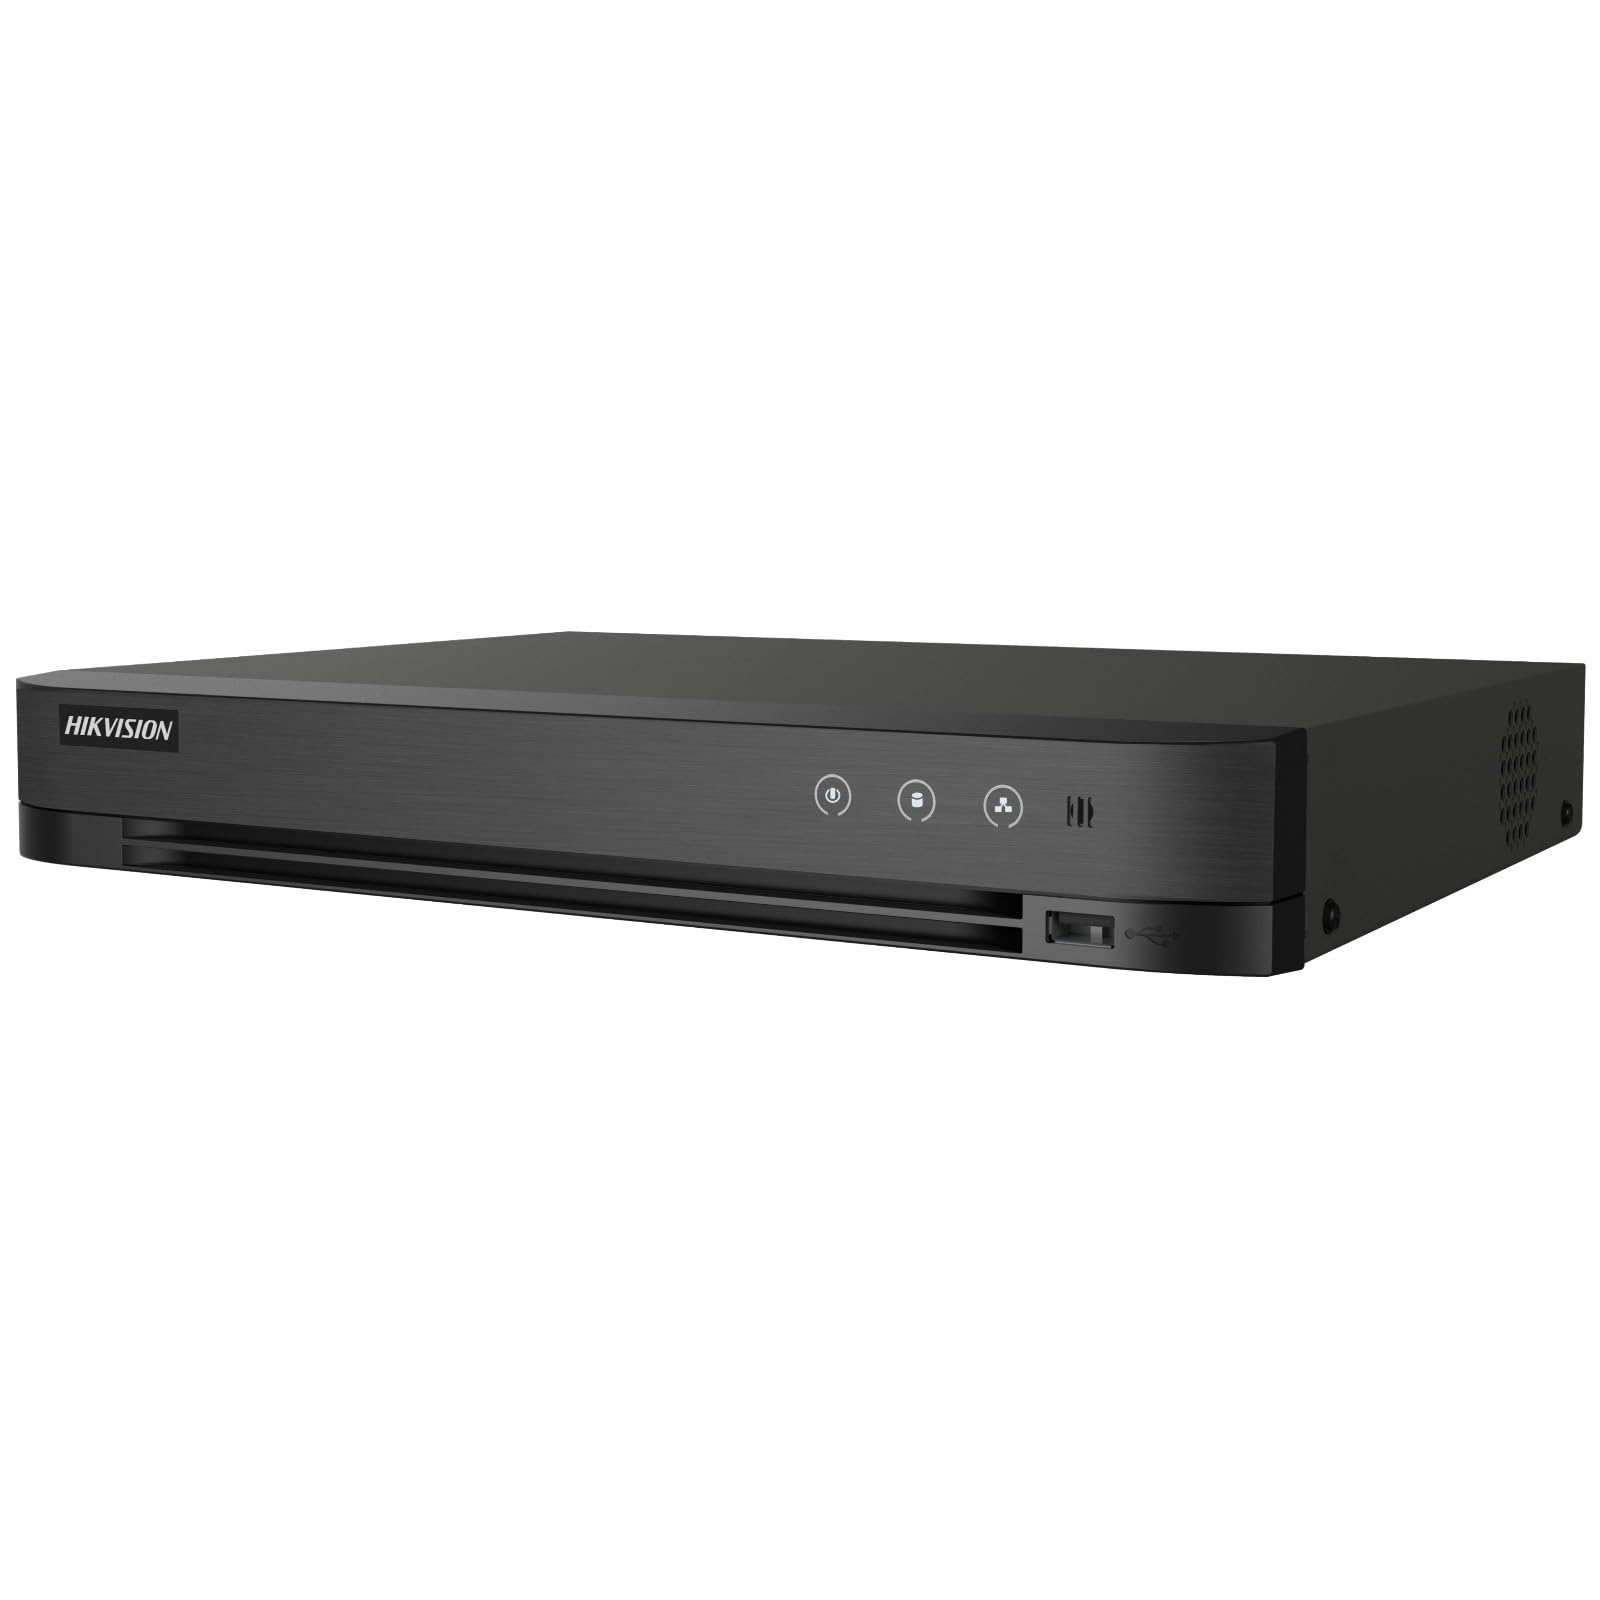
Image: The Hikvision Turbo HD DVR highlighting its support for two-way audio cameras, enabling interactive communication.
4. Interface Física
Familiarize yourself with the ports and indicators on the DVR unit. The following diagram illustrates the rear panel of the Hikvision IDS-7208HQHI-M1/XT DVR:

Image: Rear panel connections of the DVR, showing video inputs, audio ports, network, and power.
- Vídeo em (BNC): Connect analog HD cameras (Turbo HD, AHD, CVI, CVBS).
- Video Out (BNC): Connect to a monitor for local display.
- Entrada de áudio (RCA): Connect external audio input devices.
- Saída HDMI: Connect to an HDMI-compatible monitor or TV for high-definition video output.
- Saída VGA: Connect to a VGA-compatible monitor.
- Saída de áudio (RCA): Connect to external audio output devices.
- Portas USB: Connect a USB mouse, USB flash drive for backup, or external storage.
- Porta LAN (RJ45): Connect to your network for remote access and IP camera integration.
- RS-485: For PTZ camera control (if supported).
- Entrada de alimentação de 12V CC: Conecte o adaptador de energia incluído.
- Terminal térreo: Para aterrar o dispositivo.
5. Configuração
Follow these steps for initial setup of your DVR system:
5.1 Hard Drive Installation (if not pre-installed)
- Desaperte e remova a tampa superior do DVR.
- Conecte o cabo de dados SATA e o cabo de alimentação ao disco rígido.
- Fixe o disco rígido ao chassi do DVR usando os parafusos fornecidos.
- Recoloque a tampa superior e fixe-a com parafusos.
5.2 Conectando Periféricos
- Connect your cameras to the video In (BNC) ports.
- Conecte um monitor ao HDMI or VGA porta de saída.
- Connect the USB mouse to a Porta USB.
- Connect the DVR to your network router using an Ethernet cable plugged into the Porta LAN.
- Conecte o adaptador de energia ao Entrada de alimentação de 12 V CC and then plug it into a power outlet.
5.3 Configuração Inicial
- Ao ser ligado pela primeira vez, o DVR irá guiá-lo através de um assistente de configuração.
- Defina uma senha forte para a conta de administrador.
- Configure as definições de rede (o DHCP geralmente é suficiente para a maioria das redes domésticas).
- Initialize the hard drive if prompted. This will format the drive for recording.
- Adjust date, time, and other system preferences as needed.
6. Operação
Once the DVR is set up, you can begin monitoring and recording.
6.1 Ao vivo View
Após o login, o DVR exibirá a transmissão ao vivo. view das câmeras conectadas no monitor. Você pode alternar entre câmeras individuais. view e grade multicâmera view usando os controles na tela ou o mouse.
6.2 Gravação
The DVR is typically configured to record continuously or based on motion detection. You can adjust recording schedules and settings through the DVR's menu system (Configuração > Gravar > Agendar).
6.3 Reprodução
Para review foo gravadotage, navegue até o Reprodução menu. Select the date, time, and camera channel to view recordings. Use the playback controls (play, pause, fast forward, rewind) to navigate through the footage.
6.4 Remote Access (Hik-Connect App)
The Hik-Connect app allows you to access your DVR remotely from a smartphone or tablet.
- Baixe o aplicativo Hik-Connect na loja de aplicativos do seu dispositivo.
- Create a Hik-Connect account and log in.
- Add your DVR by scanning the QR code on the DVR's label or by manually entering its serial number.
- Follow the in-app instructions to complete the device addition.
- Uma vez adicionado, você pode view live feeds, play back recordings, and receive push notifications for events.

Image: Illustration of the Hik-Connect mobile application interface, demonstrating remote access to live video and recordings.
7. Manutenção
A manutenção regular garante o desempenho ideal e a longevidade do seu sistema DVR.
- Clean the DVR: Limpe periodicamente a parte externa do DVR com um pano macio e seco. Certifique-se de que as aberturas de ventilação estejam livres de poeira para evitar superaquecimento.
- Atualizações de firmware: Confira o site oficial da Hikvision. website for firmware updates. Updating firmware can improve performance, add features, and fix bugs. Follow update instructions carefully.
- Saúde do disco rígido: Monitor the health of your hard drive through the DVR's system menu (Gerenciamento de HDD). Replace the hard drive if it shows signs of failure.
- Backup importante Footage: Faça backup regularmente dos arquivos de vídeo críticos.tage para uma unidade USB externa ou armazenamento em rede.
- Segurança da senha: Change your DVR and Hik-Connect passwords periodically to maintain security.
8. Solução De Problemas
Esta seção aborda problemas comuns que você pode encontrar.
8.1 Sem saída de vídeo no monitor
- Check if the monitor is powered on and correctly connected to the DVR's HDMI or VGA port.
- Certifique-se de que a fonte de entrada correta esteja selecionada em seu monitor.
- Tente conectar a um monitor diferente ou usar um cabo diferente.
8.2 Câmeras não exibidas
- Verify that cameras are powered on and properly connected to the DVR's BNC inputs.
- Check camera power supplies.
- Ensure the camera type (TVI, AHD, CVI, CVBS) is compatible with the DVR and configured correctly in the DVR settings.
8.3 Acesso remoto não funciona
- Ensure the DVR is connected to the internet via the LAN port.
- Check network settings on the DVR (Configuração > Rede).
- Verify that the Hik-Connect service is enabled on the DVR.
- Certifique-se de que seu smartphone esteja conectado à internet.
- Re-add the device to the Hik-Connect app if necessary.
8.4 Sem gravação
- Check if a hard drive is installed and properly initialized (Configuration > HDD).
- Verify recording schedules are set correctly (Configuração > Gravar > Agendar).
- Certifique-se de que haja espaço livre suficiente no disco rígido.
9. Especificações
Detailed technical specifications for the Hikvision IDS-7208HQHI-M1/XT DVR:
| Recurso | Especificação |
|---|---|
| Número do modelo | IDS-7208HQHI-M1/XT |
| Entrada de vídeo | 8-Channel (Turbo HD/AHD/CVI/CVBS/IP) |
| Compressão de vídeo | H.265 + / H.265 / H.264 + / H.264 |
| Resolução de gravação | Até 5MP |
| Saída de vídeo | HDMI, VGA, BNC |
| Entrada/Saída de Áudio | 2-Way Audio Support |
| interface de rede | 1 RJ45 10M/100M Ethernet Interface |
| Interface USB | 2 x USB 2.0 |
| Suporte a HDD | 1 interface SATA (capacidade de até 10 TB por disco rígido) |
| Fonte de energia | 12 V CC |
| Dimensões (C x L x A) | 19.7 x 19.2 x 4.1 cm |
| Peso | 1.5 kg |
| Fabricante | HIKVISION, Prama Hikvision India Pvt. Ltd. |
10. Garantia e Suporte
For warranty information and technical support, please refer to the warranty card included with your product or visit the official Hikvision website. Guarde o recibo de compra como comprovante para solicitações de garantia.
For further assistance, contact Hikvision customer support or your authorized dealer.


