Introdução
This instruction manual provides essential information for the proper installation, operation, and maintenance of your new Generic replacement water tank lid. This lid is designed to securely seal the water tank on compatible floor cleaner models, ensuring efficient and leak-free operation. Please read this manual thoroughly before use.
Compatibilidade
This water tank lid is compatible with the following floor cleaner models:
- Mamibot For Flomo I
- Mamibot For ECVP01
- Atvel F16
- Atvel F16 PRO
- AlfaBot T30
- AlfaBot T36
- Identificação-061
- IonVac 7855
- Aigostar (B09ST7F9ML)
- Mamibot For FlAomo I plus
- Atvel F16 Ultimate
Configuração e instalação
Follow these steps to correctly install the water tank lid:
- Identify the Water Tank: Locate the clean water tank on your floor cleaner. Ensure the tank is empty and clean before installation.
- Remove Old Lid (if applicable): If replacing an existing lid, unscrew and remove the old lid. Dispose of it responsibly.
- Inspect the New Lid: Examine the new lid for any visible damage or manufacturing defects. Ensure the rubber O-ring seal is properly seated within the lid.
- Alinhe e aparafuse: Carefully align the threads of the new lid with the opening of the water tank. Turn the lid clockwise to screw it on.
- Secure Tightness: Hand-tighten the lid until it is snug. Do not overtighten, as this can damage the threads or the seal. A secure fit is crucial to prevent leaks during operation.

Imagem: Close-up view of the water tank lid, showing the internal threads and the O-ring seal designed to prevent leaks.
Instruções de operação
The water tank lid's primary function is to secure the water tank. Proper operation involves ensuring it is correctly installed before each use.
- Before Filling: Ensure the lid is removed when filling the water tank with clean water and appropriate cleaning solution (if applicable).
- After Filling: Once the water tank is filled, securely screw the lid back onto the tank following the installation steps outlined in the 'Setup and Installation' section.
- Verificação pré-operação: Before starting your floor cleaner, always confirm that the water tank lid is tightly closed to prevent any water spillage or leakage during cleaning.

Imagem: Angulada view of the water tank lid, demonstrating its design for a secure and tight seal on the water tank.
Manutenção
Regular maintenance of the water tank lid ensures its longevity and effective performance.
- Limpeza: Periodically remove the lid and rinse it under clean running water to remove any residue from cleaning solutions or debris. Use a soft brush if necessary to clean the threads and the O-ring groove.
- Inspecione o anel de vedação: Regularly check the rubber O-ring seal for signs of wear, cracks, or deformation. A damaged O-ring can lead to leaks. If damaged, the O-ring should be replaced.
- Armazenar: When not in use for extended periods, ensure the lid is clean and dry before storing it in a cool, dry place away from direct sunlight.
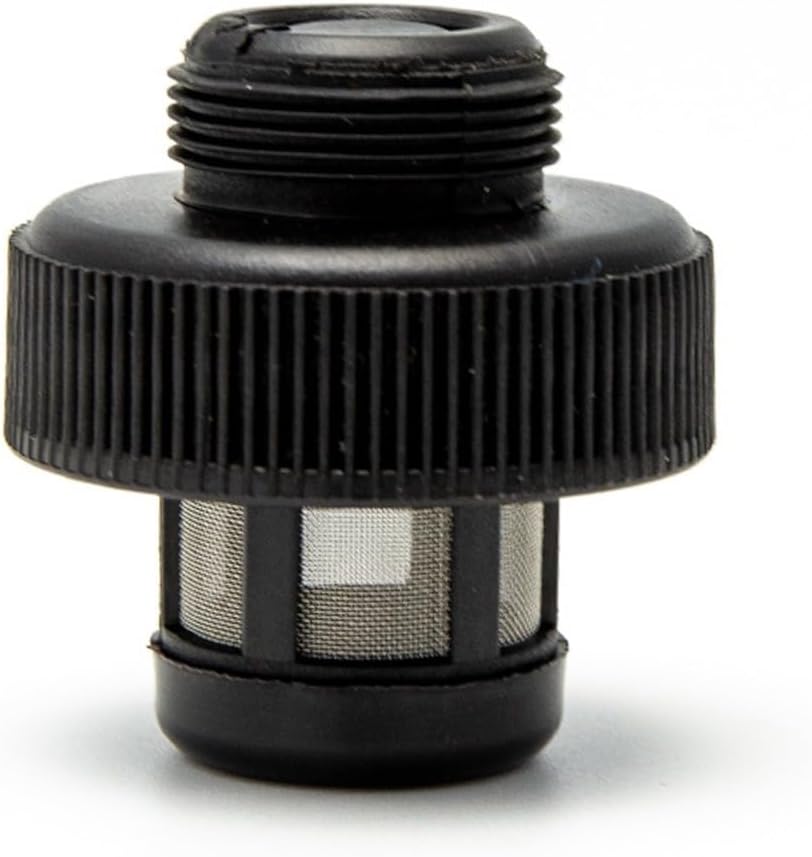
Imagem: Lado view of the water tank lid, illustrating the O-ring and the internal filter component, which should be kept clean.
Solução de problemas
If you encounter issues with your water tank lid, refer to the following common problems and solutions:
| Problema | Possível causa | Solução |
|---|---|---|
| Water leakage from the tank lid area. | Lid not tightened sufficiently. Damaged or improperly seated O-ring seal. Debris on threads or O-ring. | Ensure the lid is hand-tightened securely. Inspect the O-ring for damage; replace if necessary. Ensure the O-ring is correctly seated. Clean threads and O-ring area thoroughly. |
| Difficulty screwing on the lid. | Rosqueamento cruzado. Detritos nas roscas. Damaged threads on lid or tank. | Unscrew the lid, realign carefully, and try again. Clean threads on both the lid and the tank. If threads are damaged, the lid or tank may need replacement. |
Especificações
- Nome do produto: Replacement Water Tank Lid
- Material: Plástico PE
- Dimensões: Aproximadamente 3.94 x 1.97 x 1.18 polegadas (100 x 50 x 30 mm)
- Peso do item: Aproximadamente 0.529 onças (15 gramas)
- Número do modelo: U8F37JQ7I4013G2G0459L
- Cor: White (as per original tank, lid color may vary slightly)
Informações de garantia
Specific warranty details for this Generic replacement part are not provided in the product information. Please refer to the retailer's return policy or contact the seller directly for information regarding warranty coverage or returns.
Suporte ao cliente
For further assistance, questions, or concerns regarding this water tank lid, please contact the seller or the manufacturer of your specific floor cleaner model. When contacting support, please have your product model number (U8F37JQ7I4013G2G0459L) and purchase details available.