
1. Produto acabadoview
The plplaaoo FS8233 is an ultra-thin, full-screen intelligent automatic digital multimeter designed for electricians, engineers, and technicians. It features intelligent auto-ranging technology for precise detection of voltage, current, resistance, and continuity without manual adjustments. Built with durable ABS and silicone materials, it offers reliable performance in various environments.
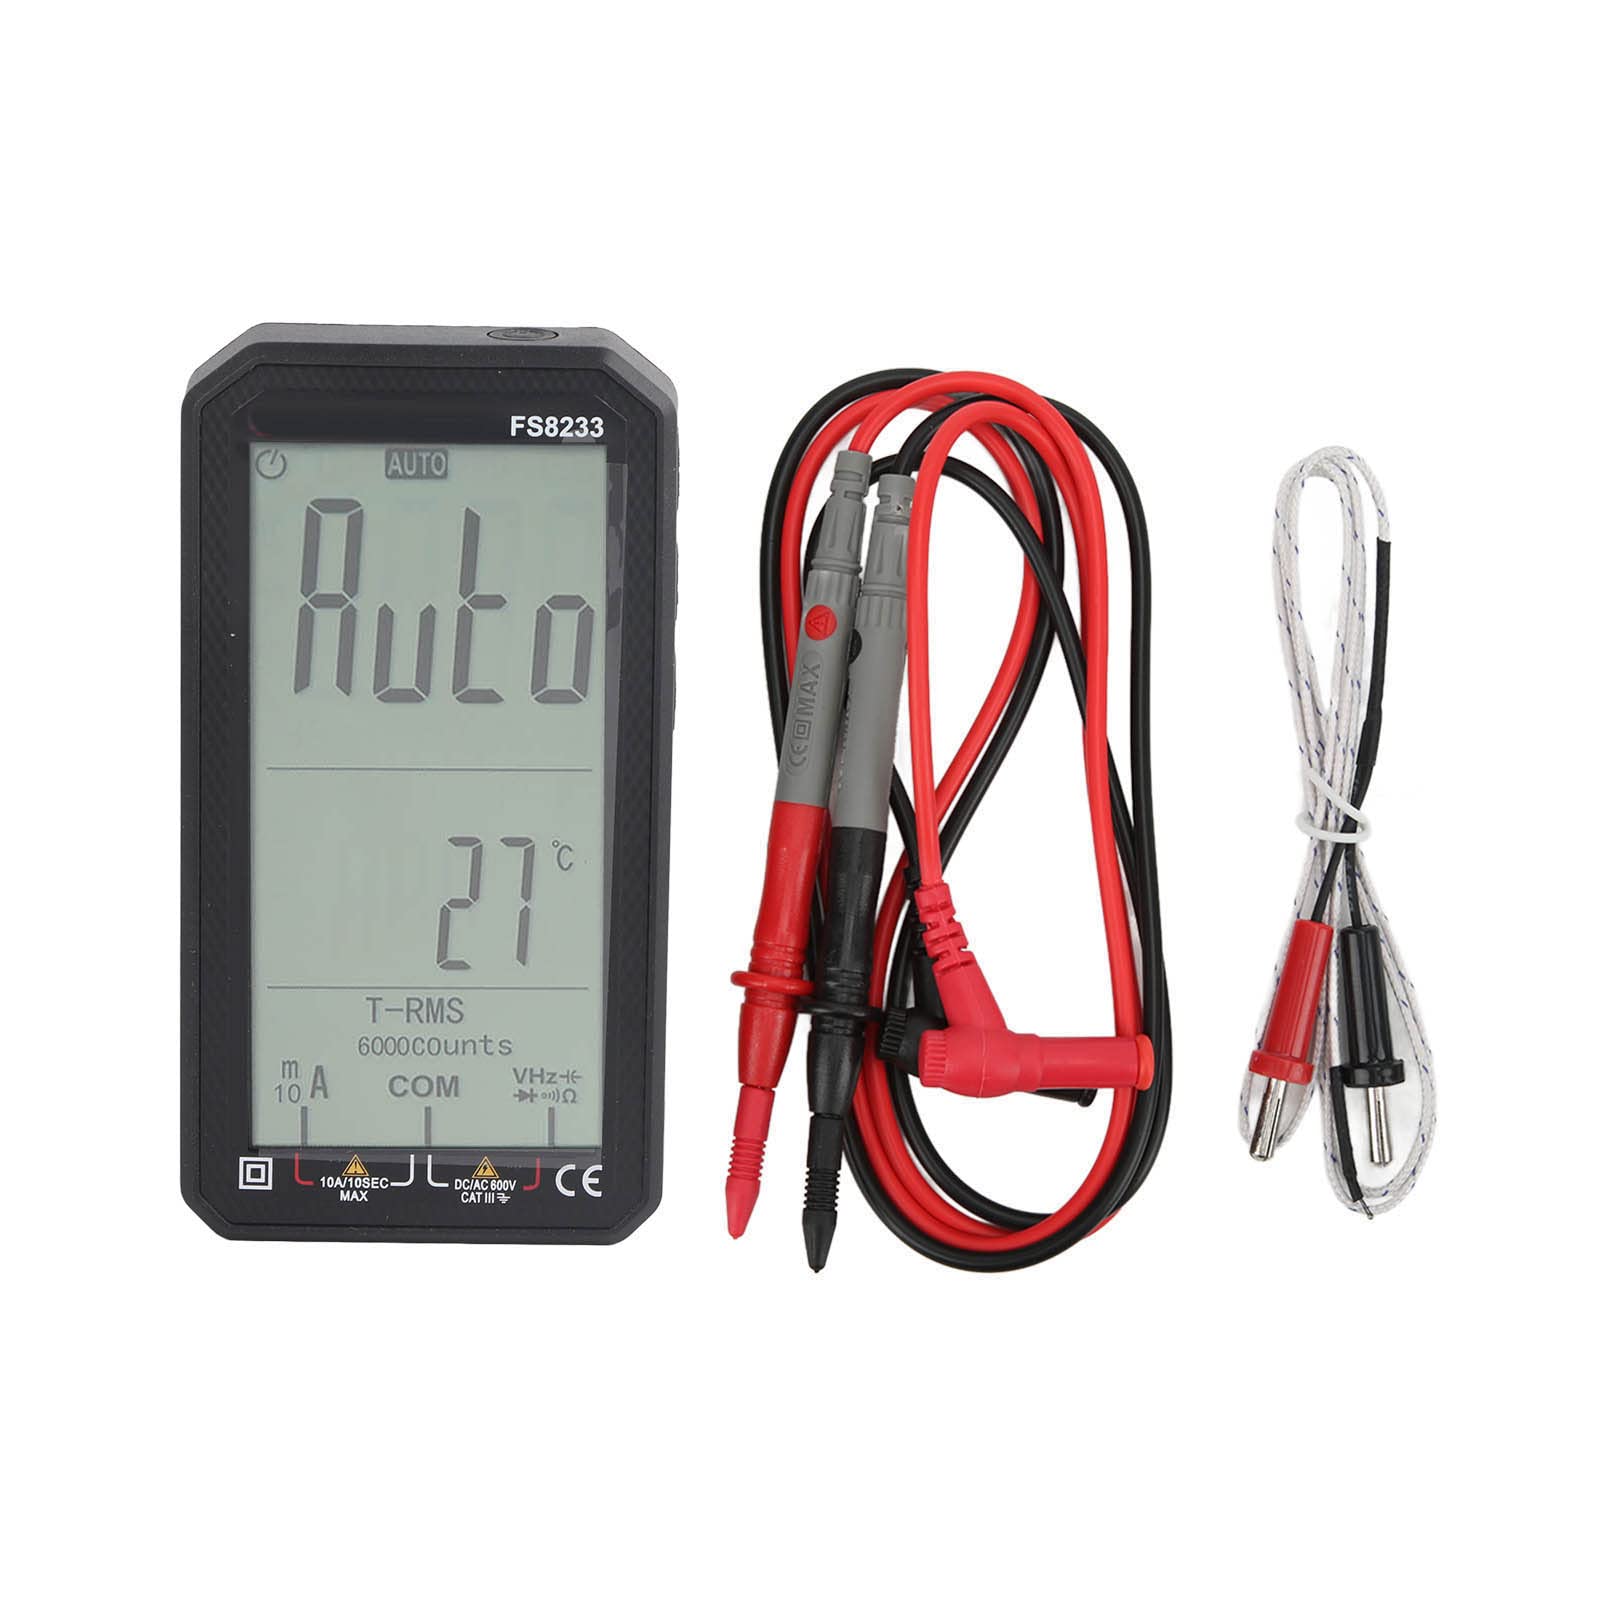
Imagem 1.1: Frente view of the plplaaoo FS8233 Digital Multimeter, showcasing its full-screen display.
Principais características:
- Testes automáticos: Intelligent auto-ranging for voltage, corrente, resistência e continuidade.
- Alta precisão: Advanced chip ensures ±0.5% DC voltage precisão.
- Construção durável: Made from premium ABS and wear-resistant silicone for industrial-grade durability.
- Multifuncional: Mede volume CA/CCtage (up to 600V), current (10A max), resistance (60MΩ), capacitance (60mF), and temperature.
- Características de segurança: Anti-burn protection and 600V CAT III safety rating.
- Design amigável: Large backlit screen for clear readings in low-light conditions.
2. Informações de segurança
Always adhere to safety precautions when using electrical testing equipment. Failure to do so may result in injury or damage to the device or equipment being tested.
- Certifique-se de que o multímetro esteja em boas condições de funcionamento antes de usá-lo.
- Não ultrapasse os valores máximos de entrada especificados para cada função.
- Verify the correct function and range are selected before making measurements.
- Utilize equipamentos de proteção individual (EPI) adequados, como luvas isolantes e óculos de segurança.
- Avoid touching exposed conductors or circuit components during measurements.
- Substitua as pilhas imediatamente quando o indicador de bateria fraca aparecer para garantir leituras precisas.
- The device has a 600V CAT III safety rating. Always respect this rating and do not use it in circuits exceeding this category.
3. Configuração
3.1 Instalação da bateria
The FS8233 multimeter requires two 1.5V AAA batteries (not included) for operation.
- Localize a tampa do compartimento da bateria na parte traseira do multímetro.
- Use uma chave de fenda para abrir o compartimento da bateria.
- Insira duas pilhas AAA, certificando-se da polaridade correta (+ e -).
- Feche bem a tampa do compartimento da bateria.
3.2 Conectando os Cabos de Teste
The multimeter comes with two test leads. Connect them to the appropriate input jacks:
- Insira o preto teste leva ao COM (comum) jack.
- Insira o vermelho teste leva ao VHzΩmA jack para a maioria dos volumestage, resistance, frequency, capacitance, and current measurements (up to 600mA).
- Para medições de alta corrente (até 10 A), insira o vermelho teste leva ao 10A Jack.

Imagem 3.2: Parte inferior view of the multimeter, illustrating the input jacks for test lead connection.
4. Instruções de operação
The FS8233 features intelligent auto-ranging, simplifying most measurements. Power on the device and it will automatically detect the measurement type.
4.1 Ligar/Desligar
- Press the power button (usually marked with a circle and a vertical line) to turn the multimeter on.
- Press and hold the power button to turn the multimeter off.

Image 4.1: The multimeter display indicating 'AUTO' mode, ready for automatic measurement.
4.2 Automatic Measurement
In auto mode, the multimeter will automatically identify and measure AC/DC voltage, resistance, and continuity. Simply connect the test leads to the circuit or component you wish to measure.
4.3 Medidas Específicas
While the device is largely auto-ranging, it supports specific measurements:
- Volumetage (AC/DC): Conecte os cabos de teste em paralelo ao circuito. O multímetro detectará automaticamente a tensão CA ou CC.tage.
- Corrente (CA/CC): Connect test leads in series with the circuit. Ensure the red lead is in the correct current jack (mA or 10A).
- Resistência: Connect test leads across the component. Ensure the component is de-energized.
- Capacitância: Connect test leads across the capacitor. Ensure the capacitor is discharged before testing.
- Temperatura: Connect the included temperature probe to the appropriate jacks (usually VΩmA and COM) and place the probe tip on the object to be measured.

Image 4.3: An electrician using the FS8233 multimeter to perform tests on an electrical panel, demonstrating practical application.
4.4 Leitura do visor
The large backlit screen displays readings clearly. The unit of measurement (V, A, Ω, F, °C) will be shown alongside the numerical value. The 'AUTO' indicator confirms auto-ranging is active.

Imagem 4.4: Close-up view of the multimeter's display, showing a clear numerical reading and measurement units.
5. Manutenção
5.1 Limpeza
To maintain the multimeter's performance and appearance:
- Limpe o casing com anúncioamp pano e detergente neutro. Não use produtos de limpeza abrasivos ou solventes.
- Ensure no moisture enters the device through the input jacks or seams.
5.2 Substituição da bateria
When the low battery indicator appears on the display, replace the batteries as described in Section 3.1. Always use fresh 1.5V AAA batteries.
5.3 Armazenamento
Store the multimeter in a cool, dry place away from direct sunlight and extreme temperatures. If storing for an extended period, remove the batteries to prevent leakage.
6. Solução De Problemas
If you encounter issues with your FS8233 Digital Multimeter, refer to the following common troubleshooting steps:
- Sem tela/Dispositivo não liga:
- Verifique se as pilhas estão instaladas corretamente e se têm carga suficiente. Substitua-as, se necessário.
- Certifique-se de que o botão liga/desliga esteja pressionado com firmeza.
- Leituras incorretas ou instáveis:
- Verify that the test leads are securely connected to the correct input jacks.
- Ensure good contact between the test probes and the circuit/component being measured.
- Check for damaged test leads and replace if necessary.
- Ensure the component being measured is within the multimeter's specified range.
- 'OL' or Overload Indication:
- This indicates the measured value exceeds the current range. Ensure the red test lead is in the appropriate high-current jack (10A) if measuring high current, or that the voltage/resistance is within the device's maximum limits.
7. Especificações
| Parâmetro | Especificação |
|---|---|
| Modelo | FS8233 |
| Material | ABS + Silicone |
| Bateria | 2 x 1.5V AAA Battery (Not Included) |
| Faixa de corrente AC | 6000mA (1mA, ±(1.0% + 8 digits)), 10A (0.01A) |
| Faixa de corrente DC | 6000mA (1mA, ±(1.0% + 5 digits)), 10A (0.01A) |
| Vol. DCtage Alcance | 6V (0.001V, ±(0.5% + 3 digits)), 60V (0.01V), 600V (0.1V) |
| Faixa de resistência | Até 60MΩ |
| Faixa de capacitância | Até 60mF |
| Classificação de segurança | 600V CATIII |
| Componentes incluídos | 2 Test Leads, 1 Temperature Probe, User Manual |