1. Introdução
This manual provides essential instructions for the safe installation, operation, and maintenance of your Pentair Sta-Rite PLM200 System:2 Modular Media Pool Filter. Please read this manual thoroughly before attempting to install or operate the filter. Retain this manual for future reference.
The Sta-Rite PLM200 System:2 Modular Media Pool Filter is designed for efficient filtration in aboveground pools, inground pools, and hot tubs. Its durable two-piece tank housing, constructed of rugged ABS thermoplastic, ensures a long service life. The unique posi-ring closure allows for safe and fast access to the tank internals for maintenance.
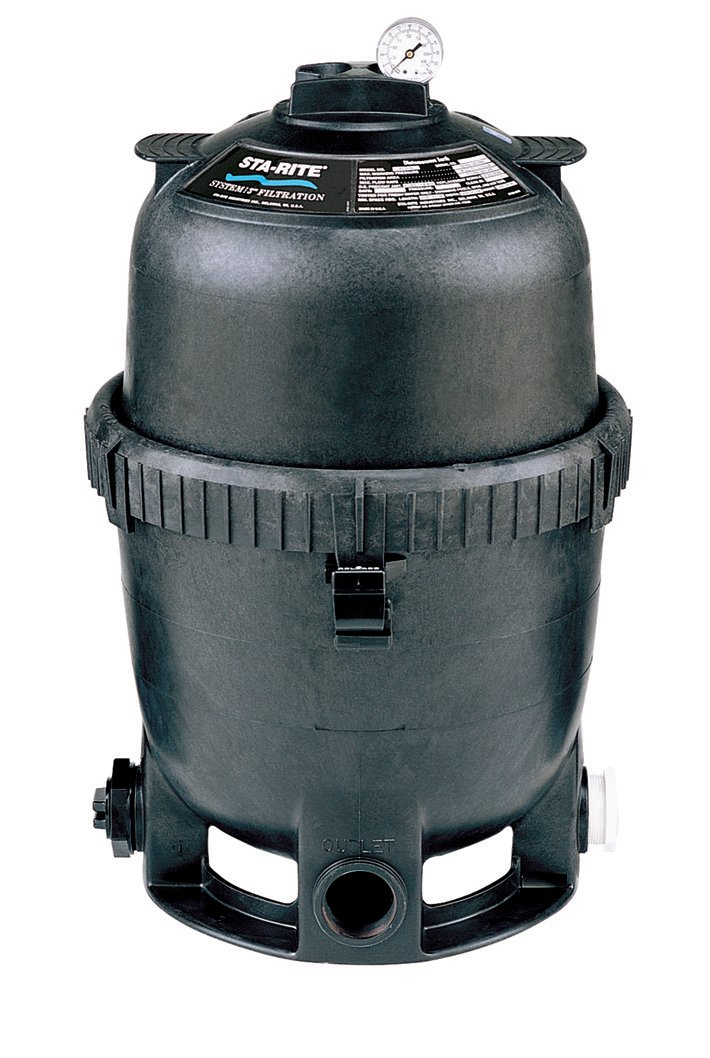
Figura 1.1: Pentair Sta-Rite PLM200 System:2 Modular Media Pool Filter. This image shows the complete filter unit, highlighting its compact design and robust construction.
2. Informações de segurança
AVISO: O não cumprimento destas instruções pode resultar em ferimentos graves ou morte.
- Always disconnect power to the pump before servicing the filter.
- Não utilize o filtro se alguma peça estiver danificada ou faltando.
- Antes de operar o equipamento, certifique-se de que todas as conexões estejam seguras e sem vazamentos.
- Never attempt to open the filter tank while it is under pressure. Always relieve all pressure before opening.
- This filter operates under high pressure. Improper installation or operation can cause the tank to separate, potentially causing severe injury or property damage.
- Consult a qualified pool professional for installation if you are unsure about any steps.
3. Configuração e instalação
3.1 Desembalagem e Inspeção
Carefully remove all components from the packaging. Inspect for any shipping damage. If damage is found, contact your supplier immediately.
3.2 Seleção do Site
Choose a level, solid surface for the filter, preferably in a well-drained area. Ensure adequate clearance around the filter for future maintenance and servicing. The filter should be installed as close to the pool as possible to minimize friction loss from plumbing.
3.3 Montagem
- Position the filter tank base on the selected site.
- Carefully place the filter manifold and cartridges inside the lower tank half. Ensure they are seated correctly.
- Place the upper tank half onto the lower tank half, aligning the two halves.
- Secure the tank halves using the posi-ring closure. Ensure the ring is properly seated and tightened according to the manufacturer's specifications to prevent leaks and ensure safe operation.
- Connect the plumbing from the pool pump to the filter inlet and the return line to the filter outlet. Use appropriate sealants and fittings to ensure watertight connections.
- Install the pressure gauge into the designated port on the filter tank.
Figura 3.1: Illustration of the PLM200 filter assembly. This image represents the filter with its two-piece tank housing and the posi-ring closure, demonstrating how the components fit together during installation.
4. Instruções de operação
4.1 Inicialização Inicial
- Ensure all plumbing connections are secure and the filter drain plug is closed.
- Open the air relief valve on top of the filter tank.
- Start the pool pump. Allow the filter tank to fill with water, and air to escape through the air relief valve.
- Once a steady stream of water emerges from the air relief valve, close the valve.
- Note the initial pressure gauge reading. This is your clean filter operating pressure.
4.2 Operação normal
The PLM200 filter is designed for continuous filtration. Monitor the pressure gauge regularly. As dirt accumulates in the filter cartridges, the pressure will rise. When the pressure gauge reads 8-10 PSI above the clean filter operating pressure, it is time to clean the filter cartridges.
The filter's design, with complete media coverage and shallow pleats, optimizes dirt holding capabilities, leading to longer filter cycles and reduced cleaning frequency.
5. Manutenção
5.1 Cleaning the Filter Cartridges
WARNING: Always turn off the pump and relieve all pressure from the filter before opening the tank.
- Turn off the pool pump and disconnect power.
- Open the air relief valve to release any remaining pressure.
- Open the filter drain plug to drain the water from the tank.
- Remove the posi-ring closure and carefully lift the upper tank half.
- Remove the filter cartridges from the tank.
- Hose down the cartridges thoroughly with a garden hose to remove debris. For stubborn dirt or oils, use a specialized filter cleaning solution as directed by the cleaner manufacturer.
- Inspect cartridges for damage (tears, cracks). Replace damaged cartridges.
- Reinstall the clean cartridges, ensuring they are properly seated.
- Reassemble the filter tank, securing the posi-ring closure.
- Follow the "Initial Start-up" procedure (Section 4.1) to restart the filter.
Figura 5.1: Representation of cleaning a filter cartridge. This image illustrates the process of hosing down a filter cartridge to remove accumulated debris, a key step in maintaining the PLM200 filter's efficiency.
5.2 Winterização
In areas subject to freezing temperatures, the filter must be drained and winterized to prevent damage. Consult your local pool professional for specific winterization procedures for your region.
6. Solução De Problemas
| Problema | Possível causa | Solução |
|---|---|---|
| Baixo fluxo de água / Alta pressão | Clogged filter cartridges | Clean filter cartridges (refer to Section 5.1) |
| Baixo fluxo de água / Alta pressão | Ar no sistema | Bleed air from the system using the air relief valve. Check for leaks in suction lines. |
| Water Leaking from Tank | Improperly seated posi-ring closure or O-ring | Turn off pump, relieve pressure. Re-seat posi-ring and inspect O-ring for damage. Lubricate O-ring if dry. |
| Water Leaking from Tank | Cracked tank or fittings | Inspect tank and fittings for cracks. Replace damaged components. |
| Filter Not Clearing Water | Damaged or worn filter cartridges | Inspect and replace filter cartridges if damaged. |
| Filter Not Clearing Water | Improper water chemistry | Test and balance pool water chemistry. |
7. Especificações
- Modelo: PLM200
- Área de filtro: 200 pés quadrados
- Taxa de fluxo: 75-150 GPM (Galões por Minuto)
- Dimensões do produto: 20.75 x 20.75 x 29 polegadas (comprimento x largura x altura)
- Peso do item: 41.2 libras
- Fabricante: Pentair
- Material da carcaça: Rugged ABS Thermoplastic
- Tipo de fechamento: Posi-Ring
8. Informações de garantia
Pentair warrants its products against defects in material and workmanship. The specific warranty period and terms may vary by product and region. Please refer to the official Pentair warranty statement included with your product packaging or visit the official Pentair website para obter informações detalhadas sobre a garantia.
Guarde o comprovante de compra para reclamações de garantia.
9. Suporte ao cliente
For technical assistance, replacement parts, or further information regarding your Pentair Sta-Rite PLM200 filter, please contact Pentair Customer Service.
- Website: www.pentair.com
- Telefone: Consulte a Pentair website para números de contato regionais.
- Recursos on-line: Product manuals, FAQs, and troubleshooting guides are often available on the manufacturer's website.


