Introdução
This manual provides detailed instructions for the setup, operation, and maintenance of your Supersonic SC371 Digital Projection Alarm Clock with AM/FM Radio. Please read this manual thoroughly before using the device to ensure proper function and to maximize your user experience.
Informações de segurança
- Não exponha a unidade a temperaturas extremas, luz solar direta, poeira ou umidade.
- Ensure the power adapter is compatible with your local power supply (AC 120V, 60Hz).
- Não tente desmontar ou modificar a unidade. Encaminhe todos os serviços de manutenção para pessoal qualificado.
- Mantenha o aparelho longe de água ou outros líquidos.
- Use only the specified battery type for backup (9V, not included).
Conteúdo da embalagem
Por favor, verifique se todos os itens estão presentes na embalagem:
- Supersonic SC371 Digital Projection Alarm Clock with Radio
- Adaptador de energia CA
- Manual do usuário (este documento)
Produto acimaview
The Supersonic SC371 is a versatile digital alarm clock featuring a clear LED display, built-in time projection, and an integrated AM/FM radio. It includes an alarm with sleep/snooze timers and a 3.5mm audio input for external devices.
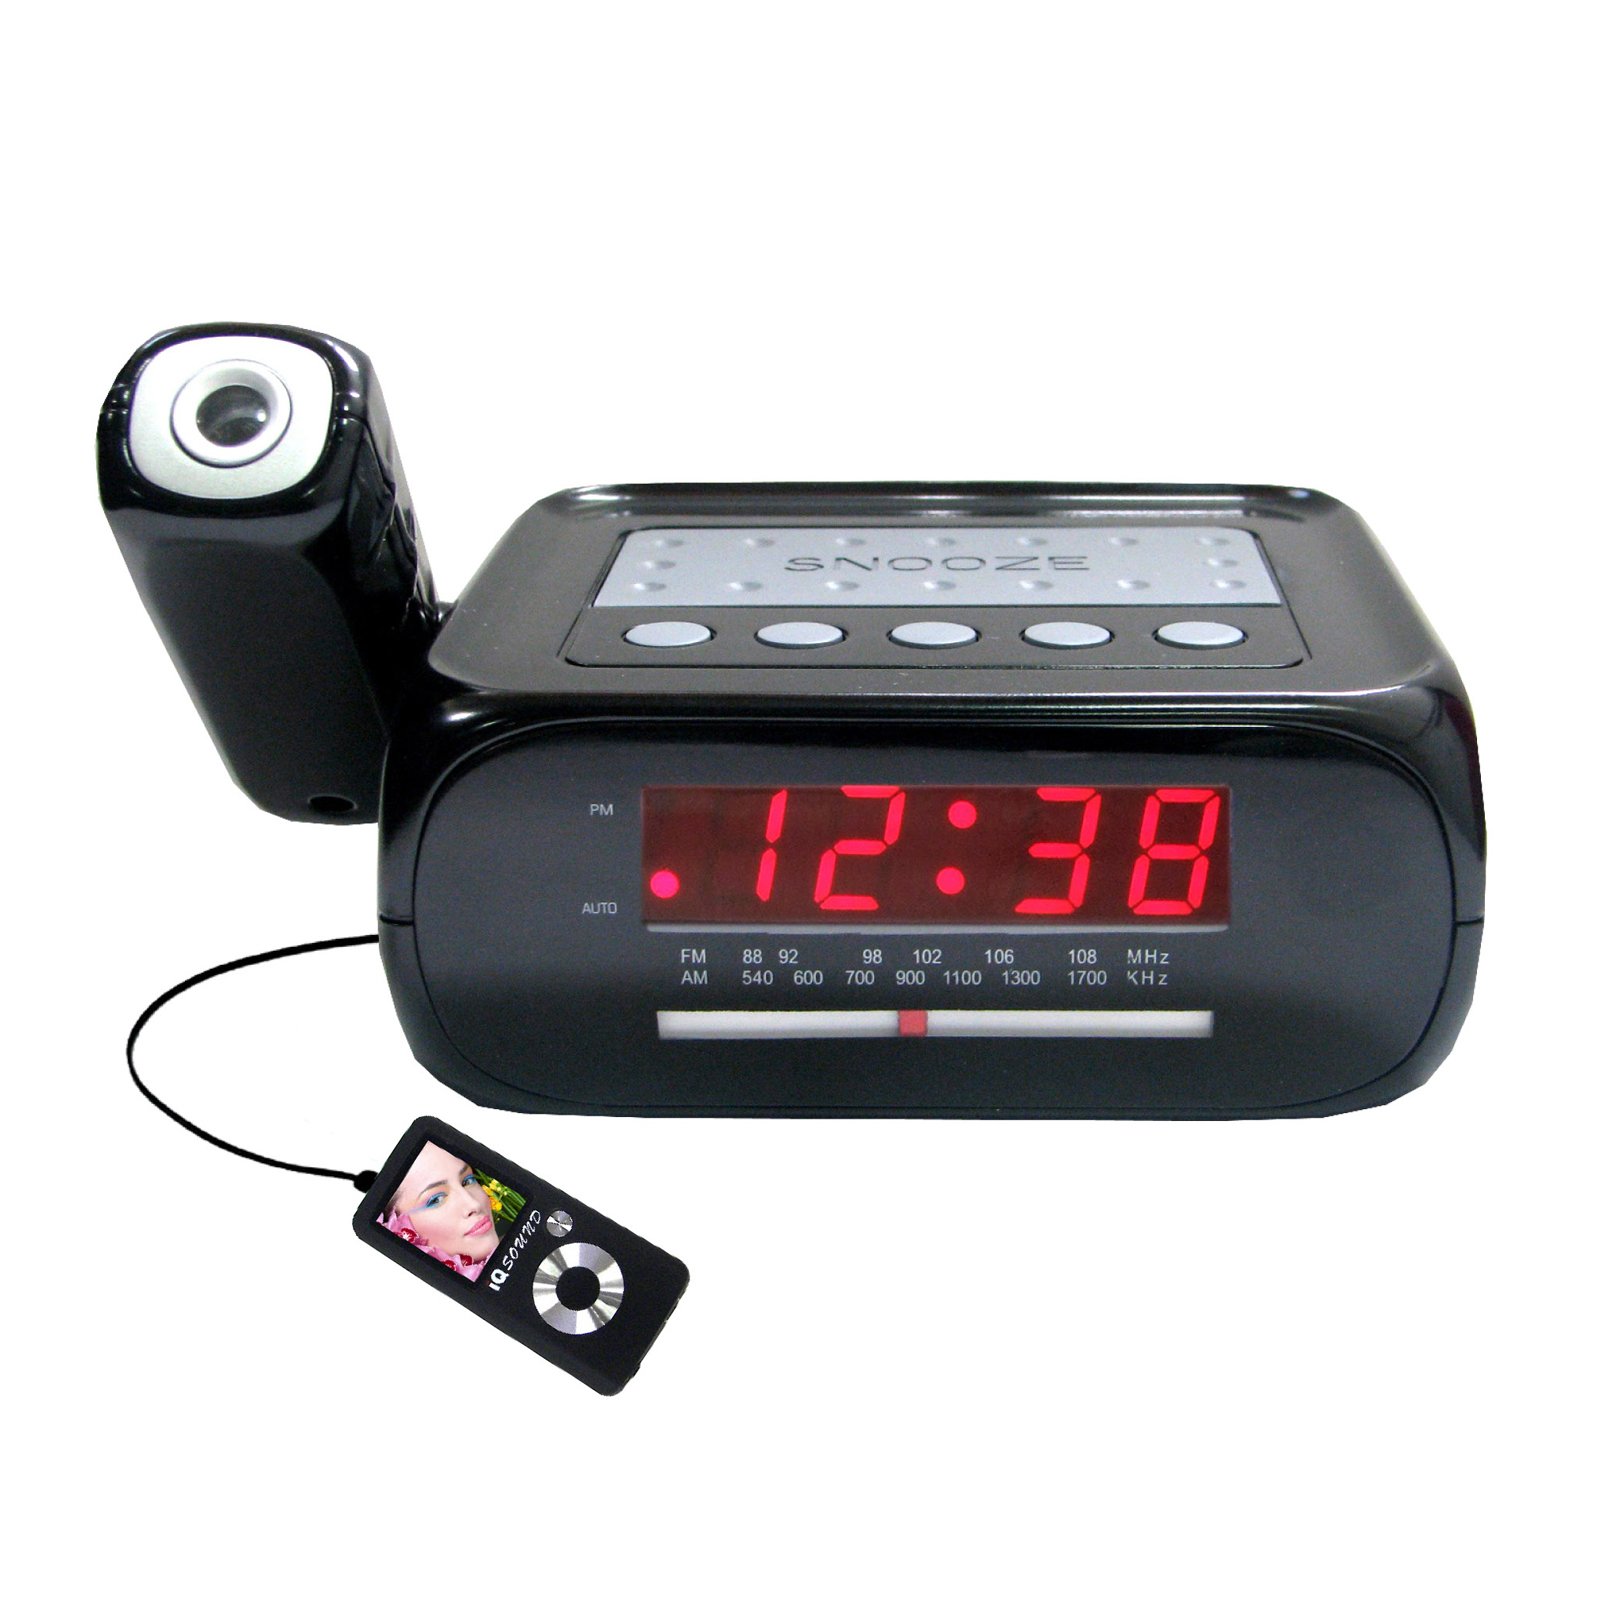
Imagem: Frente view of the Supersonic SC371 Digital Projection Alarm Clock, showing the LED display and control buttons.
Principais características:
- Digital Clock with LED Display
- Built-in Time Projection
- Sintonizador de rádio AM/FM
- Alarm Clock with Sleep/Snooze Timers
- Wake Up to Music or Buzzer
- 3.5mm Audio Input Jack for Portable Audio Players
Configurar
1. Conexão de energia
Connect the AC power adapter to the DC IN jack on the back of the unit, then plug the adapter into a standard AC 120V, 60Hz wall outlet. The unit will power on and the LED display will illuminate.
2. Bateria de reserva (opcional)
For battery backup functionality, insert one 9V battery (not included) into the battery compartment located on the bottom of the unit. This battery will preserve time and alarm settings during a power outage, but the display and projection will not operate.
Instruções de operação
Definir o tempo
- Pressione e segure o HORÁRIO DEFINIDO botão. Os dígitos da hora começarão a piscar.
- Use o HORA botão para ajustar a hora.
- Use o MINUTO botão para ajustar os minutos.
- Imprensa HORÁRIO DEFINIDO Novamente, para confirmar e sair do modo de configuração de hora.
Configurando o alarme
- Pressione e segure o ALARME DEFINIDO botão. Os dígitos da hora do alarme piscarão.
- Use o HORA botão para definir a hora do alarme desejada.
- Use o MINUTO para definir o minuto do alarme desejado.
- Imprensa ALARME DEFINIDO Novamente, para confirmar o horário do alarme.
- Pressione o ALARME LIGADO / DESLIGADO button to activate or deactivate the alarm. An indicator will appear on the display when the alarm is active.
Função soneca
Quando o alarme tocar, pressione o SONECA Botão para silenciar temporariamente o alarme por aproximadamente 9 minutos. O alarme tocará novamente após o período de soneca.
Operação de rádio (AM/FM)
- Pressione o RÁDIO LIGADO/DESLIGADO botão para ligar o rádio.
- Pressione o BANDA Botão para alternar entre as bandas AM e FM.
- Use o AFINAÇÃO knob or buttons (if available) to select your desired station.
- Ajuste o volume usando o VOLUME botão.
- Para desligar o rádio, pressione o botão RÁDIO LIGADO/DESLIGADO botão novamente.
Projeção de Tempo
The unit features a built-in projector to display the time on a wall or ceiling. Locate the PROJEÇÃO button or switch. Press or slide it to activate the projection. You may be able to adjust the focus and angle of the projection using dedicated controls on the unit.
Usando a entrada auxiliar
Connect an external audio device (e.g., MP3 player, smartphone) to the 3.5mm Audio Input Jack using a standard 3.5mm audio cable (not included). The unit will automatically switch to AUX mode, allowing you to play audio from your connected device through the clock's speaker.
Manutenção
Limpeza
To clean the unit, gently wipe the surfaces with a soft, dry cloth. Do not use abrasive cleaners, waxes, or solvents, as these can damage the finish. Ensure the unit is unplugged before cleaning.
Substituição da bateria
If the battery backup feature is used, replace the 9V battery annually or when the unit fails to retain settings during a power interruption.
Solução de problemas
| Problema | Possível causa | Solução |
|---|---|---|
| A unidade não liga. | Adaptador de energia não está conectado ou está com defeito. | Certifique-se de que o adaptador CA esteja firmemente conectado à unidade e a uma tomada elétrica em funcionamento. |
| Projection does not work or is dim. | Projection feature not activated; unit too far from surface; projector lens obstructed. | Activate the projection feature. Adjust the unit's distance from the projection surface. Clean the projector lens if necessary. |
| Estática no rádio ou recepção ruim. | Sinal fraco; antena não estendida. | Extend the FM wire antenna fully. Reposition the unit for better reception. |
| O alarme não dispara. | Alarme não configurado ou desativado; volume muito baixo. | Ensure the alarm is set and activated (check display indicator). Increase the volume. |
Especificações
| Recurso | Especificação |
|---|---|
| Número do modelo | SC371 |
| Tipo de exibição | LED digital |
| Fonte de energia | AC 120V, 60Hz (Corded Electric) |
| Bateria de reserva | 1 x 9V (not included) |
| Características especiais | Alarm, Audio Input, Projection Clock, Radio, Snooze |
| Dimensões (CxLxA) | 18.52 x 9.42 x 8.71 cm (7.29 x 3.71 x 3.43 polegadas) |
| Peso do item | 517 g (1.14 lbs) |
| Tipo de montagem | Mesa |
Garantia e Suporte
Supersonic products are designed for reliability and performance. For warranty information or technical support, please refer to the warranty card included with your purchase or visit the official Supersonic webGuarde o comprovante de compra como prova para eventuais solicitações de garantia.


