Introdução
This manual provides essential information for the safe and efficient installation, operation, and maintenance of your BRILLIANT Luca 4-Flame Spot Tube Light. Please read these instructions carefully before installation and retain them for future reference.
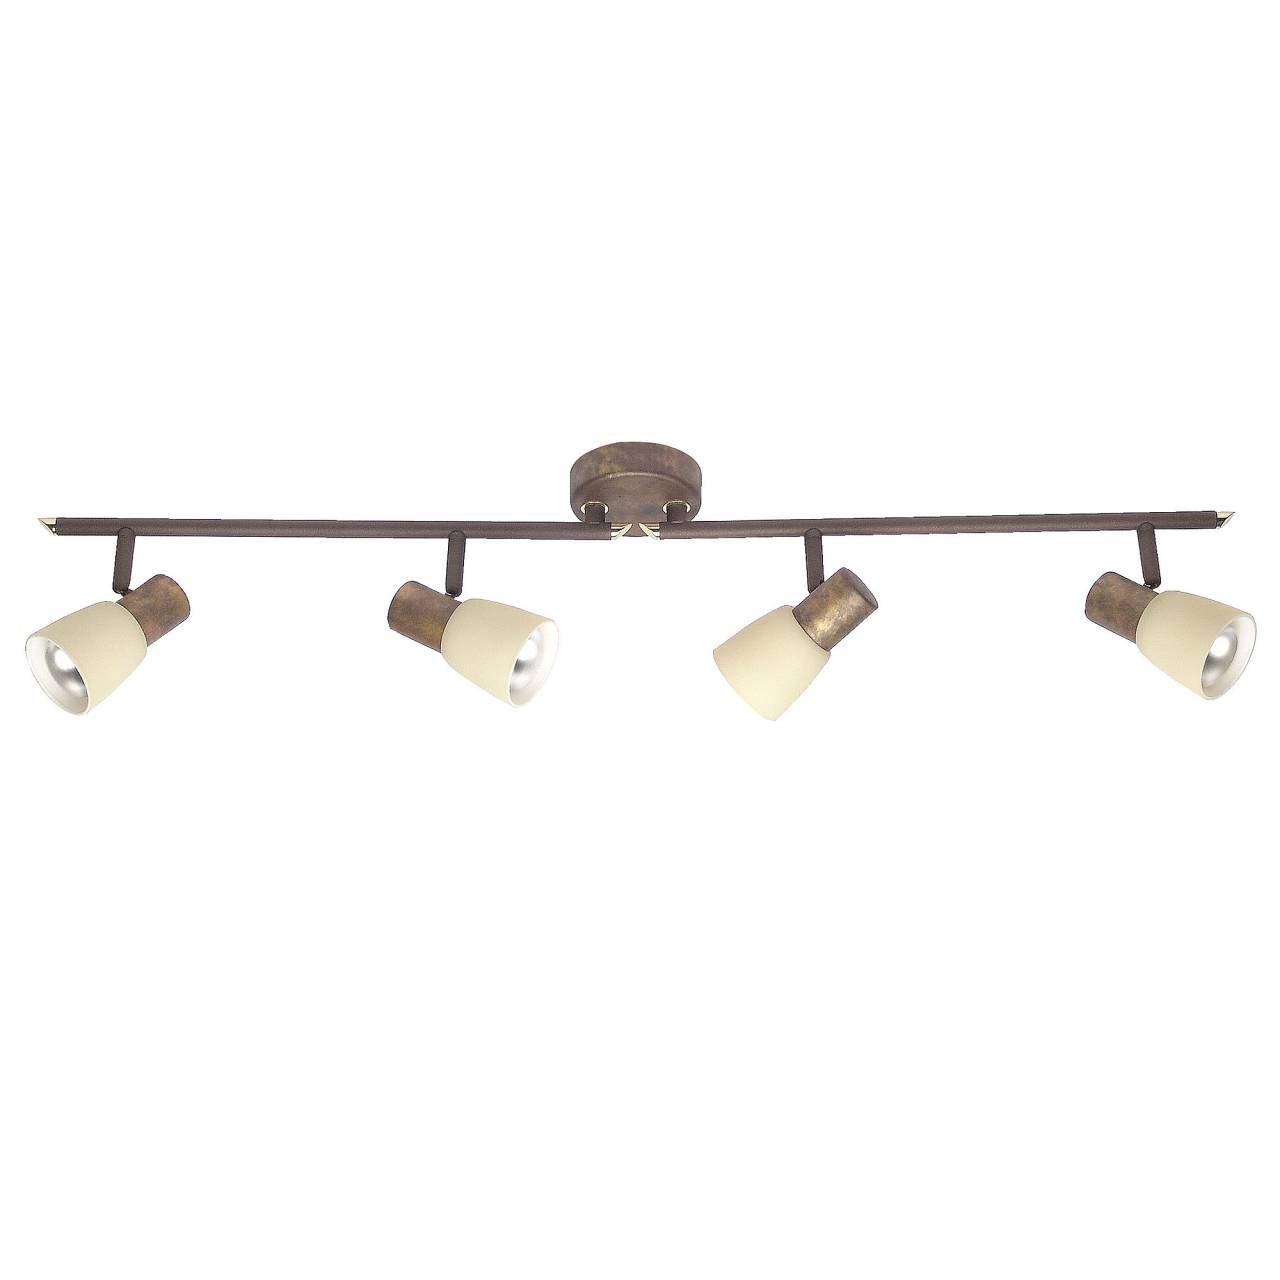
Image 1: The BRILLIANT Luca 4-Flame Spot Tube Light. This image displays the complete light fixture, featuring a long, brown metal bar with four individual spot heads. Each spot head is adjustable and includes a beige glass shade, designed to direct light. The central mounting plate is also visible.
Instruções de segurança
- Desligue sempre a energia no disjuntor ou fusível principal antes de instalar, realizar manutenção ou substituir uma lâmpada.
- A instalação deve ser realizada por um eletricista qualificado ou pessoa competente.
- Certifique-se de que a superfície de montagem suporte o peso da luminária.
- Não exceda a temperatura máximatage specified for the bulbs (40W per bulb).
- Este produto foi projetado apenas para uso interno (classificação IP20). Não o exponha à umidade ou a temperaturas extremas.
- Allow bulbs to cool before touching or replacing them.
- Mantenha os materiais de embalagem fora do alcance das crianças.
Conteúdo da embalagem
Verifique se todos os componentes estão presentes antes de iniciar a instalação:
- 1x BRILLIANT Luca 4-Flame Spot Tube Light fixture
- Mounting material (screws, wall plugs, etc.)
- Manual de instruções
Note: Light bulbs (E14, R50 reflector type, max 40W) are not included and must be purchased separately. LED bulbs are compatible.
Especificações
| Marca | Brilhante |
| Número do modelo | 35832/56 |
| Dimensões (C x L x A) | 85 x 23.2 x 23.2 cm |
| Peso | 1.22 kg |
| Material | Metal, Vidro |
| Cor | Brown (fixture), Beige (shade) |
| Número de lâmpadas | 4 |
| Tipo de soquete da lâmpada | E14 |
| Max Wattage por lâmpada | 40 Watts |
| Volumetage | 240 Volts |
| Classificação IP | IP20 (somente para uso interno) |
| Características especiais | Dimmable (with appropriate bulbs and external dimmer), Adjustable Spot Heads |
| Tipo de instalação | Montagem no teto |
Configuração e instalação
Importante: Before starting installation, ensure the power supply is switched off at the main circuit breaker to prevent electric shock.
- Prepare a superfície de montagem: Choose a suitable location on your ceiling or wall. Ensure the surface is clean, dry, and structurally sound to support the light fixture.
- Marque os pontos de perfuração: Hold the mounting bracket of the fixture against the desired installation spot. Use a pencil to mark the positions for drilling holes.
- Furos de perfuração: Drill holes at the marked positions using an appropriate drill bit for your ceiling/wall material. Insert the provided wall plugs into the drilled holes.
- Suporte de montagem seguro: Attach the mounting bracket to the ceiling/wall using the provided screws. Ensure it is firmly secured.
- Conexão elétrica: Connect the household electrical wires to the terminal block on the fixture. Follow standard wiring color codes (e.g., Live to Live, Neutral to Neutral, Earth to Earth). Ensure all connections are secure.
- Fixe o dispositivo ao suporte: Carefully align the light fixture with the secured mounting bracket and attach it using the remaining screws or fastening mechanism.
- Instalar Lâmpadas: Insert four E14 R50 reflector bulbs (not included) into the lamp holders. Do not exceed 40 Watts per bulb. LED bulbs are recommended for energy efficiency.
- Restaurar energia: Após a conclusão da instalação e a verificação de que todas as conexões estão seguras, restabeleça a energia no disjuntor principal.
Consulte um eletricista qualificado se tiver dúvidas sobre qualquer parte do processo de instalação.
Instruções de operação
- Ligar / desligar: Operate the light using your standard wall switch.
- Ajustando os cabeçotes de foco: The individual spot heads are pivotable and the arms are rotatable. Gently adjust each spot head and arm to direct the light to your desired area.
- Função de escurecimento: If you are using dimmable E14 bulbs and have an external dimmer switch installed, you can adjust the light intensity by operating the dimmer. Ensure your bulbs are compatible with your dimmer type.
Manutenção
- Limpeza: Disconnect power before cleaning. Wipe the fixture with a soft, dry cloth. Do not use abrasive cleaners or solvents, as these can damage the finish.
- Substituição de lâmpada:
- Ensure the light is switched off and has cooled down completely.
- Carefully unscrew the old E14 bulb from its socket.
- Screw in a new E14 R50 reflector bulb, ensuring it is no more than 40 Watts.
- Restaure a energia e teste a luz.
- Verificações regulares: Periodically check all connections and mounting screws to ensure they remain tight and secure.
Solução de problemas
| Problema | Possível causa | Solução |
|---|---|---|
| A luz não acende. |
|
|
| A luz pisca. |
|
|
| Dimming does not work. |
|
|
Se os problemas persistirem, entre em contato com o suporte ao cliente ou com um eletricista qualificado.
Garantia e Suporte
Information regarding warranty and spare parts availability is not provided in the product details. For support, please refer to the retailer or manufacturer's official website.
Fabricante: Brilhante


