1. Introdução
Thank you for choosing the Phylrich KSB40/26D Regent Towel Ring. This manual provides detailed instructions for the proper installation, use, and maintenance of your new towel ring. Please read this manual thoroughly before beginning installation and retain it for future reference.
2. Informações de segurança
- Always wear appropriate safety gear, such as safety glasses, during installation.
- Ensure that mounting surfaces are structurally sound and can support the weight of the towel ring and any towels.
- Use caution when using power tools to avoid injury or damage to surfaces.
- Mantenha as peças pequenas longe do alcance das crianças para evitar riscos de asfixia.
3. Conteúdo da embalagem
Verifique se todos os componentes estão presentes antes de iniciar a instalação:
- Towel Ring Assembly
- Suporte de montagem
- Parafusos de montagem (normalmente 2)
- Wall Anchors (if applicable for drywall installation)
- Hex Wrench (for set screw)
4. Ferramentas necessárias
As seguintes ferramentas são normalmente necessárias para a instalação:
- Chave de fenda Phillips
- Drill with appropriate drill bit (e.g., 1/4 inch for wall anchors)
- Lápis
- Fita métrica
- Nível
5. Configuração e instalação
Follow these steps to properly install your Phylrich KSB40/26D Regent Towel Ring:
- Escolha a localização: Select a suitable location on your wall, ensuring it is at a convenient height and clear of any electrical wiring or plumbing. Use a level to mark the desired position for the mounting bracket.
- Marcar furos de perfuração: Hold the mounting bracket against the wall at the marked location. Use a pencil to mark the positions for the two screw holes.
- Furos piloto de perfuração: Using a drill with an appropriate drill bit (e.g., 1/4 inch for drywall anchors), drill pilot holes at the marked locations. If drilling into a wall stud, a smaller pilot hole may be sufficient. If installing into drywall without a stud, insert the wall anchors into the pilot holes until flush with the wall surface.
- Fixe o suporte de montagem: Align the mounting bracket with the pilot holes (or anchors). Secure the bracket to the wall using the provided mounting screws and a Phillips head screwdriver. Ensure the bracket is firmly attached and level.
- Attach Towel Ring Assembly: Position the towel ring assembly over the mounted bracket. The base of the towel ring should fit snugly over the bracket.
- Secure Towel Ring: Locate the small set screw on the underside of the towel ring base. Use the provided hex wrench to tighten this set screw. This will secure the towel ring assembly to the mounting bracket. Do not overtighten.
- Estabilidade do teste: Gently pull on the towel ring to ensure it is securely fastened to the wall.
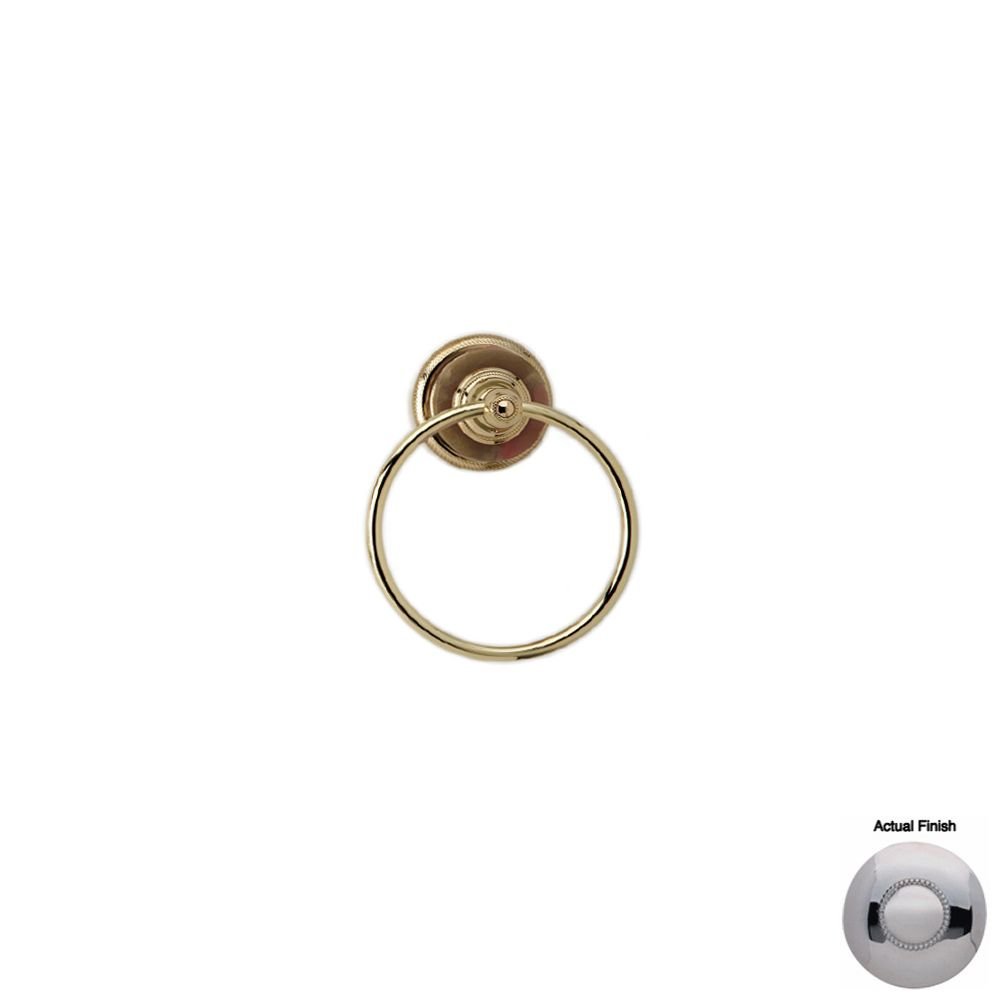
Image 1: The Phylrich KSB40/26D Regent Satin Chrome Towel Ring, shown installed. This image illustrates the product's appearance and how it would look mounted in a bathroom setting.
6. Instruções de operação
The Phylrich KSB40/26D Regent Towel Ring is designed for holding towels. Simply drape your towel over the ring. Avoid hanging excessively heavy items on the towel ring, as this may compromise its stability or damage the mounting surface.
7. Manutenção
To maintain the finish and appearance of your towel ring:
- Limpe regularmente com um pano macio e secoamp pano.
- Avoid using abrasive cleaners, harsh chemicals, or scouring pads, as these can damage the satin chrome finish.
- For stubborn spots, a mild soap solution can be used, followed by rinsing with clean water and drying thoroughly.
8. Solução De Problemas
Issue: Towel ring feels loose.
Possível causa: The set screw securing the towel ring to the mounting bracket may have loosened over time.
Solução: Locate the set screw on the underside of the towel ring base. Use the hex wrench to gently tighten the set screw until the towel ring is firm. Do not overtighten.
Issue: Towel ring is wobbly on the wall.
Possível causa: The mounting screws securing the bracket to the wall may be loose, or the wall anchors may not be properly seated.
Solução: Remove the towel ring assembly by loosening the set screw. Check the mounting bracket. Tighten the mounting screws. If wall anchors were used, ensure they are fully expanded and secure. If the wall material is damaged, consider relocating the towel ring or using more robust anchors.
9. Especificações
- Marca: Phylrich
- Número do modelo: KSB40/26D
- Terminar: Cromo acetinado
- Quantidade do pacote de itens: 1
- ASIN: B0067PANRM
- Data da primeira disponibilidade: 14 de novembro de 2011
10. Garantia e Suporte
For warranty information or technical support, please refer to the official Phylrich webou entre em contato com o departamento de atendimento ao cliente. Guarde o comprovante de compra como prova de aquisição.
Phylrich Official Website: www.phylrich.com


