Introdução
This manual provides detailed instructions for the safe and proper installation, operation, and maintenance of your Progress Lighting Inspire Collection 9-Light Off-White Linen Shade Traditional Chandelier in Brushed Nickel. Please read all instructions carefully before beginning installation and retain this manual for future reference.
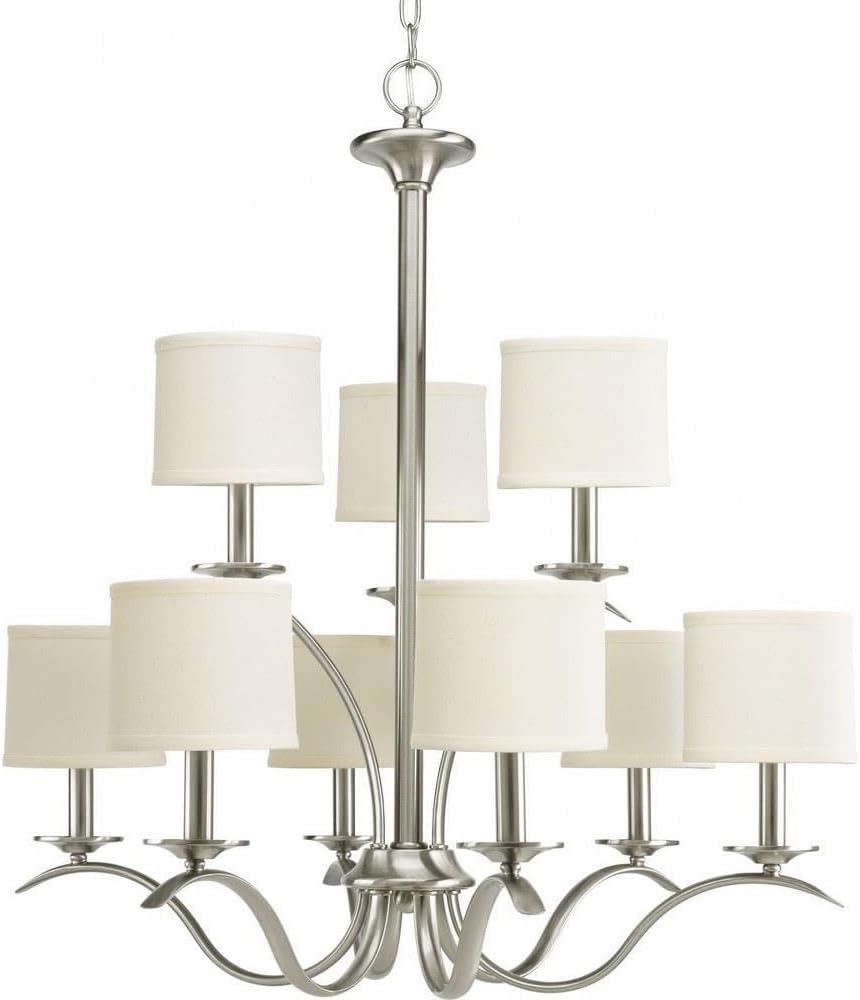
Image: The Inspire Collection 9-Light Chandelier featuring a brushed nickel finish and off-white linen shades.
Informações de segurança
AVISO: To reduce the risk of fire, electric shock, or personal injury, always turn off the main power supply at the circuit breaker before installation, removal, or servicing. This product requires professional installation. Always consult a qualified electrician if you are unsure about the installation process.
Aviso da Proposta 65: Este produto pode conter produtos químicos conhecidos no Estado da Califórnia por causar câncer e defeitos congênitos ou outros danos reprodutivos. Lavar as mãos após o manuseio.
- Ensure all electrical connections are in accordance with local codes and ordinances.
- Use apenas o tipo de lâmpada e a água especificadostage para evitar superaquecimento.
- Do not hang anything from the fixture.
Conteúdo da embalagem
Verifique se todos os componentes estão presentes antes de iniciar a instalação:
- Chandelier fixture assembly
- 9 Off-white linen shades
- Ceiling chain (6 feet of 9 gauge chain supplied)
- Fiação elétrica
- Mounting hardware (may require additional screws not included)
- Folha de instalação
Configuração e instalação
Professional installation is recommended for this chandelier. Follow these general steps, referring to the included installation sheet for specific details.
1. Prepare-se para a instalação
- Desligue a energia no disjuntor.
- Carefully unpack the fixture and components.
- Determine the desired hanging height. For an 8-foot ceiling, the bottom of the chandelier should be 30-36 inches above a dining table. For higher ceilings, divide the vertical space into thirds and position the chandelier two-thirds of the distance from the floor, ensuring at least 7 feet of clearance from the floor in areas where people walk underneath.
2. Mount the Fixture
- Attach the mounting bracket to the junction box in the ceiling.
- Adjust the chain length as needed. The supplied chain is 6 feet long.
- Thread the electrical wires through the chain and canopy.
3. Conexões elétricas
- Connect the fixture's ground wire to the ground wire from the junction box.
- Connect the fixture's 'white or identified' wire (often with ridges) to the white (neutral) wire from the junction box.
- Connect the fixture's 'plain or black' wire to the black (hot) wire from the junction box.
- Proteja todas as conexões com conectores de fios e fita isolante.
4. Montagem Final
- Fixe a cobertura ao teto.
- Install 9 candelabra-shaped bulbs (E26 base, maximum 60 watts each). Note: Only candelabra-shaped bulbs can be used with the shades.
- Attach the off-white linen shades to each light socket.
- Restaure a energia no disjuntor.
Guia de instalação visual
Vídeo: Uma análise abrangenteview of chandelier installation by Progress Lighting, demonstrating key steps and considerations for proper setup.
Dimensões do produto

Image: Dimensional drawing of the chandelier, indicating a width of 29.38 inches and a height of 31 inches.
Instruções de operação
Once properly installed, your chandelier can be operated using a standard wall switch. If your electrical setup includes a dimmer switch, ensure it is compatible with incandescent bulbs for optimal performance.
The fixture's switch type is listed as 'Pull Chain' in some specifications, however, the primary control is typically via a wall switch for chandeliers of this design. Please refer to your specific home wiring and switch setup.
Manutenção
Limpeza
- Desligue sempre a energia antes de limpar.
- Limpe o aparelho com um pano macio e seco.
- Não utilize produtos de limpeza abrasivos ou solventes, pois podem danificar o acabamento.
- The linen shades can be gently dusted or spot cleaned with a damp pano se necessário.
Substituição de lâmpada
- Ensure power is off and bulbs have cooled before replacing.
- Unscrew old bulbs and screw in new E26 candelabra-shaped bulbs.
- Não exceda a temperatura máximatage de 60 watts por lâmpada.
Solução de problemas
If your chandelier is not functioning correctly, refer to the following common issues:
- Sem luz: Check the circuit breaker, ensure bulbs are securely screwed in, and verify all electrical connections are tight.
- Luzes piscantes: Ensure bulbs are fully tightened. If using a dimmer, confirm it is compatible with the bulb type and that the bulbs are dimmable.
- Fixação solta: Re-check mounting hardware and ensure it is securely fastened to the ceiling junction box.
Se os problemas persistirem, consulte um eletricista qualificado.
Especificações
| Marca | Iluminação de progresso |
| Nome do modelo | Inspirar |
| Número da peça | P4638-09 |
| Cor | Níquel escovado |
| Material | Liga de aço |
| Material de Sombra | Linho |
| Estilo | Transitório |
| Formulário de Luminária | Lustre |
| Dimensões do produto | 29.38"C x 29.38"L x 31"A |
| Peso do item | 15 libras |
| Número de fontes de luz | 9 |
| Base de lâmpada | E26 |
| O quetage | 60 watts (por lâmpada) |
| Volumetage | 120 Volts |
| Uso interno/externo | Interior |
| Recurso especial | Listado pela UL |
Informações de garantia
This Progress Lighting product is covered by a Garantia limitada de 1 ano. This warranty guarantees your complete satisfaction with your purchase and includes professional after-sales customer service support. Please retain your proof of purchase for warranty claims.
Suporte ao cliente
For further assistance, technical support, or warranty inquiries, please visit the official Progress Lighting website or contact their customer service department. Refer to the packaging or the Progress Lighting website para informações de contato atualizadas.