1. Introdução
This manual provides instructions for the DYMO 45113 D1 Standard Labeling Tape. This tape is designed for use with compatible DYMO label makers, offering a durable and clear labeling solution for various applications. The tape features black print on a white background and measures 12mm in width and 7 meters in length (1/2 inch x 23 feet).
The DYMO D1 labeling tape is suitable for both indoor and outdoor use, resisting water, UV light, and temperature extremes. Its removable adhesive allows for repositioning without leaving residue on most surfaces.
2. Produto acabadoview
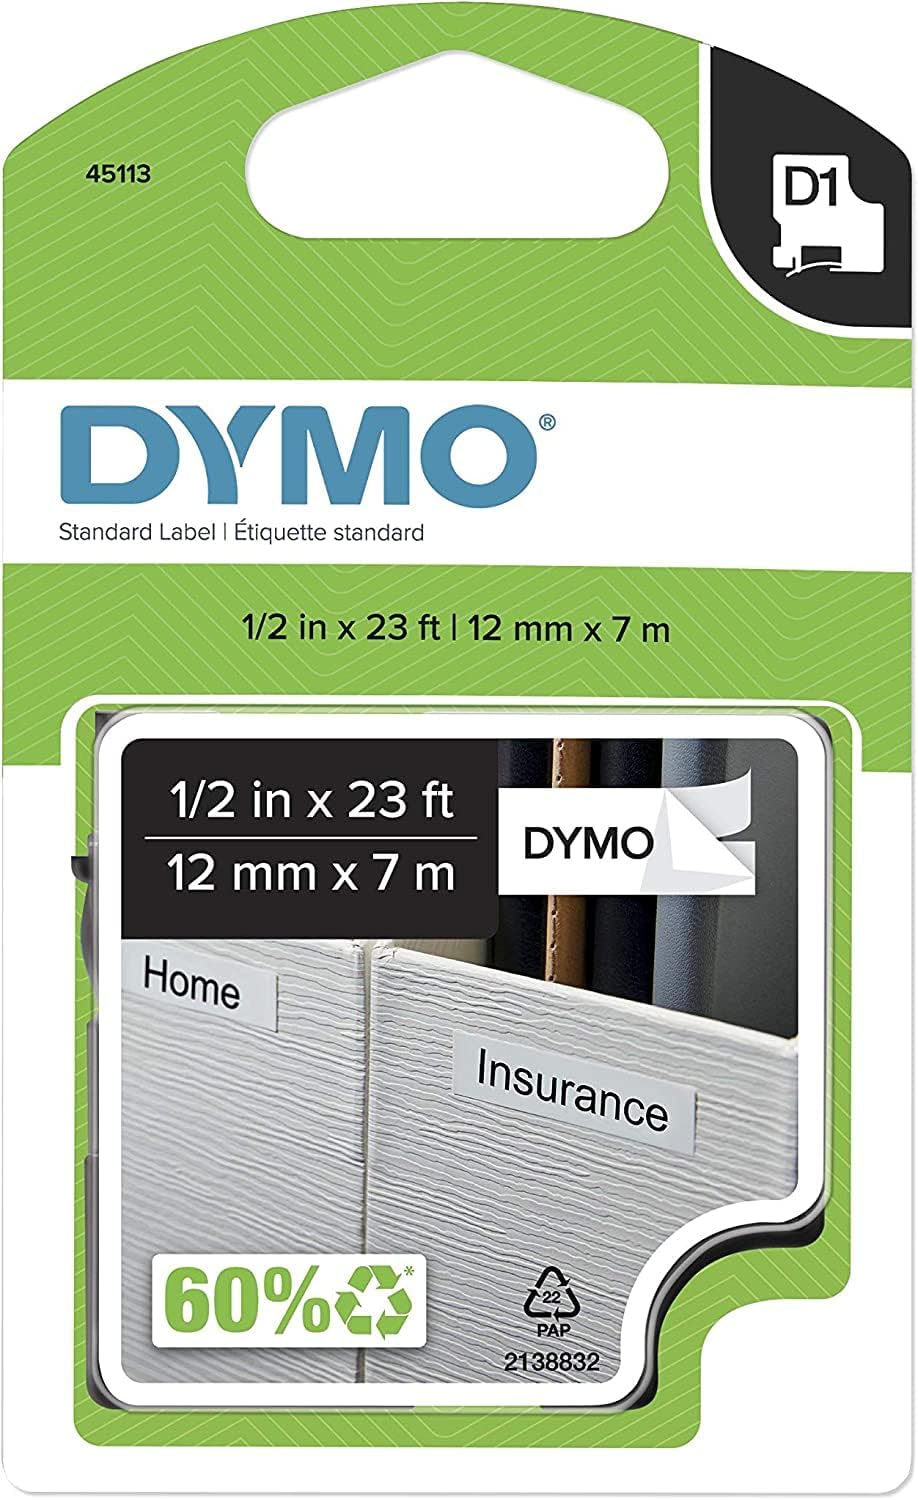
Figure 1: Packaging for DYMO 45113 D1 Standard Labeling Tape. The packaging indicates the model number "45113", the DYMO brand logo, "Standard Label", and the dimensions "1/2 in x 23 ft | 12 mm x 7 m". A visual representation of the tape applied to "Home" and "Insurance" labels is also visible, along with a "60% recycled" symbol and a "D1" cartridge icon.
3. Configuração e instalação
To install the DYMO 45113 D1 Labeling Tape into your compatible DYMO label maker, follow these general steps:
- Desligar: Ensure your label maker is turned off before attempting to install or remove the tape cartridge.
- Open Tape Compartment: Locate and open the tape compartment cover on your label maker. This is typically on the back or top of the device.
- Remova o cartucho antigo (se aplicável): If an old cartridge is present, gently pull it out.
- Insira um novo cartucho: Insert the new DYMO 45113 D1 tape cartridge into the compartment. Ensure it clicks firmly into place. The tape should feed smoothly into the label maker's print head mechanism.
- Fechar Compartimento: Feche bem a tampa do compartimento da fita.
- Initial Feed: Some label makers may require an initial tape feed to properly align the tape. Refer to your specific label maker's manual for details.
Note: Always refer to the instruction manual of your specific DYMO label maker for precise installation steps, as procedures may vary between models.
4. Instruções de operação
Once the DYMO 45113 D1 tape cartridge is installed, you can begin creating labels. The operation of the label maker itself will dictate the exact steps, but generally involves:
- Ligar: Turn on your DYMO label maker.
- Digite o texto: Use the label maker's keyboard to type the desired text for your label.
- Format Label: Utilize the label maker's functions to select font styles, sizes, borders, and other formatting options.
- Imprimir: Press the print button. The label maker will print the label and cut it (if equipped with an automatic cutter) or indicate where to cut manually.
- Aplicar etiqueta: Peel the backing from the printed label and apply it to a clean, dry surface. The removable adhesive allows for repositioning if needed.
For detailed instructions on specific label maker features, consult your label maker's user manual.
5. Manutenção
Proper maintenance ensures optimal performance and longevity of your labeling tape and label maker:
- Armazenar: Store unused tape cartridges in a cool, dry place away from direct sunlight and extreme temperatures.
- Limpeza: If print quality degrades, the print head of your label maker may need cleaning. Refer to your label maker's manual for cleaning instructions. Do not attempt to clean the tape itself.
- Manuseio: Avoid touching the adhesive side of the tape or the print surface to prevent smudges or reduced adhesion.
6. Solução De Problemas
If you encounter issues while using your DYMO 45113 D1 labeling tape, consider the following common troubleshooting steps:
- Má qualidade de impressão:
- Ensure the tape cartridge is correctly seated in the label maker.
- Clean the print head of your label maker as per its manual.
- Check if the tape is old or expired; replace if necessary.
- Tape Jams:
- Turn off the label maker and carefully open the tape compartment.
- Gently remove any jammed tape. Do not pull forcefully.
- Reinsert the cartridge, ensuring it is properly aligned.
- Etiquetas não colam:
- Certifique-se de que a superfície de aplicação esteja limpa, seca e lisa.
- Avoid touching the adhesive side of the label.
- Verify the tape is not expired or stored in extreme conditions.
If problems persist, consult the user manual for your specific DYMO label maker or contact DYMO customer support.
7. Especificações
| Número do modelo | 45113 |
| Marca | DYMO |
| Tipo de produto | D1 Standard Labeling Tape |
| Cor | Black print on White tape |
| Dimensões | 12 mm (1/2 inch) width x 7 m (23 ft) length |
| Recurso especial | Adesivo removível |
| Compatibilidade | Compatible with DYMO D1 label makers |
| Peso do item | 0.353 onças |
| Dimensões do produto (embalagem) | 5.5 x 3.1 x 0.6 polegadas |
| UPC | 071701451132 |
8. Garantia e Suporte
For information regarding product warranty, technical support, or to purchase additional supplies, please visit the official DYMO website or contact DYMO customer service directly. Specific warranty terms may vary by region and product.
Suporte online: www.dymo.com/support


