1. Introdução
This manual provides essential information for the safe and effective use of your Leica M (Typ 240) Digital Rangefinder Camera, model 10770. The Leica M is engineered for superior image quality, precise focusing, and robust performance, featuring a 24-megapixel CMOS sensor and the Leica Maestro image processor.
Os principais recursos incluem:
- High-resolution 24-megapixel CMOS sensor for exceptional detail.
- Fast Leica Maestro image processor for rapid image handling.
- Ao vivo View with 10x magnification and Focus Peaking for precise focusing.
- Splash-proof camera body for enhanced durability.
- 3-inch TFT LCD screen with 920,000 pixels and Corning Gorilla glass protection.
- Full 1080p HD video recording capabilities.
2. Configuração
2.1 Desempacotando e verificando o conteúdo
Carefully unpack your camera and verify that all components are present. The standard package for model 10770 includes the camera body only. Inspect the camera for any signs of damage before proceeding.
2.2 Instalação da bateria
The Leica M (Typ 240) uses one Lithium Metal battery (included). To install the battery:
- Locate the battery compartment cover, typically on the bottom of the camera.
- Open the cover by turning the locking mechanism.
- Insert the battery according to the polarity indicators inside the compartment.
- Feche bem a tampa do compartimento da bateria.
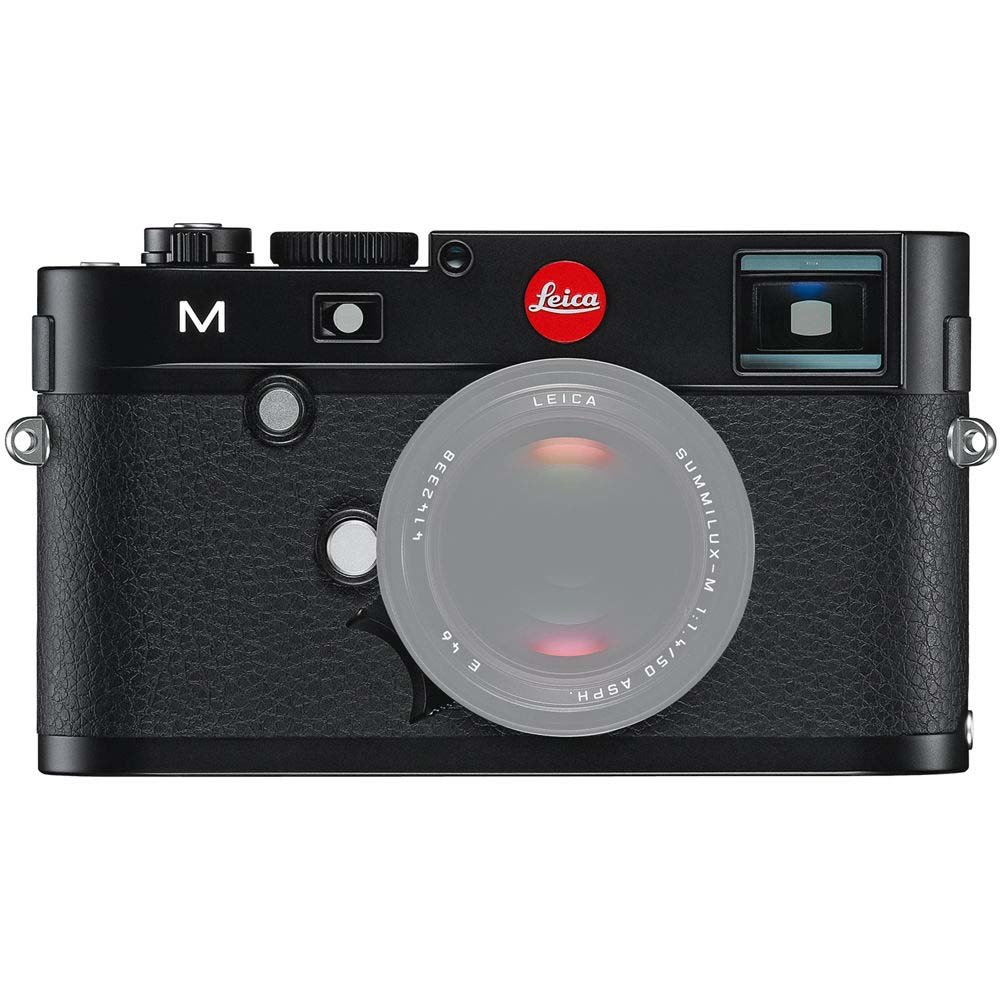
Frente view of the Leica M (Typ 240) Digital Rangefinder Camera, showing the lens mount and body design. This image illustrates the camera's exterior, which houses the battery compartment and other controls.
2.3 Inserção do cartão de memória
Insert a compatible SD card into the memory card slot. Ensure the card is inserted in the correct orientation until it clicks into place. Refer to the camera's display for confirmation of card recognition.
2.4 Encaixe da Lente
The Leica M (Typ 240) uses the Leica M mount. To attach a lens:
- Remova a tampa do corpo da câmera e a tampa traseira da lente.
- Align the red dot on the lens with the red dot on the camera's lens mount.
- Gently insert the lens into the mount and turn it clockwise until it locks into place.
2.5 Inicialização e configurações básicas
After installing the battery and memory card, turn on the camera using the power switch. The first time you power on, you may be prompted to set the date, time, and language. Follow the on-screen instructions to configure these basic settings.
3. Operando a câmera
3.1 controles acimaview
The Leica M (Typ 240) features a classic rangefinder design with intuitive controls. Familiarize yourself with the shutter speed dial, aperture ring (on the lens), focus ring (on the lens), and the various buttons and dials on the camera body for menu navigation and function selection.
3.2 Focalização
The camera offers multiple focusing methods:
- Rangefinder System: The classic method for precise manual focusing. Align the split or superimposed images in the viewlocalizador.
- Ao vivo View Ampliação: Ao usar o Live View on the LCD screen, you can magnify the image up to 10x for critical focus assessment.
- Ao vivo View Pico de Foco: This feature automatically highlights sharp contours in red on the Live View display, providing visual confirmation of focus.
3.3 Configurações de Exposição
The Leica M (Typ 240) provides comprehensive control over exposure. You can manually set aperture (via the lens), shutter speed (via the top dial), and ISO sensitivity. The camera also offers various metering modes, including Center Weighted, to assist in achieving correct exposure.
3.4 Shooting Still Images
Para capturar uma imagem estática:
- Componha sua foto usando o viewLocalizador ou Ao Vivo View.
- Adjust focus using one of the methods described above.
- Set your desired exposure parameters (aperture, shutter speed, ISO).
- Press the shutter button halfway to activate the meter, then fully to capture the image.
3.5 Gravação de vídeos
The Leica M (Typ 240) supports 1080p full-HD video recording. To record a video:
- Switch the camera to video mode (if applicable, refer to the camera's menu).
- Compose your shot and adjust focus.
- Press the dedicated video recording button or the shutter button (depending on configuration) to start and stop recording.
3.6 Reprodução de imagens
Para review Imagens e vídeos capturados:
- Pressione o botão Reproduzir.
- Use the navigation controls to scroll through your media.
- The 3-inch TFT LCD screen provides a clear display for reviewseus tiros.
4. Manutenção
4.1 Limpeza da Câmera
- Corpo da câmera: Use um pano macio e seco para limpar o corpo da câmera. Para sujeira mais persistente, use um pano levemente umedecido.amp Pode-se usar pano, mas evite o excesso de umidade.
- Lente: Use a lens brush or air blower to remove dust, then gently clean with a microfiber lens cloth and a specialized lens cleaning solution if necessary.
- Sensor: Sensor cleaning should be performed with extreme care. If dust spots appear on images, it is recommended to have the sensor professionally cleaned by an authorized service center.
- Tela LCD: Use a soft, lint-free cloth. Avoid harsh chemicals.
4.2 Armazenamento
When not in use, store the camera in a cool, dry place away from direct sunlight, high humidity, and extreme temperatures. Use a desiccant pack if storing in humid environments. Remove the battery if the camera will not be used for an extended period.
4.3 Cuidados com a bateria
Charge the battery fully before first use. For optimal battery life, avoid completely discharging the battery regularly. Store batteries in a cool, dry place. If storing for extended periods, charge them to approximately 50% capacity.
5. Solução De Problemas
5.1 A câmera não liga
- Certifique-se de que a bateria esteja inserida corretamente e totalmente carregada.
- Check that the battery contacts are clean.
- Experimente com uma bateria carregada diferente, se possível.
5.2 Images Are Out of Focus
- Verify that the lens is correctly attached and the focus ring is being adjusted properly.
- Ensure you are using the rangefinder or Live View focusing aids correctly.
- Check the diopter adjustment on the viewfinder if images appear blurry through it.
5.3 Image Quality Issues (e.g., Noise, Color Cast)
- Barulho: High ISO settings can introduce noise. Try lowering the ISO or using a brighter aperture/slower shutter speed.
- Elenco de cores: Check the white balance settings. Adjust to match the lighting conditions. Firmware updates may also address color rendition issues.
- Dust Spots: If dark spots appear on images, especially at smaller apertures, the sensor may require cleaning.
5.4 Memory Card Errors
- Ensure the memory card is fully inserted.
- Try formatting the card in the camera (Observação: isso apagará todos os dados.).
- Faça o teste com um cartão de memória diferente e compatível.
6. Especificações
| Recurso | Detalhe |
|---|---|
| Marca | Leica |
| Número do modelo | 10770 |
| Dimensões do produto | 5.47 x 1.65 x 3.15 polegadas |
| Peso do item | 1.29 libras |
| Baterias | 1 bateria de metal de lítio (incluída) |
| Montagens Compatíveis | Leica M |
| Tecnologia de sensor fotográfico | CMOS |
| Suportado File Formatar | JPG, RAW |
| Estabilização de Imagem | Digital |
| Zoom óptico | 1x |
| Abertura Máxima | 3.5 Millimeters (Note: This refers to the camera body's internal specification, actual lens aperture varies.) |
| Mínimo ISO expandido | 100 |
| Descrição da medição | Centro de gravidade |
| Data da primeira disponibilidade | 2 de fevereiro de 2010 |
7. Garantia e Suporte
For detailed warranty information, please refer to the warranty card included with your product or visit the official Leica website. Guarde o comprovante de compra para solicitações de garantia.
For further assistance, technical support, or service, please contact Leica customer service or visit an authorized Leica service center. You can find more information and resources on the Loja Leica na Amazon.