Introdução
This manual provides detailed instructions for the installation, operation, and maintenance of your Project Source Chrome 2-Handle 4-in Centerset WaterSense Bathroom Sink Faucet. Please read this manual thoroughly before installation and use to ensure proper function and longevity of your product. Keep this manual for future reference.
Produto acimaview
The Project Source Chrome 2-Handle 4-in Centerset WaterSense Bathroom Sink Faucet is designed for both home and RV use, offering a modern aesthetic with practical features.
Principais características:
- Home and RV Compatible
- 3-hole Deck Mount Installation on 4-in center
- Meets WaterSense criteria to conserve water without sacrificing performance, with a max flow rate of 1.2-GPM
- Sleek low arc spout allows plenty of sink space
- Easy Installation with Drop and Lock Drain
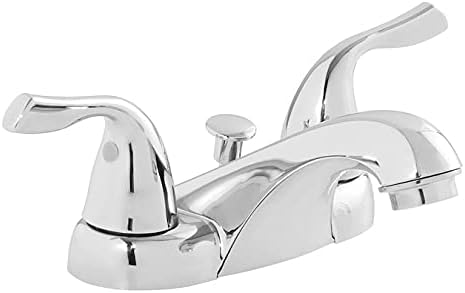
Figura 1: Frente view of the Project Source Chrome 2-Handle Bathroom Sink Faucet, showcasing its polished chrome finish and modern design.
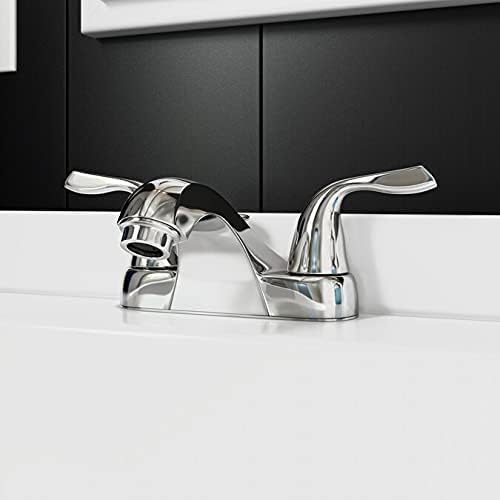
Figura 2: The Project Source Chrome Faucet installed on a white bathroom vanity, highlighting its compact and elegant profile.
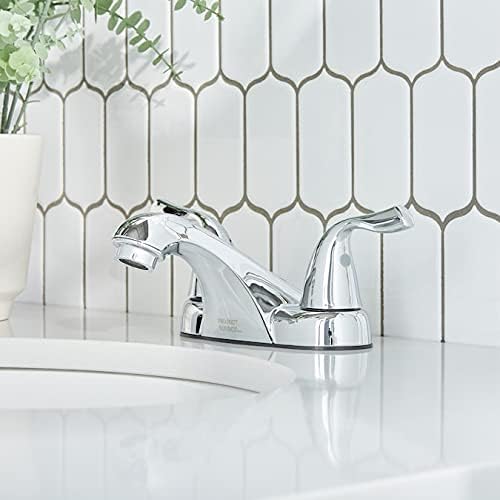
Figura 3: Lado view of the Project Source Chrome Faucet, demonstrating the clearance provided by its low arc spout above the sink basin.
Configuração e instalação
This faucet is designed for 3-hole deck mount installation on 4-inch centers. The included Drop and Lock Drain simplifies the installation process.
Installation Steps for Drop & Lock Drain:
- Drop & Lock: Insert the drain assembly into the sink drain hole.
- Trancar: Secure the drain from underneath the sink by tightening the locking mechanism.
- Ajustar: Make any necessary adjustments to ensure a proper seal and alignment.

Figura 4: Visual guide for the 'Drop & Lock' drain installation, illustrating the three simple steps for quick setup.
For detailed faucet body installation, refer to the separate installation guide provided with your product packaging.
Instruções de operação
The Project Source faucet features a two-handle design for precise control over water temperature and flow.
Controle do fluxo e da temperatura da água:
- The left handle controls the hot water supply. Turn the handle counter-clockwise to increase hot water flow.
- The right handle controls the cold water supply. Turn the handle counter-clockwise to increase cold water flow.
- Adjust both handles simultaneously to achieve the desired water temperature and flow rate.
- To turn off the water, rotate both handles clockwise until the flow stops completely.
Manutenção
Regular cleaning and maintenance will help preserve the finish and functionality of your Project Source faucet.
Limpeza da torneira:
- Limpe o acabamento cromado com um pano macio e seco.amp pano.
- Use sabão neutro e água, se necessário. Evite produtos de limpeza abrasivos, produtos químicos agressivos ou esponjas de aço, pois podem danificar o acabamento.
- Wipe dry with a soft cloth to prevent water spots and maintain shine.
Manutenção do aerador:
- Se o fluxo de água diminuir ou se tornar irregular, o arejador pode estar entupido.
- Desenrosque cuidadosamente o arejador da extremidade do bico.
- Rinse the aerator screen under running water to remove any debris.
- Remonte o arejador e aparafuse-o de volta no bico.
Solução de problemas
Caso encontre algum problema com a sua torneira, consulte as seguintes dicas comuns de resolução de problemas:
- Baixo fluxo de água: Verifique se o arejador está obstruído (consulte a seção Manutenção). Certifique-se de que as válvulas de abastecimento de água estejam totalmente abertas.
- Vazamento pelo bico: Turn off water supply. Check for loose connections or worn washers/gaskets within the faucet body. Consult a professional plumber if the issue persists.
- Leaking from Handles: Tighten handle screws. If leaking continues, the cartridge may need replacement.
- Sem água quente/fria: Verify that the hot/cold water supply lines are connected correctly and the corresponding shut-off valves are open.
For more complex issues or if troubleshooting steps do not resolve the problem, contact Project Source customer support or a qualified plumber.
Especificações
| Atributo | Detalhe |
|---|---|
| Marca | Fonte do Projeto |
| Usos recomendados para o produto | Banheiro |
| Tipo de montagem | Montagem em convés |
| Tipo de acabamento | Cromo |
| Material | Metal |
| Cor | Cromo |
| Número de alças | 2 |
| Componentes incluídos | Drain, Handle |
| Contagem de buracos | 3 |
| Tipo de instalação | Conjunto central |
| Certificado WaterSense | Yes (Max flow rate 1.2 GPM) |
Garantia e Suporte
Project Source products are manufactured to high-quality standards. For specific warranty information, please refer to the warranty card included with your product packaging or visit the official Project Source website. For technical support, replacement parts, or any other inquiries, please contact Project Source customer service.