1. Introdução
This manual provides comprehensive instructions for the Sony Cyber-shot DSC-W810 Digital Camera. It covers essential information for setting up, operating, maintaining, and troubleshooting your camera to ensure optimal performance and longevity. Please read this manual thoroughly before using your camera.
2. Produto acabadoview
Familiarize yourself with the components and controls of your Sony Cyber-shot DSC-W810 camera.
2.1 Componentes da câmera

Figura 1: Frente view of the camera with the lens retracted. This shows the lens, flash, and shutter button.
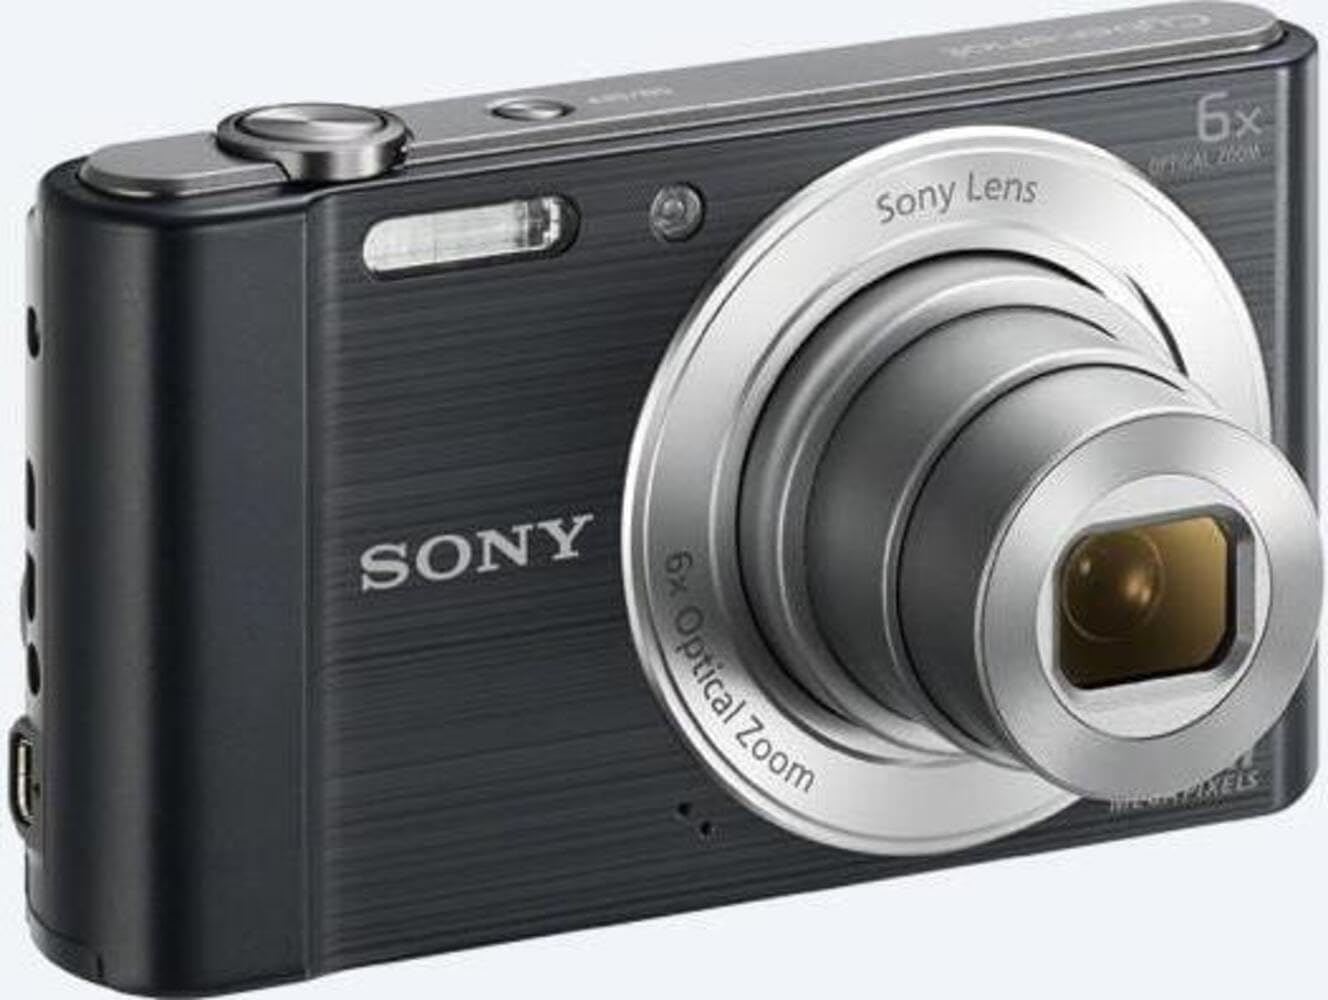
Figura 2: Frente view of the camera with the lens extended, ready for shooting. This illustrates the camera's compact design when in use.

Figura 3: Traseira view of the camera, highlighting the 2.7-inch LCD screen, navigation buttons, movie record button, and menu button.

Figura 4: parte superior view of the camera, showing the power button, shutter button, and zoom lever.
2.2 Botões de controle e funções
- Botão do obturador: Pressione até a metade para focar e totalmente para capturar uma imagem.
- Alavanca de zoom (W/T): Adjusts optical and digital zoom. "W" for wide-angle, "T" for telephoto.
- Botão de energia: Liga ou desliga a câmera.
- Botão de Filme: Inicia e para a gravação de vídeo.
- Botão de reprodução: Entra no modo de reprodução para view fotos e vídeos.
- Botão de menu: Acessa as configurações e opções da câmera.
- Botões direcionais: Navigate menus and select options. Also used for flash settings, self-timer, and display options.
- Clarão: Flash integrado para condições de pouca luz.
- Tela LCD: 2.7-inch display for framing shots, viewvisualizar imagens e navegar nos menus.
3. Configuração
Siga estes passos para preparar sua câmera para o primeiro uso.
3.1 Inserindo a Bateria
- Open the battery/memory card cover located on the bottom of the camera.
- Insert the battery with the correct orientation, ensuring the terminals align. Push until it clicks into place.
- Feche a tampa com segurança.
Note: The camera does not include batteries. Please use compatible Sony NP-BN or NP-BN1 batteries.
3.2 Inserindo um cartão de memória
The camera supports SDXC or SDHC memory cards.
- Abra a tampa da bateria/cartão de memória.
- Insira o cartão de memória no slot com a orientação correta até ouvir um clique.
- Feche a tampa com segurança.
Note: A memory card is not included with the camera. Purchase a compatible SDXC or SDHC card separately.
3.3 Inicialização e Configurações
- Pressione o botão Liga / Desliga para ligar a câmera.
- The initial setup screen will appear. Follow the on-screen prompts to set the language, date, and time.
- Certifique-se de que a data e a hora estejam corretas para a organização adequada das fotos.
4. Operando a câmera
Learn how to capture photos and videos with your DSC-W810.
4.1 Tirando fotos
- Ligue a câmera.
- Enquadre a sua foto usando a tela LCD.
- Use the zoom lever (W/T) to adjust the 6x optical zoom.
- Press the Shutter button halfway down to focus. The focus frame will turn green when focus is achieved.
- Press the Shutter button fully to take the picture.
4.2 Using Flash Modes
The camera features a built-in flash with various modes. Press the right directional button (flash icon) to cycle through modes:
- Flash automático: A câmera determina automaticamente se o flash é necessário.
- Fill-flash: Um clarão dispara a cada tiro.
- Sincronização lenta: Flash fires, and shutter speed is slowed to capture background light.
- Sem Flash: O flash está desativado.
Tip: For low-light environments, the "Party Mode" (accessible via the menu) can optimize settings for clearer images without harsh flash.
4.3 Gravação de vídeos
- Ligue a câmera.
- Pressione o botão dedicado para Filmes para iniciar a gravação.
- Pressione o botão Filme novamente para interromper a gravação.
Note: Videos are recorded in 720p resolution in MP4 format.
4.4 Modo de reprodução
- Pressione o botão Reproduzir para entrar no modo de reprodução.
- Use the left/right directional buttons to browse through your photos and videos.
- Press the center button to play videos.
- Pressione o botão Reproduzir novamente para retornar ao modo de gravação.
5. Manutenção
Proper care ensures the longevity and performance of your camera.
5.1 Limpeza da Câmera
- Corpo da câmera: Limpe com um pano macio e seco. Para sujeira persistente, use um pano levemente umedecido.ampenriquecido com água.
- Lente: Use um pincel para lentes para remover a poeira e, em seguida, limpe suavemente com um pano de limpeza de lentes. Evite tocar na superfície da lente com os dedos.
- Tela LCD: Utilize um pano macio e seco, próprio para telas LCD.
Caution: Do not use organic solvents such as alcohol or thinner to clean the camera.
5.2 Cuidados com a bateria
- Carregue a bateria totalmente antes do primeiro uso.
- Remova a bateria se a câmera não for usada por um longo período.
- Guarde as baterias em local fresco e seco.
5.3 Armazenamento
When not in use, store the camera in a dry, well-ventilated area, away from direct sunlight, high temperatures, and humidity. Use a camera case for protection during transport.
6. Solução De Problemas
Consulte esta seção para obter soluções para problemas comuns.
| Problema | Solução |
|---|---|
| A câmera não liga. |
|
| As imagens estão desfocadas. |
|
| Flash is too bright or too dim. |
|
| Erro no cartão de memória. |
|
7. Especificações
Key technical specifications for the Sony Cyber-shot DSC-W810 Digital Camera.
| Recurso | Detalhe |
|---|---|
| Nome do modelo | DSCW810B.CE3 |
| Resolução Estática Efetiva | 20.1 MP |
| Tecnologia de sensor fotográfico | CCD |
| Zoom óptico | 6x |
| Zoom Digital | 48x |
| Distância focal máxima | 27.6 milímetros |
| Distância focal mínima | 4.6 milímetros |
| Estabilização de Imagem | Digital, Óptico |
| Tamanho da tela | LCD de 2.7 polegadas |
| Resolução de vídeo | 720p |
| Suportado File Formatos | JPEG, RAW (Still), MP4 (Video) |
| Tipo de Memória Flash | SDXC or SDHC |
| Conectividade | USB, HDMI |
| Peso do item | 111 gramas |
| Cor | Preto |
8. Garantia e Suporte
8.1 Informações de garantia
This product comes with a 90-day Limited Hardware Warranty. For full details, please refer to the official warranty document:
View 90-day Limited Hardware Warranty
Note: This is an international version of the camera and may have warranty limitations in certain regions.
8.2 Suporte ao cliente
Para obter mais assistência, suporte técnico ou informações sobre serviços, visite o site oficial de suporte da Sony. website ou entre em contato com o atendimento ao cliente.