1. Produto acabadoview
The Lutron Maestro MS-OPS6M2N-DV-WH is an advanced occupancy/vacancy sensor switch designed to automatically control lighting in a room. This device utilizes passive infrared (PIR) technology to detect human motion and presence, ensuring lights are only on when needed. It combines the functionality of a standard light switch with an integrated motion sensor, offering convenience and energy savings.
Principais características:
- Passive infrared motion detection with Lutron XCT technology for fine motion sensing.
- 180-degree sensor field-of-view for comprehensive room coverage.
- Requires a neutral wire for installation.
- Occupancy version supports both auto-on/auto-off and manual-on/auto-off modes.
- Vacancy version is available to comply with CA Title 24 requirements.
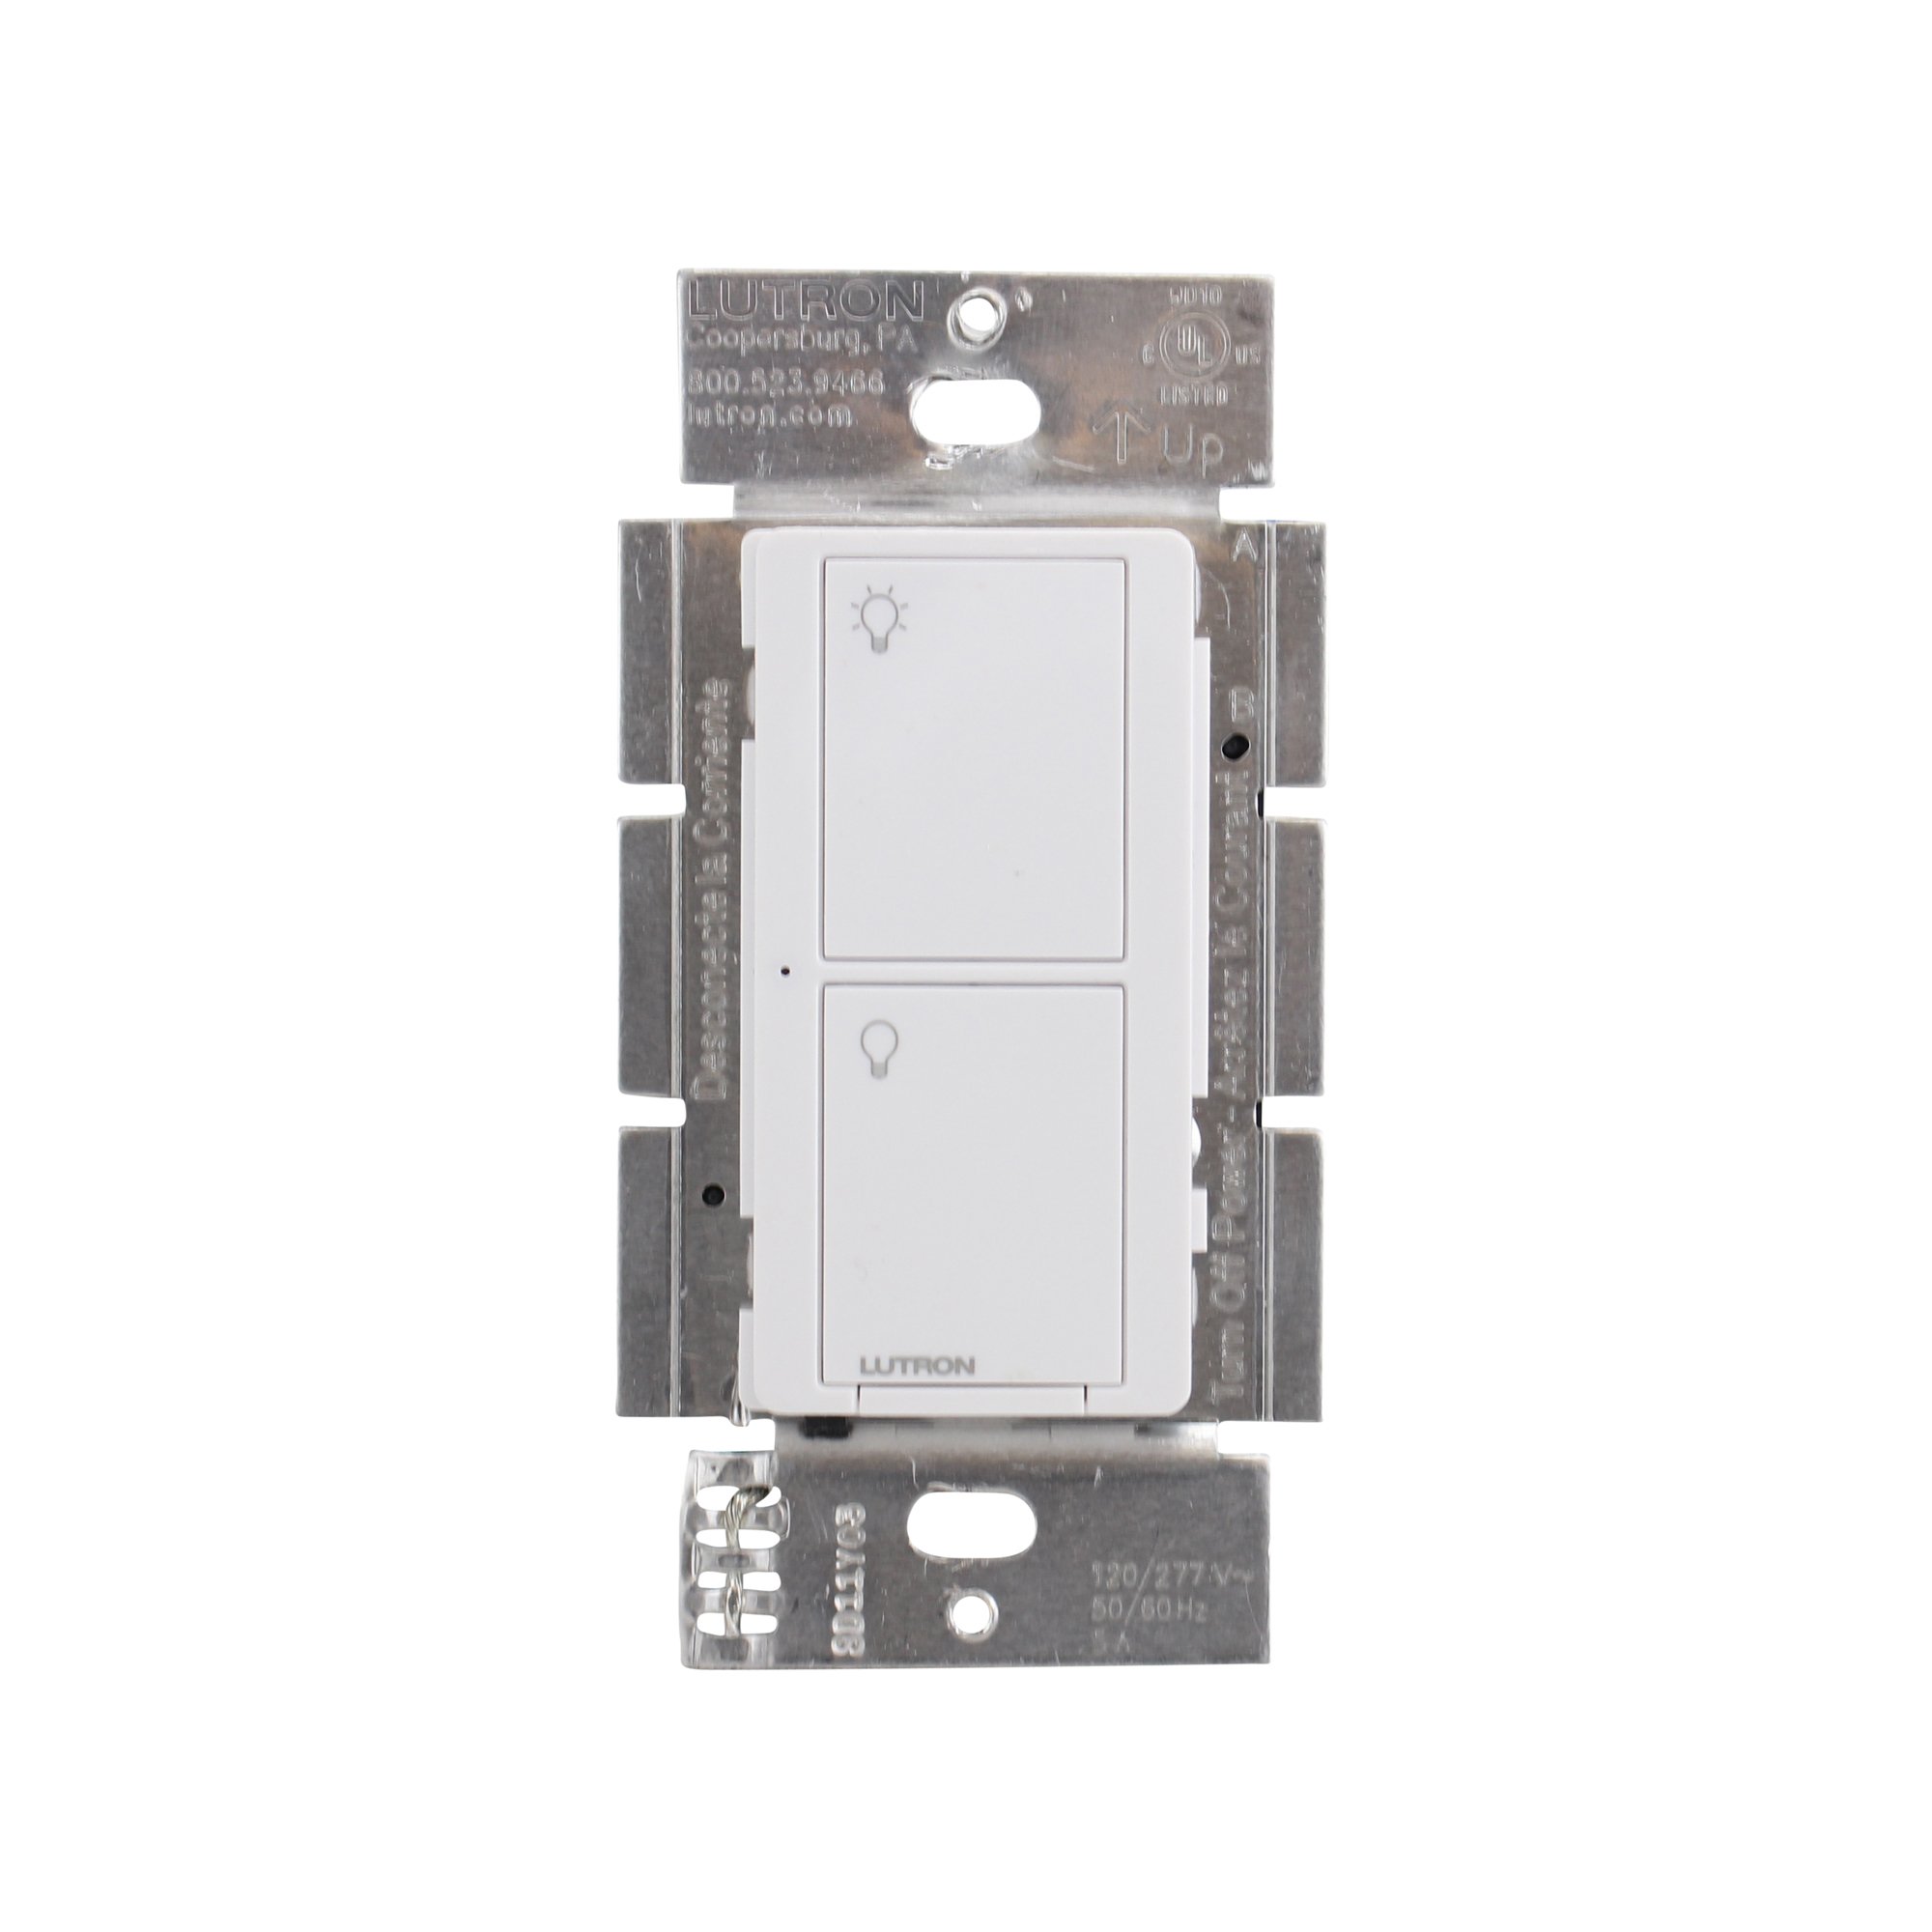
Figura 1: Frente view of the Lutron Maestro MS-OPS6M2N-DV-WH sensor switch.
2. Configuração e instalação
Informações importantes de segurança: Before beginning installation, turn off power at the circuit breaker or fuse box. Incorrect installation can lead to electrical shock or fire. If you are unsure about any part of these instructions, consult a qualified electrician.
Ferramentas necessárias: Screwdriver (Phillips and flathead), wire strippers, electrical tape.
2.1 Instruções de Fiação
- Desligar a energia: Localize o disjuntor que controla o interruptor que você está substituindo e desligue-o. Verifique se a energia está desligada usando um multímetro.tage testador.
- Remover switch existente: Remova cuidadosamente a placa de parede e desparafuse o interruptor existente da caixa de parede. Desconecte os fios do interruptor antigo.
- Identificar os fios:
- Hot (Line) Wire: Geralmente preto, traz energia do disjuntor.
- Fio de carga: Typically black, connects to the light fixture.
- Fio Neutro: Typically white, required for this switch.
- Fio terra: Normalmente cobre nu ou verde.
Note: If you are replacing a 3-way switch, you will also have traveler wires. This model supports 3-way circuits. Refer to the detailed wiring diagram for 3-way installations.
- Connect Wires to Maestro Switch:
- Conecte o fio terra from the wall box to the green ground wire on the Maestro switch.
- Conecte o fio neutro from the wall box to the white neutral wire on the Maestro switch.
- Conecte o hot (line) wire e fio de carga from the wall box to the two black wires on the Maestro switch. If the light does not function correctly, swap these two black wires.
- For 3-way applications, connect the traveler wires as per the specific 3-way wiring diagram provided with the product packaging.
- Secure Switch: Carefully push the wired switch into the wall box, ensuring wires are not pinched. Screw the switch into place.
- Instale a placa de parede: Fixe a placa decorativa na parede.
- Restaurar energia: Ligue a energia novamente no disjuntor.

Figura 2: Example wiring diagram for a single-pole installation. Consult the included manual for 3-way wiring.
3. Instruções de operação
The Maestro sensor switch offers flexible operation modes to suit various needs.
3.1 Modos de operação
- Occupancy Mode (Auto-On/Auto-Off): In this mode, the lights automatically turn ON when motion is detected and automatically turn OFF after a set time delay when no motion is detected. This is ideal for high-traffic areas where hands-free operation is desired.
- Vacancy Mode (Manual-On/Auto-Off): In this mode, the lights must be manually turned ON by pressing the switch button. They will then automatically turn OFF after a set time delay when no motion is detected. This mode is often used to meet energy codes and provides more control over when lights are initially activated.
3.2 Ajustando configurações
The Maestro sensor switch typically has small buttons or dip switches behind the wall plate for adjusting settings such as:
- Atraso de tempo: How long the lights remain on after the last detected motion (e.g., 1, 5, 15, 30 minutes).
- Sensibilidade: The level of motion required to trigger the sensor.
- Modo de operação: Switching between Occupancy (Auto-On) and Vacancy (Manual-On) modes.
Refer to the detailed instructions included with your product for specific steps on how to access and adjust these settings.
4. Manutenção
The Lutron Maestro sensor switch requires minimal maintenance to ensure optimal performance.
- Limpeza: To clean the surface of the switch, use a soft, damp pano. Não utilize produtos de limpeza abrasivos, solventes ou produtos químicos agressivos, pois estes podem danificar o acabamento ou os componentes internos.
- Sensor Obstruction: Ensure the sensor lens is not obstructed by furniture, curtains, or other objects that could block its field of view. A clear path to the sensor is crucial for accurate motion detection.
- Acúmulo de poeira: Periodically wipe the sensor lens to prevent dust accumulation, which can reduce sensitivity.
5. Solução De Problemas
If you encounter issues with your Maestro sensor switch, refer to the following common troubleshooting steps:
- Lights do not turn ON automatically (Occupancy Mode):
- Verify the sensor's field of view não está obstruída.
- Check the sensitivity setting; it might be too low.
- Ensure the switch is in Occupancy (Auto-On) mode.
- Confirm power is supplied to the switch.
- Lights do not turn OFF:
- Ensure there is no continuous motion within the sensor's range.
- Check the time delay setting; it might be set too long.
- Verify the switch is correctly wired, especially the load wire.
- Lights flicker or behave erratically:
- Confirm that a neutral wire is properly connected. This switch requires a neutral wire for stable operation.
- Certifique-se de que todas as conexões dos fios estejam seguras.
- If in a 3-way setup, ensure compatible companion switches are used and wired correctly.
- O interruptor não responde:
- Turn off power at the circuit breaker for 15 seconds, then restore power. This can reset the switch.
- Verifique se todas as conexões da fiação estão soltas ou mal posicionadas.
If these steps do not resolve the issue, contact Lutron customer support for further assistance.
6. Especificações
| Recurso | Detalhe |
|---|---|
| Número do modelo | MS-OPS6M2N-DV-WH |
| Marca | Lutron |
| Modo de operação | Automaticamente |
| Tipo de contato | Normalmente aberto |
| Tipo de conector | Terminais de parafuso |
| terminal | Parafuso |
| Dimensões do item (C x L x A) | 2.2 x 2.2 x 4.5 polegadas |
| Tipo de Circuito | 3 vias |
| Tipo de atuador | Botão de pressão |
| Material de contato | Cobre |
| Avaliação de proteção internacional | IP54 |
| Método de controle | Tocar |
| Protocolo de conectividade | Infravermelho |
| Cor | Branco |
| Peso do item | 3.52 onças |
| Fio neutro necessário | Sim |
7. Vídeos de Produtos
7.1 Lutron Maestro Sensor Switch Overview
Vídeo 1: Um excessoview of the Lutron Maestro sensor switch features and benefits. This video provides a general introduction to the product's capabilities.
7.2 Advanced Features and Configuration
Video 2: A detailed look into the advanced features and configuration options of the Lutron Maestro sensor switch, including setting adjustments.
8. Informações de garantia
Lutron products typically come with a limited warranty covering defects in materials and workmanship. For specific warranty terms and conditions applicable to your MS-OPS6M2N-DV-WH sensor switch, please refer to the warranty card included in the product packaging or visit the official Lutron website. Guarde o comprovante de compra para solicitações de garantia.
9. Suporte ao cliente
For technical assistance, troubleshooting, or product inquiries, please contact Lutron customer support. You can find contact information on the official Lutron website ou na documentação do produto.
Recursos on-line:
- Visite o site oficial Loja Lutron na Amazon Para mais produtos e informações.
- Refer to the comprehensive FAQs and support documents available on the Lutron corporate website.