1. Introdução
The NETGEAR WiFi Mesh Range Extender EX6150 is designed to boost your existing home network by increasing WiFi range and speed. It delivers AC1200 dual-band WiFi, providing speeds up to 1200Mbps. This extender is compatible with any wireless router, gateway, or cable modem with WiFi, ensuring broad usability. It helps eliminate WiFi dead zones, providing reliable connectivity for up to 20 devices across an area of up to 1200 square feet, making it ideal for HD video streaming and online gaming in remote areas of your home.
2. O que está na caixa
- WiFi Mesh Extender (EX6150-100NAS)
- Guia de início rápido
3. Produto acabadoview
The NETGEAR EX6150 is a compact, wall-plug design WiFi range extender. It features external antennas for improved performance and a wired Ethernet port for connecting devices directly. The device utilizes dual-band technology (2.4 GHz and 5 GHz) to provide stable and fast connections.
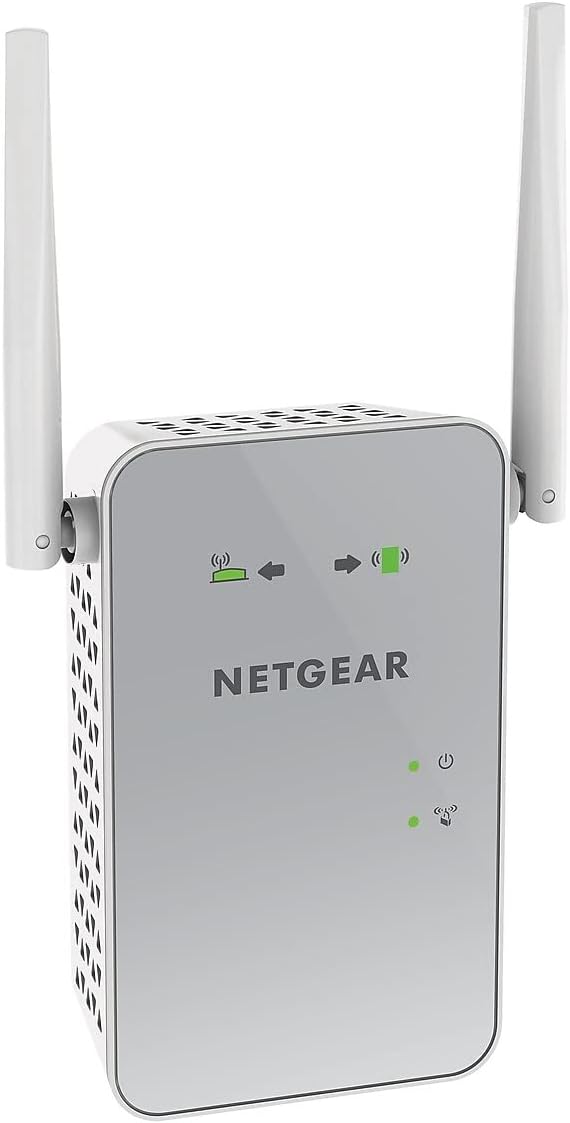
Figura 1: Frente view of the NETGEAR EX6150 WiFi Mesh Range Extender, showing the NETGEAR logo and LED indicators.
Principais características:
- Cobertura sem fio ampliada: Adds WiFi range coverage up to 1200 square feet.
- Connects Multiple Devices: Supports connection for up to 20 devices such as laptops, smartphones, speakers, IP cameras, tablets, and IoT devices.
- Seamless Smart Roaming: Uses your existing network SSID name, ensuring you remain connected as you move around your home or office.
- AC1200 WiFi Speed: Provides up to 1200Mbps performance using dual-band and patented FastLane technology for demanding HD streaming and online gaming.
- Compatibilidade Universal: Funciona com qualquer roteador sem fio, gateway ou modem a cabo com Wi-Fi.
- Wired Ethernet Port: Allows direct connection of game consoles, streaming players, or other wired devices into the one Gigabit port for maximum speed.
4. Configuração
Setting up your NETGEAR WiFi Mesh Range Extender EX6150 is a straightforward process. Follow these steps for a quick and efficient installation.
4.1. Colocação Inicial
For the initial setup, plug the extender into an electrical outlet in the same room as your WiFi router. This ensures a strong connection during the configuration process.

Figura 2: Lado view of the NETGEAR EX6150, highlighting the Ethernet port and WPS button.
4.2. Configuração WPS (Recomendado)
The easiest way to set up your extender is using Wi-Fi Protected Setup (WPS).
- Plug the extender into an electrical outlet near your WiFi router.
- Wait for the Power LED on the extender to light up green.
- Press the WPS button on the extender. The WPS LED will start blinking.
- Within two minutes, press the WPS button on your WiFi router.
- Wait for the WPS LED on the extender to light up solid green. This indicates a successful connection.
- If your router supports 5GHz, repeat steps 3-5 to extend the 5GHz band.
4.3. Posicionamento ideal
After initial setup, unplug the extender and move it to a new location that is about halfway between your router and the area with a poor WiFi signal. The extender must be within range of your existing WiFi router network.
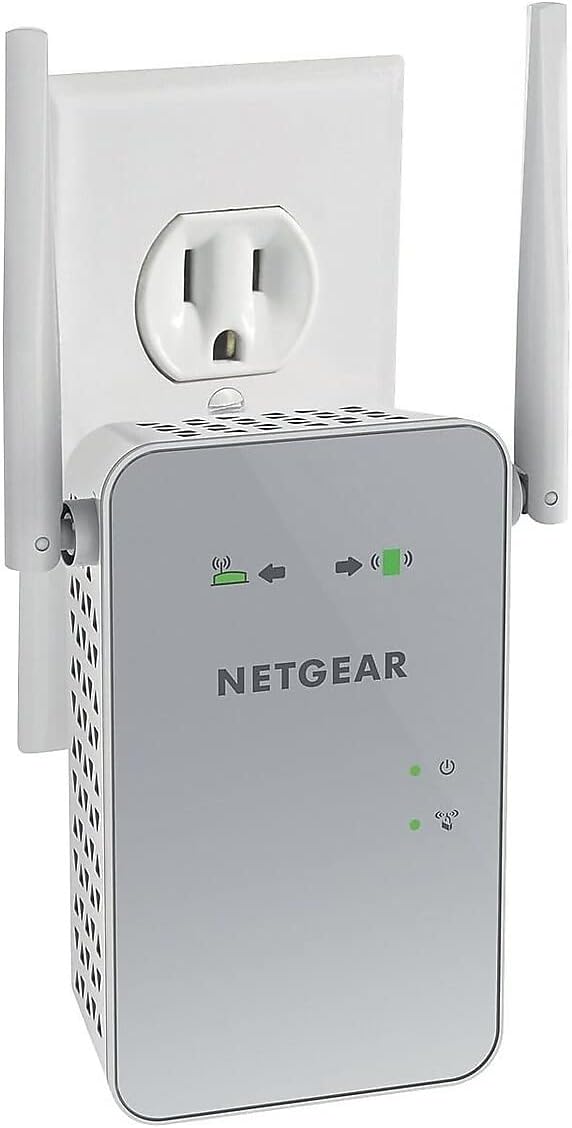
Figura 3: The NETGEAR EX6150 plugged into a standard electrical outlet.
Plug the extender into an electrical outlet and wait for the Power LED to light up green. Use the Router Link LED on the extender to help you choose a location where the extender-to-router connection is optimal:
- Solid Green/Amber: You have found a good location for the extender.
- Vermelho: Plug the extender into an outlet closer to the router and try again.

Figura 4: Voltar view of the NETGEAR EX6150, showing the product label with default login information and various ports/buttons.
4.4. Conectando seus dispositivos
Once the extender is optimally placed, connect your client devices (laptops, smartphones, etc.) to the new extended WiFi network. The extender uses your existing WiFi name and adds "_2GEXT" for the 2.4GHz band or "_5GEXT" for the 5GHz band at the end. Use the same WiFi password as your main router.
1 vídeo: This video demonstrates how to set up NETGEAR Wall Plug WiFi Range Extenders, including unboxing, initial placement, WPS setup, optimal placement, and connecting client devices. (Source: NETGEAR)
5. Operating Your Extender
Once set up, your extender operates automatically to provide extended WiFi coverage. You can manage advanced settings through the extender's web interface navegando até www.mywifiext.net em um web browser while connected to the extender's network. Default login credentials are often found on the product label (see Figure 4).
Recursos avançados:
- WiFi Coverage Control: Adjust the range of your WiFi.
- Access Scheduling: Set schedules for your WiFi to turn on/off.
- FastLane Technology: Optimize performance for specific tasks like streaming or gaming.
- Modo de ponto de acesso: Use the extender as a WiFi access point by connecting it to your router via an Ethernet cable.
6. Manutenção
To ensure optimal performance and longevity of your NETGEAR EX6150, consider the following maintenance tips:
- Mantenha o dispositivo em uma área bem ventilada para evitar superaquecimento.
- Evite colocar o extensor perto de objetos metálicos grandes, paredes de concreto ou outros dispositivos eletrônicos que possam causar interferência.
- Periodically check for firmware updates through the extender's web interface to ensure you have the latest features and security enhancements.
- Clean the device gently with a dry, soft cloth. Do not use liquid cleaners.
7. Solução De Problemas
If you encounter issues with your extender, try the following common troubleshooting steps:
- Sem conexão com a Internet: Ensure the Router Link LED is solid green or amber. If red, move the extender closer to your main router.
- Velocidades lentas: Verify the extender's placement. It should be roughly halfway between your router and your devices. Consider using FastLane technology if available in the settings.
- Não foi possível conectar à rede estendida: Double-check the WiFi password. It should be the same as your main router's password. Ensure you are selecting the correct extended network name (e.g., MyNetworkName_2GEXT).
- Conexão intermitente: Try restarting both your main router and the extender. Ensure there are no physical obstructions or sources of interference.
- Restauração de fábrica: If all else fails, perform a factory reset by pressing and holding the reset button (usually a small pinhole) for about 7-10 seconds. You will then need to set up the extender again.
8. Especificações
| Recurso | Detalhe |
|---|---|
| Tipo sem fio | 802.11a/b/g/n/ac |
| Marca | NETGEAR |
| Número do modelo do item | EX6150-100NAS |
| Compatibilidade do sistema operacional | PC; Mac |
| Peso do item | 13.6 onças |
| Dimensões do produto (CxLxA) | 4.8 x 2.91 x 1.5 polegadas |
| Cor | Branco |
| Volumetage | 100-240 Volts |
| Taxa de transferência de dados | 1200 megabits por segundo |
| Classe de Banda de Frequência | Banda dupla |
9. Garantia e Suporte
For warranty information, technical support, and product registration, please refer to the official NETGEAR website or the documentation included in your product packaging. You can also visit the NETGEAR Store on Amazon para recursos adicionais.


