1. Introdução
This manual provides detailed instructions for the installation, adjustment, and maintenance of the Blum Compact 33 Hinge. Designed for face frame cabinets, this screw-on hinge offers a 110-degree opening angle, ensuring reliable and smooth operation for your cabinet doors.
Please read these instructions thoroughly before beginning installation to ensure proper function and longevity of your hinges.
2. Conteúdo da embalagem
Verifique se todos os componentes estão presentes antes de prosseguir com a instalação.
- Blum Compact 33 Hinges (2 per pack)
- Mounting Screws (#6 x 5/8 inch, 2 per hinge)
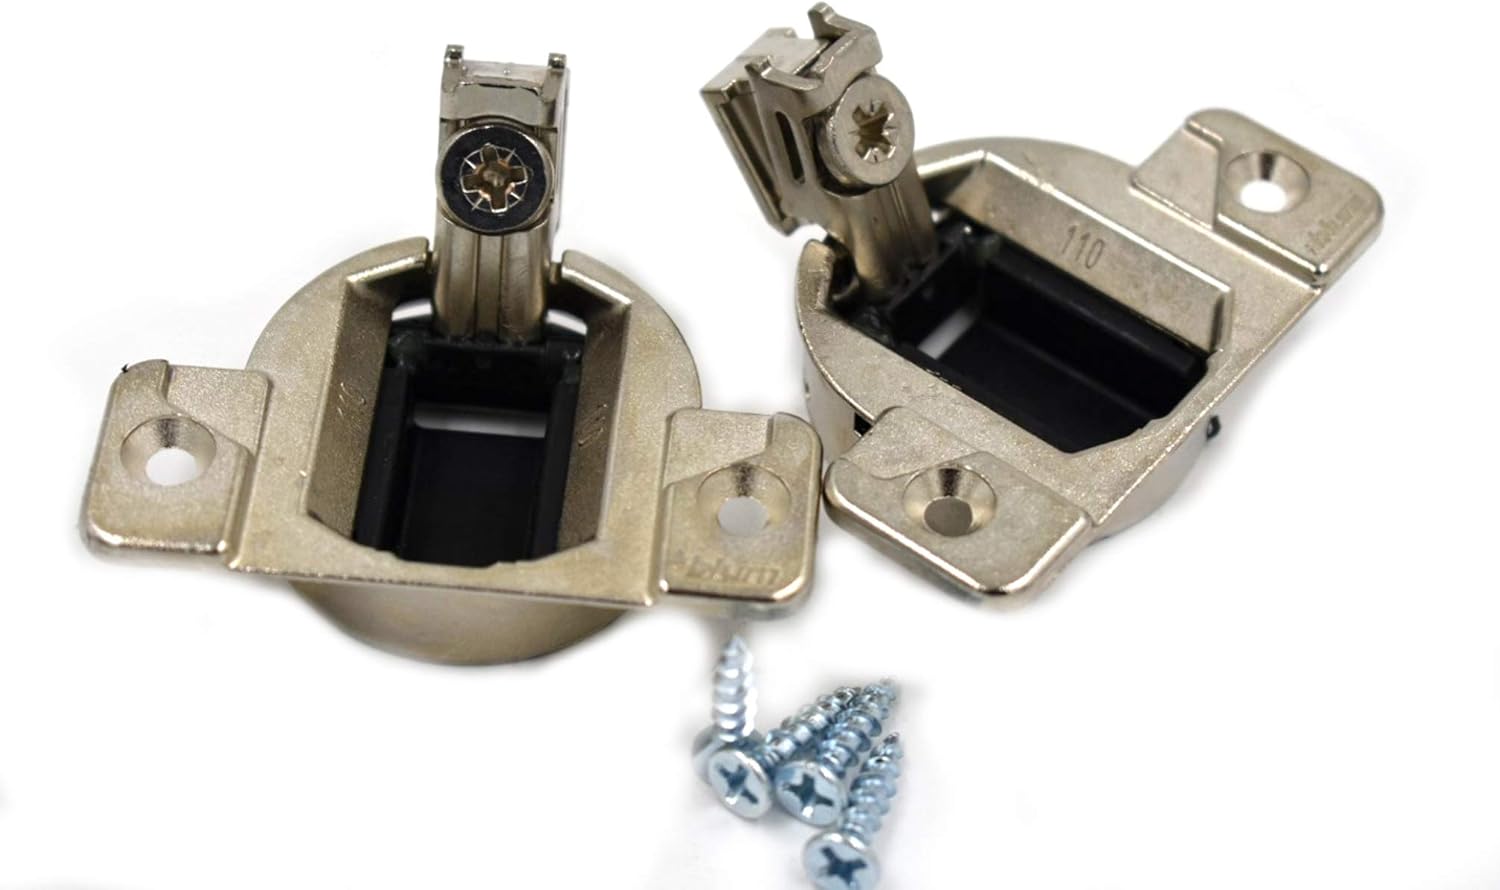
Image 1: Blum Compact 33 Hinges and included mounting screws. This image displays two hinges, each with a cup and arm, alongside a small pile of silver screws.
3. Especificações
| Marca | Blum |
| Modelo | Compacto 33 |
| Número da peça | B33360 Screw On |
| Tipo de montagem | Face Mount, Screw-on |
| Ângulo de abertura | 110 graus |
| Material | Zinc Die-Cast |
| Profundidade do copo | 1/2 de polegada |
| Dimensões do produto | 1.5"C x 2.25"L |
| Parafusos incluídos | #6 x 5/8 inch |
4. Instalação
This section outlines the steps for installing the Blum Compact 33 Hinge on face frame cabinets. Ensure you have the necessary tools: a screwdriver, a drill (if pre-drilling is required), and a measuring tape.
4.1 Prepare the Cabinet Door
- Bore Hole for Hinge Cup: The Blum Compact 33 Hinge requires a 35mm diameter bore hole for the hinge cup. This hole should typically be drilled 3mm from the edge of the cabinet door. If replacing existing hinges, ensure the new hinge cup fits the existing bore hole.
- Posicionamento: Place the hinge cup into the bore hole on the cabinet door.
- Secure Hinge Cup: Use the provided #6 x 5/8 inch screws to secure the hinge cup to the cabinet door. Ensure the hinge is flush and securely fastened.

Imagem 2: Close-up view of a single Blum Compact 33 hinge, showing the cup and arm mechanism. This image highlights the screw hole for securing the hinge to the door.
4.2 Attach Hinge to Cabinet Face Frame
- Position Door: Hold the cabinet door in its closed position against the cabinet opening. Ensure proper alignment.
- Localização dos parafusos de marcação: With the door correctly positioned, mark the screw locations for the hinge arm on the cabinet face frame. The hinge is designed for face mount applications.
- Pre-drill (Optional but Recommended): For hardwoods, pre-drilling small pilot holes can prevent wood splitting.
- Secure Hinge Arm: Use the remaining #6 x 5/8 inch screws to firmly attach the hinge arm to the cabinet face frame.

Imagem 3: Traseira view of two Blum Compact 33 hinges, illustrating the design of the mounting plates that attach to the cabinet face frame. This view shows the screw holes for securing the hinge to the frame.
5. Ajuste
After installation, minor adjustments may be necessary to ensure proper door alignment and operation. The Blum Compact 33 Hinge allows for two types of adjustments:
- Ajuste de altura: The hinge provides a height adjustment range of ±9/64 inches. This allows you to move the door up or down relative to the cabinet opening. Locate the appropriate screw on the hinge arm and turn it clockwise or counter-clockwise to achieve the desired height.
- Ajuste lateral: A side adjustment of ±1/8 inch is available. This moves the door left or right, helping to achieve even gaps between doors or between the door and the cabinet frame. Identify the side adjustment screw and turn it as needed.
Adjustments should be made incrementally, checking the door's alignment after each turn until the desired position is achieved.
6. Manutenção
The Blum Compact 33 Hinges are designed for durability and require minimal maintenance. Regular care can extend their lifespan and ensure continued smooth operation.
- Limpeza: Wipe hinges periodically with a soft, damp cloth to remove dust and grime. Avoid abrasive cleaners or harsh chemicals, as these can damage the finish.
- Lubrificação: Lubrication is generally not required for Blum hinges. If squeaking occurs, a small amount of silicone-based lubricant can be applied to the pivot points, but avoid over-lubricating.
- Inspeção: Periodically check all screws for tightness. Loose screws can lead to door misalignment or hinge failure.
7. Solução De Problemas
This section addresses common issues you might encounter with your Blum Compact 33 Hinges.
| Problema | Possível causa | Solução |
|---|---|---|
| Door does not close completely or is misaligned. | Parafusos de montagem soltos ou ajuste incorreto. | Tighten all mounting screws. Refer to Section 5 for height and side adjustment procedures. |
| Hinge makes a clicking sound. | Wear and tear on internal hinge components (common in older hinges). | If the hinge is old and worn, replacement may be necessary. Ensure all screws are tight. |
| Door sags or drops. | Loose screws or hinge failure. | Check and tighten all mounting screws on both the door and the cabinet frame. If the hinge is damaged, replace it. |
8. Garantia e Suporte
For specific warranty information regarding your Blum Compact 33 Hinges, please refer to your purchase documentation or contact the retailer from whom you purchased the product. Blum products are known for their quality and durability.
For technical support or further inquiries, please visit the official Blum webou entre em contato diretamente com o departamento de atendimento ao cliente.


