Introdução
The TFA Dostmann Timeline Max Radio-Controlled Clock (Model 60.4512.01) features a large, exceptionally clear display, making it easily readable from a distance. This makes it ideal for various settings such as entrance areas, reception desks, waiting rooms, and offices. Its clear structure simplifies time orientation, and with the displayed day of the week and full date, it serves as a valuable daily aid, particularly for seniors and individuals with cognitive impairments.
The clock automatically receives time signals via the DCF 77 signal, ensuring precise, second-accurate time and date display without manual adjustment. It also automatically switches between summer and winter time. Its simple and clear design allows it to seamlessly integrate into any environment, whether mounted on a wall or placed on a surface.
Conteúdo da embalagem
Ao abrir a embalagem, verifique o conteúdo para garantir que todos os itens estejam presentes:
- TFA Dostmann Timeline Max Radio-Controlled Clock
- Manual de instruções
Observação: 4 x 1.5 V AA batteries are required for operation and are not included in the package.
Informações importantes de segurança
- Leia todas as instruções cuidadosamente antes de usar.
- Guarde este manual para referência futura.
- Não exponha o dispositivo a temperaturas extremas, luz solar direta ou alta umidade.
- Evite deixar cair ou submeter o dispositivo a impactos fortes.
- Não tente desmontar ou reparar o dispositivo por conta própria. Encaminhe todos os serviços de manutenção a pessoal qualificado.
- Dispose of batteries according to local regulations. Do not mix old and new batteries or different types of batteries.
- Mantenha as pilhas fora do alcance das crianças.
Configurar
1. Instalação da bateria
The clock requires 4 x 1.5 V AA batteries (not included).
- Localize o compartimento da bateria na parte traseira do relógio.
- Abra a tampa do compartimento da bateria.
- Insira 4 pilhas AA novas, certificando-se da polaridade correta (+ e -) conforme indicado dentro do compartimento.
- Feche bem a tampa do compartimento da bateria.

Figura 1: Traseira view of the clock with battery compartment and control buttons.
2. Initial Time Synchronization (Radio-Controlled)
After inserting the batteries, the clock will automatically begin searching for the DCF 77 radio signal. This process may take several minutes. During synchronization, the radio signal icon (often a tower or wave symbol) will typically flash on the display.
- Place the clock near a window or in an open area for better signal reception.
- Avoid placing it near electronic devices that may cause interference.
- Once the signal is received, the time and date will automatically set, and the radio signal icon will become solid.

Figure 2: Front display showing synchronized time and date.
3. Opções de posicionamento
The Timeline Max clock is designed for both wall mounting and freestanding placement.
- Para montagem na parede: Use the integrated hanging hole on the back of the clock. Ensure the wall fixture is secure enough to support the clock's weight (approx. 520g).
- For Freestanding: Extend the integrated stand on the back of the clock to place it on a desk, shelf, or table.

Figura 3: Lateral view demonstrating the clock's integrated stand.
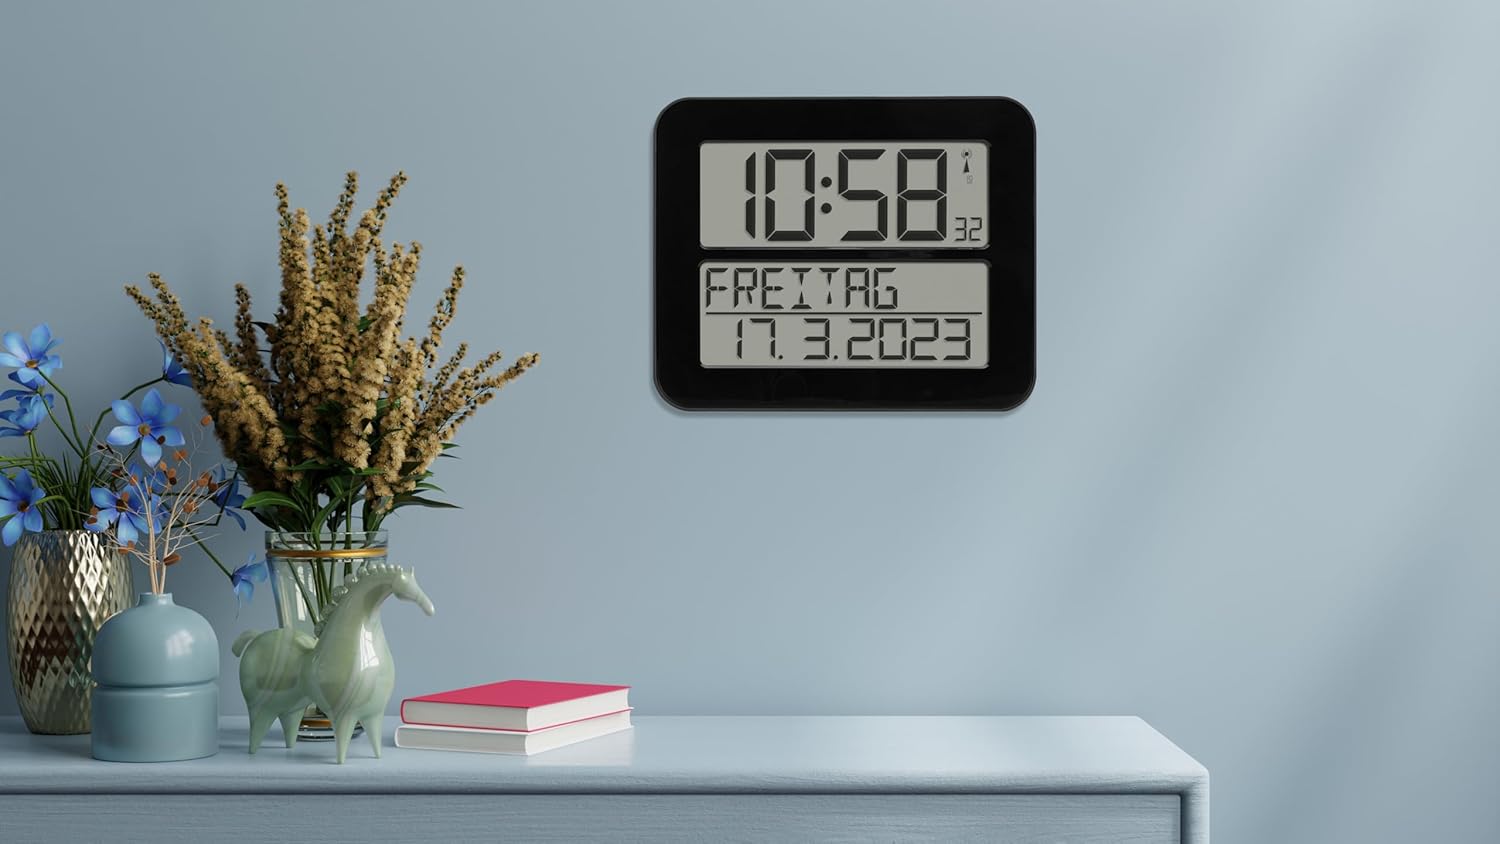
Figure 4: The clock in a typical freestanding setup.
Instruções de operação
Exibir informações
The large display shows the following information:
- Exibição superior: Current time (hours and minutes), seconds (small digits), and radio signal indicator.
- Bottom Display: Day of the week (in selected language) and full date (day, month, year).

Figure 5: Clear display of time, day, and date.
Função de alarme
The clock includes an alarm function. Refer to the buttons on the back of the clock (SET, ALARM, UP, DOWN, WAVE, SNOOZE) for setting the alarm.
- Pressione o ALARME botão para entrar no modo de configuração do alarme.
- Use o UP e ABAIXO botões para ajustar a hora do alarme.
- Imprensa ALARME again to confirm and move to the next setting (e.g., alarm on/off).
- Imprensa DEFINIR Para sair do modo de configuração de alarme.
- Quando o alarme tocar, pressione SONECA for a temporary pause, or any other button to turn off the alarm for the day.
Manual Time Setting (If Radio Signal is Unavailable)
In areas with poor radio signal reception, you can manually set the time and date.
- Pressione e segure o DEFINIR button for a few seconds until the display flashes.
- Use o UP e ABAIXO buttons to adjust the flashing digit (e.g., hour, minute, year, month, day).
- Imprensa DEFINIR to confirm the current setting and move to the next.
- Continue until all settings are adjusted. The clock will exit manual setting mode automatically after a period of inactivity or by pressing DEFINIR repeatedly until the normal display returns.
Day of Week Language Setting
The day of the week can be displayed in 7 different languages.
- Consult the full instruction manual (included in the box) for specific steps on changing the language setting, as this often involves a combination of button presses.
Manutenção
Limpeza
To clean the clock, use a soft, dry, or slightly damp cloth. Do not use abrasive cleaners, solvents, or chemical agents, as these may damage the display or casing.
Substituição da bateria
When the display dims or the clock stops functioning correctly, it's time to replace the batteries. Follow the "Battery Installation" steps in the Setup section. Always replace all 4 batteries at once with new, high-quality AA batteries.
Solução de problemas
| Problema | Possível causa | Solução |
|---|---|---|
| Clock does not display anything or display is dim. | As pilhas estão descarregadas ou inseridas incorretamente. | Substitua as pilhas por novas, certificando-se de que a polaridade está correta. |
| Clock does not synchronize with radio signal. | Poor signal reception due to location or interference. | Move the clock to a different location, preferably near a window and away from electronic devices. Allow sufficient time for synchronization (up to 24 hours). |
| Time is incorrect after synchronization. | Temporary signal disruption or incorrect time zone setting (if applicable). | Initiate a manual signal search (refer to full manual) or perform a manual time setting. Ensure the clock is in the correct time zone for your region (if this feature is available, consult the full manual). |
| O alarme não dispara. | O alarme não está ativado ou está configurado incorretamente. | Verify that the alarm time is set correctly and the alarm function is enabled. |
Especificações
| Modelo | 60.4512.01 |
| Tipo de Relógio | Radio-Controlled (DCF 77 signal) |
| Material | Plástico |
| Opções de montagem | For hanging or standing |
| Fonte de energia | 4 pilhas AA de 1.5 V (não incluídas) |
| Dimensões (C x L x A) | 258 x 30 (120 with stand) x 212 mm |
| Peso | 520 g |
| Tipo de exibição | Digital |
| Características especiais | Alarm, Calendar Display, Day of week in 7 languages |
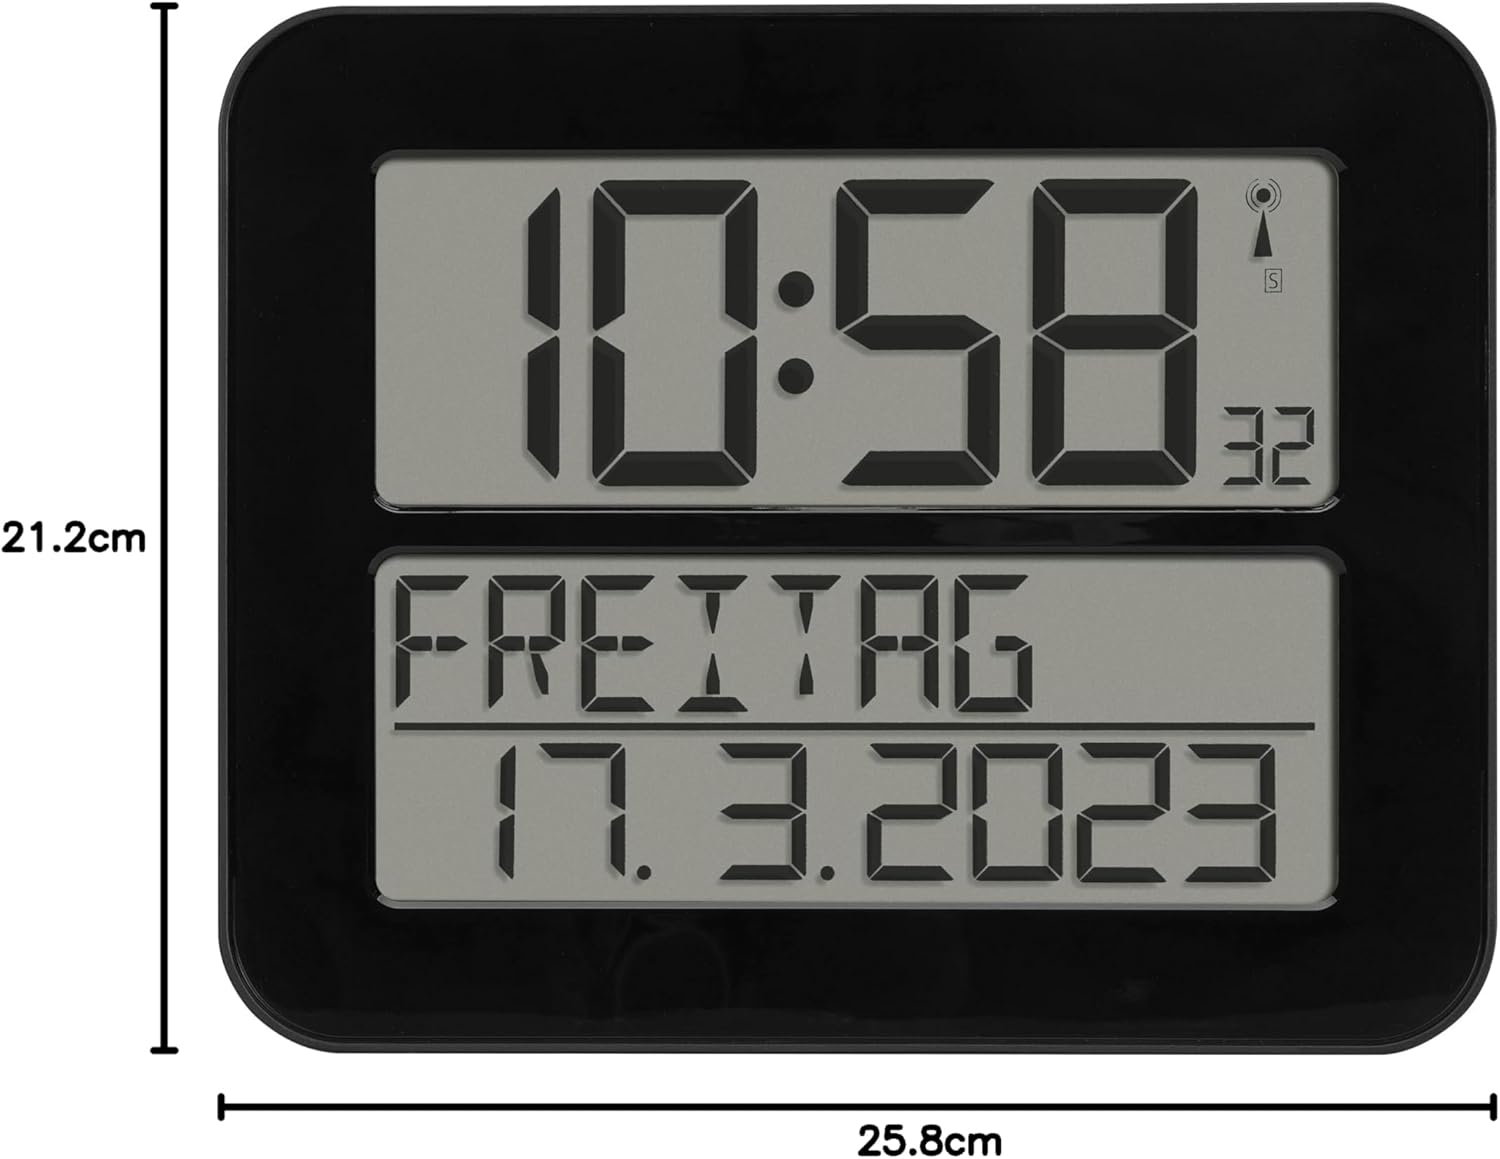
Figura 6: Dimensões do produto.
Garantia e Suporte
TFA Dostmann products are manufactured with high quality standards. For information regarding warranty coverage, please refer to the warranty card included with your product or visit the official TFA Dostmann website. For technical support or inquiries, please contact TFA Dostmann customer service.
Manufacturer: TFA Dostmann GmbH, Zum Ottersberg 12, D-97877 Wertheim am Main, Germany.
Website: www.tfa-dostmann.de


