1. Introdução
This manual provides essential information for the safe and efficient use of your Rehau Wired Proportional Room Thermostat 230V Classic, model 269957-001. Please read these instructions carefully before installation and operation, and retain them for future reference.
2. Informações de segurança
AVISO: Electrical installation should only be performed by a qualified electrician. Disconnect power before installation or maintenance to prevent electric shock.
- Ensure the power supply matches the thermostat's voltage (230 V).
- Do not expose the thermostat to moisture or extreme temperatures.
- Mantenha fora do alcance de crianças.
- Não tente consertar o aparelho por conta própria. Contate pessoal de serviço qualificado.
3. Produto acabadoview
The Rehau 269957-001 is a wired proportional room thermostat designed for controlling heating systems. It provides precise temperature regulation for optimal comfort and energy efficiency.
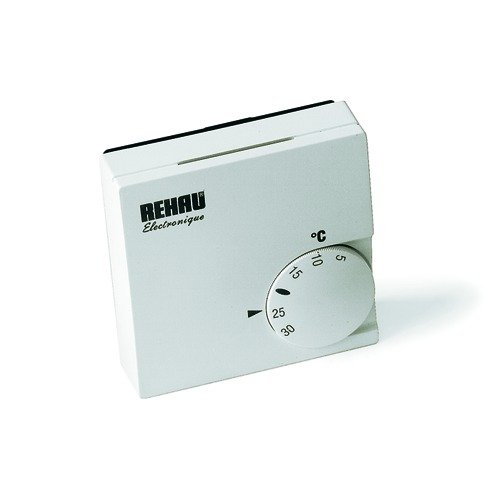
Figura 1: Frente view of the Rehau 269957-001 Thermostat. This image shows the main display and control interface.

Figura 2: Angulado view of the Rehau 269957-001 Thermostat, illustrating its compact design.
4. Configuração e instalação
4.1 Local de Montagem
Choose a suitable location for the thermostat, typically on an interior wall, away from direct sunlight, drafts, and heat sources (e.g., radiators, lamps). The recommended height is approximately 1.5 meters (5 feet) from the floor.
4.2 Instruções de Fiação
- Desconecte a energia: Turn off the main power supply to the heating system at the circuit breaker before beginning any wiring.
- Remover a tampa: Remova cuidadosamente a tampa frontal do termostato.
- Fios de conexão: Connect the 230V power supply and heating system control wires to the designated terminals. Refer to the wiring diagram provided with the product packaging for specific terminal assignments. Ensure all connections are secure.
- Termostato seguro: Mount the thermostat base to the wall using the provided screws.
- Substitua a tampa: Recoloque a tampa frontal.
- Restaurar energia: Ligue novamente a fonte de alimentação principal.
5. Instruções de operação
5.1 Ajustando a temperatura desejada
The thermostat typically features a rotary dial or up/down buttons to adjust the setpoint temperature. Rotate the dial or press the buttons to select your desired room temperature. The thermostat will then work to maintain this temperature.
5.2 Indicator Lights (if applicable)
Some models may include an indicator light to show when the heating system is active. Consult your specific model's diagram for details.
6. Manutenção
6.1 Limpeza
Wipe the thermostat's exterior with a soft, dry cloth. Do not use abrasive cleaners or solvents, as these can damage the surface.
6.2 Substituição da bateria (se aplicável)
This wired thermostat does not require batteries for its primary function. If your specific model has a backup battery for settings, refer to the product packaging for replacement instructions.
7. Solução De Problemas
| Problema | Possível causa | Solução |
|---|---|---|
| Termostato não liga | Sem fonte de alimentação; fiação incorreta. | Verifique o disjuntor; verifique as conexões da fiação. |
| Sistema de aquecimento não responde | Thermostat set too low; wiring issue; heating system fault. | Increase setpoint temperature; check wiring; consult heating system manual. |
| Leitura de temperatura imprecisa | Termostato localizado próximo à fonte de calor/corrente de ar; mau funcionamento do sensor. | Se possível, mude o termostato de lugar; entre em contato com o suporte se o sensor estiver com defeito. |
8. Especificações
- Marca: Rehau
- Número do modelo: 269957-001
- Volumetage: 230 Volts
- Peso do item: 81.65 gramas
- Tipo: Wired Proportional Room Thermostat
- Luz de fundo: Não
9. Garantia e Suporte
For warranty information and technical support, please refer to the documentation included with your purchase or contact Rehau customer service directly. Contact details can typically be found on the manufacturer's official website.


