Introdução
Thank you for choosing the Domo DO7280S Vacuum Cleaner. This manual provides essential information for the safe and efficient use, maintenance, and troubleshooting of your appliance. Please read it thoroughly before first use and keep it for future reference.
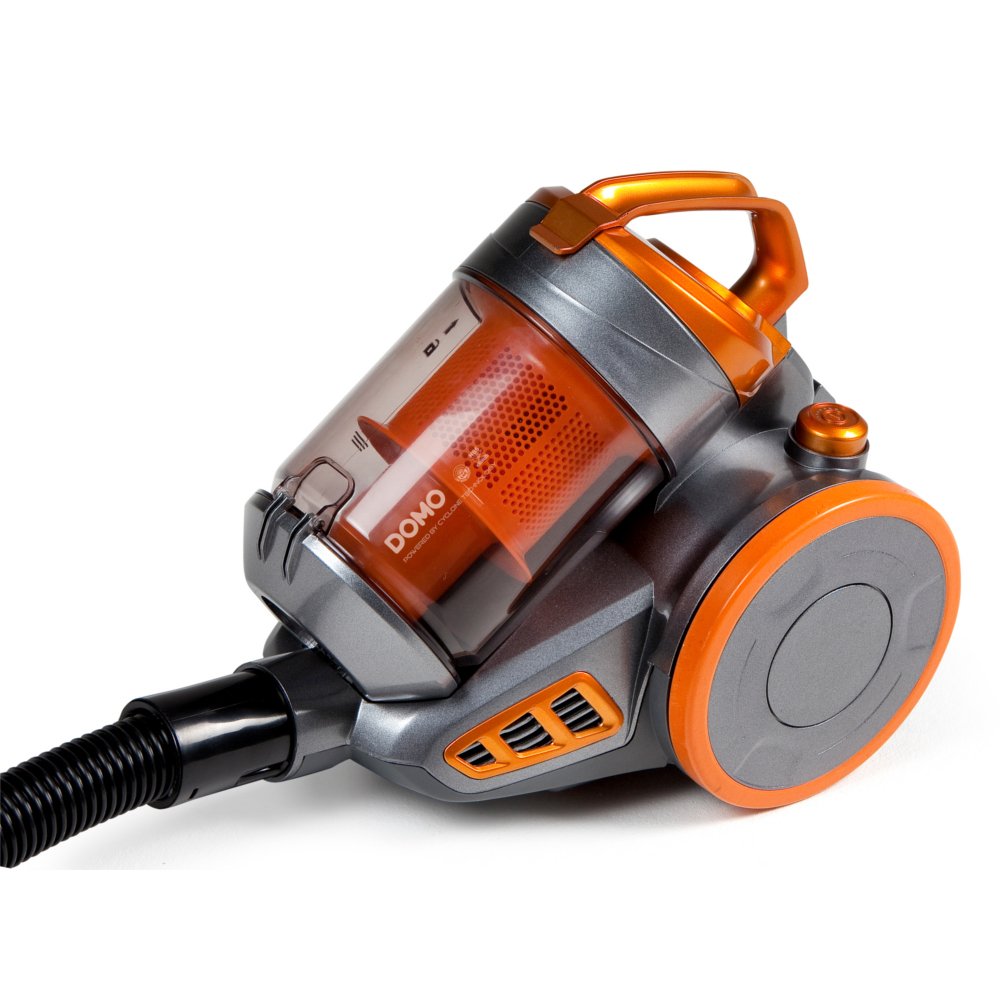
Image: The Domo DO7280S vacuum cleaner, fully assembled with its hose, telescopic tube, and floor brush, ready for use. The main unit is grey and orange.
Instruções de segurança
Sempre observe as precauções básicas de segurança ao usar aparelhos elétricos para reduzir o risco de incêndio, choque elétrico e ferimentos pessoais.
- Certifique-se de que a fonte de alimentação voltage corresponde à etiqueta de classificação do aparelho.
- Não utilize o aspirador de pó para aspirar água ou substâncias molhadas.
- Não utilize aspirador de pó para materiais inflamáveis ou combustíveis, cinzas quentes ou objetos cortantes.
- Mantenha cabelos, roupas largas, dedos e todas as partes do corpo longe de aberturas e peças móveis.
- Desligue o aparelho da tomada antes de limpá-lo ou realizar qualquer manutenção.
- Não utilize o aspirador de pó se o cabo ou a ficha estiverem danificados.
- Este aparelho é somente para uso doméstico.
Produto acimaview
The Domo DO7280S is a cylinder vacuum cleaner designed for efficient cleaning across various surfaces. It features a multi-filter system and electronic suction control.
Componentes principais:
- Main Unit (Motor, Dust Container, Filters)
- Mangueira Flexível
- Tubo metálico telescópico
- Eco-brush Floor Nozzle
- Crevice Tool with Brush (Accessory)

Imagem: Lado view of the Domo DO7280S vacuum cleaner, highlighting the main unit, large wheels, and the connection point for the hose and telescopic tube.
Configurar
- Desembalagem: Remova cuidadosamente todos os componentes da embalagem. Guarde a embalagem para armazenamento ou transporte futuro.
- Attaching the Flexible Hose: Insira a extremidade da mangueira flexível na entrada de sucção da unidade principal até ouvir um clique que a encaixe firmemente no lugar.
- Montagem do tubo telescópico: Connect the handle end of the flexible hose to the telescopic metal tube. Adjust the tube length by pressing the release button and sliding it to the desired height.
- Connecting the Floor Nozzle: Attach the Eco-brush floor nozzle to the end of the telescopic tube. Ensure it is firmly connected.
- Conexão de energia: Estenda o cabo de alimentação da unidade principal e ligue-o a uma tomada elétrica adequada.
Operacional
- Ligar/desligar: Pressione o botão liga/desliga localizado na unidade principal para ligar ou desligar o aspirador de pó.
- Ajuste da potência de sucção: Use the electronic suction control dial or buttons on the main unit to adjust the suction strength according to the surface being cleaned. Lower settings are suitable for delicate fabrics, while higher settings are for carpets and hard floors.
- Using the Eco-brush: The Eco-brush is designed for efficient cleaning on various floor types. For optimal performance, move the nozzle slowly over the surface.
- Usando acessórios: For specific cleaning tasks, detach the Eco-brush and attach the crevice tool with brush for corners, edges, and upholstery.
- Dust Container Full Indicator: The vacuum cleaner is equipped with an indicator that signals when the dust container needs to be emptied. Observe this indicator for optimal performance.
Manutenção
Regular maintenance ensures the longevity and optimal performance of your Domo DO7280S vacuum cleaner. Always unplug the appliance before performing any maintenance.
Esvaziar o recipiente de pó:
- Pressione o botão de liberação para destacar o recipiente de pó da unidade principal.
- Segure o recipiente de pó sobre uma lixeira.
- Open the bottom lid of the dust container to release the collected dirt.
- Close the lid securely and reattach the dust container to the main unit.
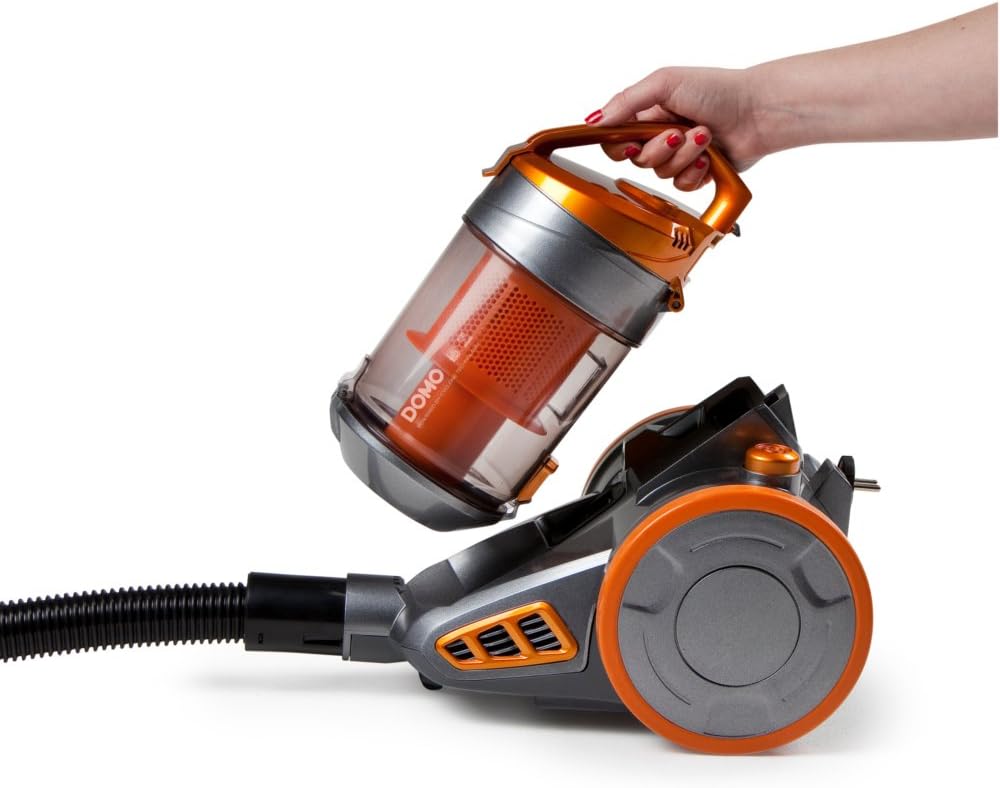
Image: A hand demonstrating the removal of the transparent orange dust container from the main body of the Domo DO7280S vacuum cleaner.

Image: A hand opening the bottom lid of the transparent orange dust container, revealing the internal filter system, ready for emptying.
Limpeza dos filtros:
The Domo DO7280S features a multi-filter system. Regular cleaning of these filters is crucial for maintaining suction power.
- After emptying the dust container, remove the internal filters.
- Tap the filters gently over a bin to dislodge fine dust.
- If washable, rinse filters under cold running water. Ensure they are completely dry before reinserting.
- Do not use detergents or hot water on filters unless specified.
- Replace filters if they are damaged or excessively worn.
Solução de problemas
| Problema | Possível causa | Solução |
|---|---|---|
| Sem energia | Não está conectado à tomada; tomada com defeito; botão liga/desliga não pressionado. | Check plug connection; test outlet with another appliance; press power button firmly. |
| Baixo poder de sucção | Recipiente de pó cheio; filtros entupidos; mangueira/tubo/bocal bloqueado. | Esvazie o recipiente de pó; limpe ou substitua os filtros; verifique se há obstruções e remova-as. |
| Ruído incomum | Obstrução na mangueira/tubo/bocal; problema no motor. | Verifique se há obstruções e remova-as. Se o ruído persistir, entre em contato com o suporte ao cliente. |
| Poeira escapando | Recipiente de pó mal fechado; filtros instalados incorretamente ou danificados. | Certifique-se de que o recipiente de pó esteja bem fechado; verifique a instalação do filtro; substitua os filtros danificados. |
Especificações
| Recurso | Detalhe |
|---|---|
| Marca | Domo |
| Número do modelo | DO7280S |
| Dimensões do produto | 43 x 32.99 x 27 cm |
| Peso do item | 5.58 kg |
| Capacity (Dust Container) | 1.5 litros |
| O quetage | 1000 watts |
| Classe de Eficiência Energética | C |
| Consumo anual de energia | 38 quilowatts-hora por ano |
| Recomendação de superfície | Todos os andares |
| Fator de forma | Vasilha |
Garantia e Suporte
For warranty information, technical support, or service inquiries, please refer to the warranty card included with your product or contact Domo customer service directly. Keep your proof of purchase for warranty claims.


