1. Introdução
This manual provides detailed instructions for the setup, operation, and maintenance of your Xerox VersaLink C505/X Color Laser Multifunction Printer. The C505/X is designed for efficient performance in fast-paced work environments, offering print, copy, scan, and fax functionalities.
Key features include a customizable 7-inch color touchscreen for intuitive control, mobile and cloud connectivity, and robust security measures.
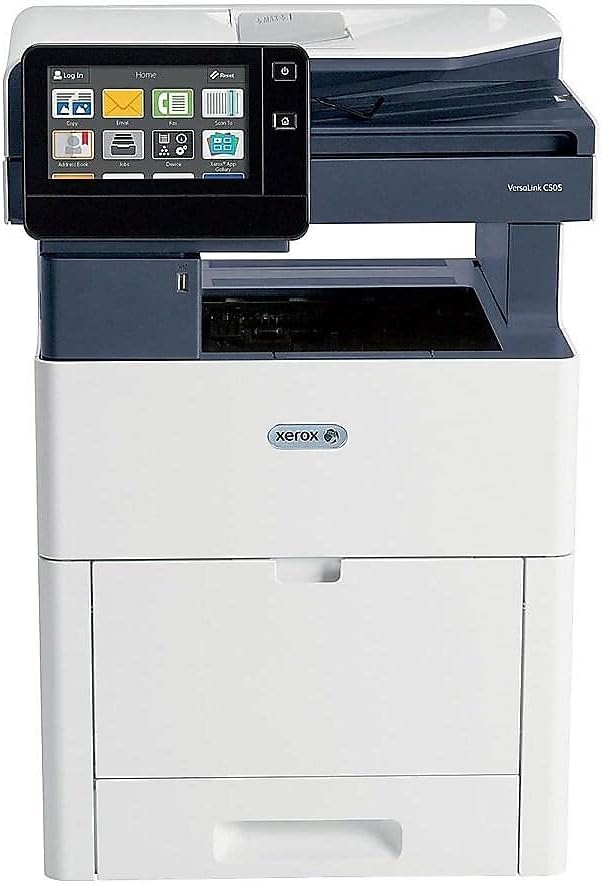
Figura 1: Frente view of the Xerox VersaLink C505/X Multifunction Printer.
2. Configuração
2.1 Desembalagem e Inspeção Inicial
Carefully remove the printer from its packaging. Verify that all components listed below are present and undamaged:
- Xerox VersaLink C505 Color MFP
- Starter capacity toner cartridges (one each of cyan, magenta, yellow: 2,400 capacity; black: 5,000 capacity)
- CD de software e documentação
- Guia de instalação
- Quick User Guides
- Cabo de alimentação
2.2 Conexão de Energia
- Place the printer on a stable, level surface.
- Connect the provided power cord to the printer's power input and then to a grounded electrical outlet.
- Do not power on the device until all other connections are made.
2.3 Instalação do cartucho de toner
Install the starter toner cartridges into their respective slots. Refer to the Quick User Guides for specific instructions on opening the toner access panel and inserting cartridges.

Figure 2: Toner cartridge access panel open, showing toner installation.
2.4 Conexão de rede e USB
The printer supports both Ethernet and USB connectivity.
- Ethernet: Conecte um cabo Ethernet da porta Ethernet da impressora ao seu roteador ou switch de rede.
- USB: Connect a USB cable from the printer's USB port to your computer.
2.5 Instalação de software
Insert the provided software and documentation CD into your computer's CD/DVD drive. Follow the on-screen instructions to install the necessary drivers and utilities. Alternatively, visit the official Xerox support website para os drivers mais recentes.
3. Operando a impressora
3.1 Interface de tela sensível ao toque
The 7-inch color touchscreen provides access to all printer functions. Navigate through menus by tapping and swiping, similar to a smartphone. The home screen displays icons for various functions such as Print, Copy, Scan, and Fax.

Figure 3: Close-up of the 7-inch color touchscreen control panel.
3.2 Impressão
Para imprimir documentos:
- Certifique-se de que a impressora esteja conectada ao seu computador ou à sua rede.
- Open the document on your computer and select the print option.
- Choose the Xerox VersaLink C505/X from the list of available printers.
- Adjust print settings (e.g., color/monochrome, duplex printing, paper size) as needed. The printer supports up to 43 ppm color and 45 ppm monochrome, with automatic duplexing.
- Confirm the print job.
3.3 Cópia
Para fazer cópias:
- Coloque o documento original no vidro do scanner ou no alimentador automático de documentos (ADF).
- On the touchscreen, tap the "Copy" icon.
- Select desired settings such as number of copies, color/black and white, and two-sided copying. The maximum copy speed is 45 ppm (black & white) with resolutions up to 1200 x 2400 dpi.
- Pressione o botão "Iniciar".
3.4 escaneando
To scan documents:
- Coloque o documento no vidro do scanner ou no alimentador automático de documentos (ADF).
- On the touchscreen, tap the "Scan" icon.
- Choose the scan destination (e.g., email, network folder, USB drive) and adjust scan settings.
- Pressione o botão "Iniciar".
3.5 Envio de fax
To send a fax:
- Coloque o documento no vidro do scanner ou no alimentador automático de documentos (ADF).
- On the touchscreen, tap the "Fax" icon.
- Digite o número de fax do destinatário.
- Ajuste as configurações de fax conforme necessário.
- Pressione o botão "Iniciar".
3.6 Mobile and Cloud Connectivity
The VersaLink C505/X offers out-of-the-box connectivity to cloud services like Google Drive, Microsoft OneDrive, and DropBox. Additional options are available through the Xerox App Gallery, allowing for flexible workflow integration.
4. Manutenção
Substituição do cartucho de toner 4.1
When a toner cartridge is low or empty, the printer's display will indicate which cartridge needs replacement. Always use genuine Xerox toner cartridges for optimal performance and print quality.
- Open the front access panel of the printer.
- Carefully remove the empty toner cartridge by pulling it straight out.
- Unpack the new toner cartridge and gently shake it to distribute the toner.
- Insira o novo cartucho no compartimento correspondente até ouvir um clique.
- Close the front access panel.
4.2 Limpeza
A limpeza regular ajuda a manter a qualidade de impressão e prolonga a vida útil da sua impressora.
- Exterior: Limpe as superfícies exteriores com um pano macio, damp, pano sem fiapos.
- Vidro do scanner: Use a soft cloth moistened with glass cleaner to clean the scanner glass. Ensure no residue remains.
- Componentes internos: Refer to the detailed user manual on the software and documentation CD for instructions on cleaning internal components, such as the print heads or rollers, if necessary.
5. Solução De Problemas
This section addresses common issues you might encounter with your Xerox VersaLink C505/X. For more complex problems, consult the full user manual or contact support.
5.1 Atolamentos de papel
If a paper jam occurs, the touchscreen will display an error message indicating the location of the jam. Follow the on-screen instructions to clear the jammed paper. Always pull paper in the direction of the paper path to avoid tearing.
5.2 Problemas de qualidade de impressão
If printouts show streaks, faded areas, or incorrect colors:
- Verifique os níveis de toner e substitua os cartuchos com pouca toner.
- Certifique-se de usar o papel apropriado para sua impressão.
- Perform a print quality diagnostic from the printer's control panel.
- Clean the print heads or other internal components as instructed in the detailed manual.
5.3 Problemas de conectividade
If the printer is not communicating with your computer or network:
- Verify that all cables (power, USB, Ethernet) are securely connected.
- Reinicie a impressora e o computador/roteador.
- Check network settings on the printer's touchscreen.
- Ensure the correct printer drivers are installed on your computer.
6. Especificações
| Recurso | Detalhe |
|---|---|
| Nome do modelo | Xerox C505/X VersaLink |
| Funções | Imprimir, copiar, digitalizar, enviar fax |
| Tecnologia de impressão | Laser colorido |
| Velocidade máxima de impressão (monocromática) | 45 ppm |
| Velocidade máxima de impressão (colorida) | 43 ppm |
| Resolução máxima de impressão (preto e branco) | 2400 dpi |
| Resolução máxima de impressão (colorida) | 1200 x 2400 dpi |
| Impressão Duplex | Automático |
| Tipo de scanner | Documento |
| Velocidade máxima de cópia (preto e branco) | 45 ppm |
| Resolução máxima de cópia (colorida) | Até 1200 x 2400 dpi |
| Método de controle | App, Touch (7-inch display) |
| Conectividade | USB, Ethernet |
| Capacidade máxima de entrada de folhas | 3250 folhas |
| Bandejas Padrão | 2 (550 Sheet Tray, 150 Sheet Multi Purpose Tray) |
| Tamanhos de mídia suportados | Letter (8.5 x 11 inches), Legal (8.5 x 14 inches) |
| Tipo de tinta | Toner (Black, Cyan, Magenta, Yellow) |
| Capacidade de armazenamento de memória | 4096 MB |
| Dimensões do produto | 26"P x 23"L x 31"A |
| Peso do item | 77.2 libras |
| O quetage | 600 watts |
7. Garantia e Suporte
7.1 Garantia do Produto
The Xerox VersaLink C505/X Color Laser MFP comes with a standard one-year full warranty from the date of purchase. This warranty covers defects in materials and workmanship under normal use. For detailed terms and conditions, please refer to the warranty documentation included with your product or visit the official Xerox website.
7.2 Suporte ao cliente
For technical assistance, troubleshooting, or service requests, please contact Xerox customer support. Support contact information can be found on the Xerox website ou na documentação fornecida com a sua impressora.
Recursos on-line: Visit the official Xerox support website for FAQs, driver downloads, and additional user guides.