1. Introdução
This manual provides essential instructions for the installation, operation, and maintenance of your HiLook by Hikvision IPC-T240H 4MP IP PoE Turret Network Camera. Please read this manual thoroughly before using the product to ensure correct and safe operation. Keep this manual for future reference.
The IPC-T240H is a high-performance 4-megapixel IP camera designed for surveillance applications. It features a 2.8mm lens, 30-meter night vision, IP67 weather resistance for outdoor use, and supports H.265+/H.265 high-efficiency video codecs for optimized bandwidth and storage. Integrated 120dB Wide Dynamic Range (WDR) ensures clear images in challenging lighting conditions.
2. Informações de segurança
- Fonte de energia: Use only the specified power adapter or Power over Ethernet (PoE) compliant devices. Ensure the power source meets the camera's requirements.
- Instalação: Install the camera in a secure location where it cannot be easily tampered with. Ensure the mounting surface can support the camera's weight.
- Ambiente: Avoid exposing the camera to extreme temperatures, humidity, dust, or corrosive environments.
- Limpeza: Desligue a energia antes de limpar. Use um pano macio e seco. Não use detergentes fortes ou materiais abrasivos.
- Água e Umidade: This camera is IP67 rated for outdoor use, but avoid submerging it in water. Ensure all cable connections are properly sealed to maintain weather resistance.
- Manutenção: Não tente desmontar ou reparar a câmera por conta própria. Encaminhe todos os serviços de manutenção a pessoal qualificado.
3. Conteúdo da embalagem
Verifique se todos os itens estão presentes na sua embalagem. Caso algum item esteja faltando ou danificado, entre em contato com o fornecedor.
- HiLook by Hikvision IPC-T240H Turret Network Camera
- Modelo de Montagem
- Parafusos de montagem e buchas de parede
- Conector à prova d'água para cabo Ethernet
- Guia de início rápido (este documento)
4. Produto acabadoview
The HiLook IPC-T240H is a compact turret-style IP camera designed for versatile surveillance. Its robust construction and IP67 rating make it suitable for both indoor and outdoor environments.
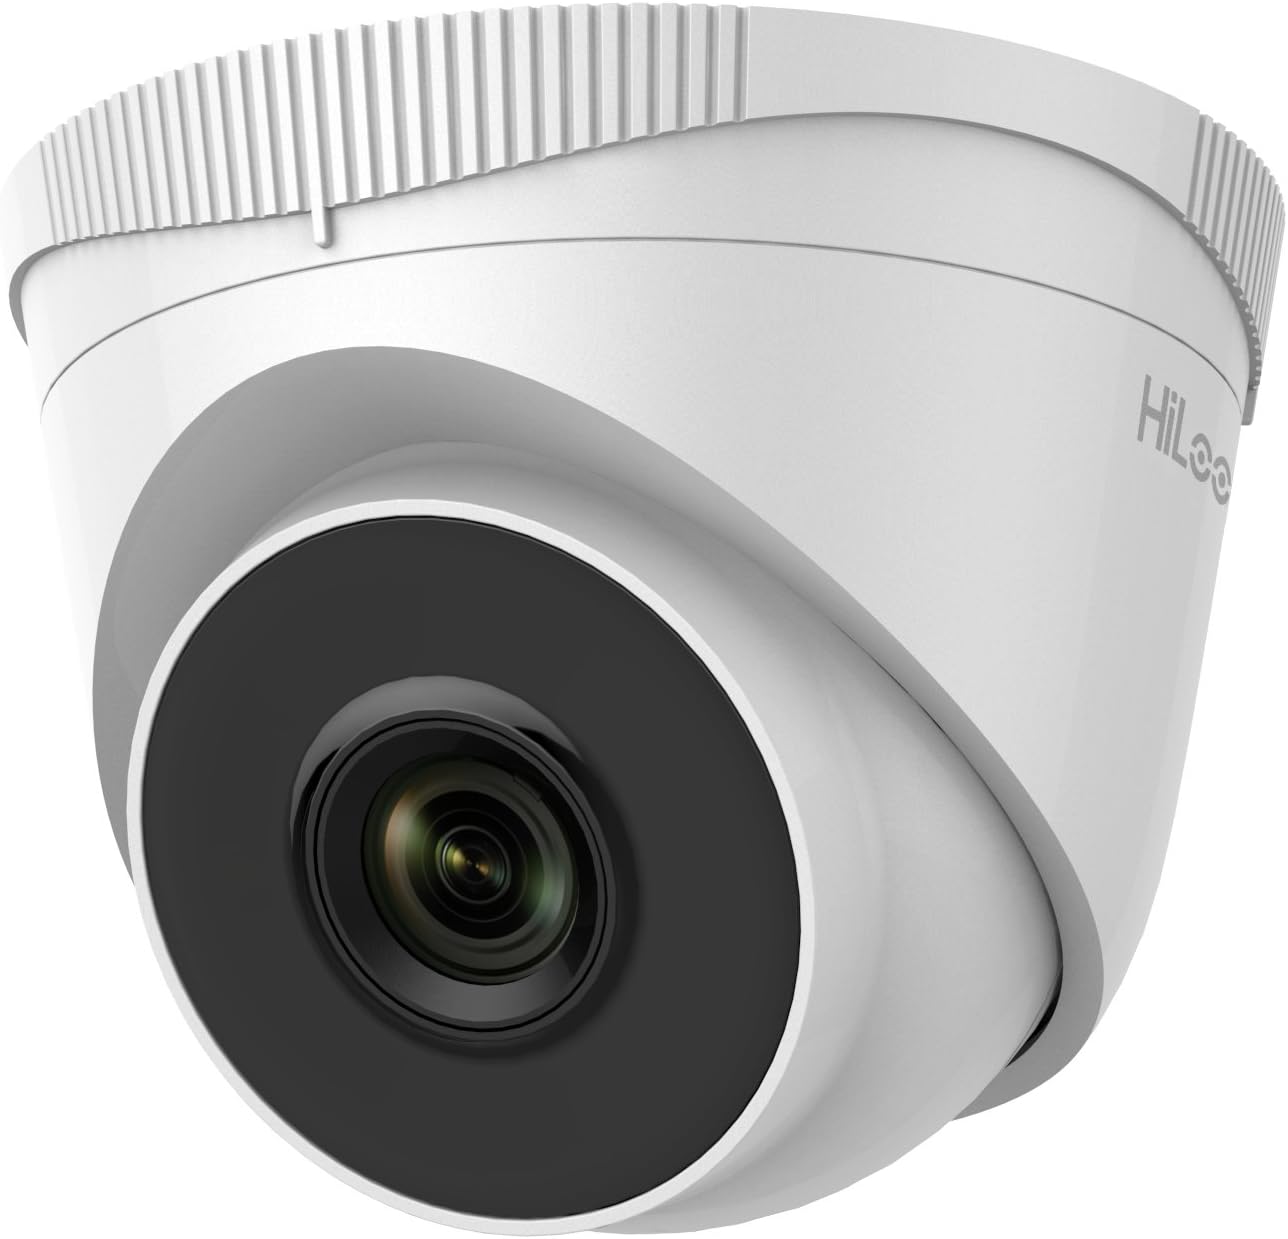
Figura 4.1: Frente view of the HiLook IPC-T240H Turret Network Camera. This image shows the camera's main lens and infrared illuminators, housed within its white turret casing.

Figura 4.2: Angulado view of the HiLook IPC-T240H Turret Network Camera. This perspective highlights the camera's dome-like structure and the adjustable base for mounting.
Componentes principais:
- Lente: 2.8mm fixed lens for a wide field of view.
- LEDs IR: Infrared illuminators for night vision up to 30 meters.
- Porta Ethernet (RJ45): Para conexão de rede e alimentação via Ethernet (PoE).
- Entrada de energia: 12V DC power input (if not using PoE).
- Base de montagem: Base ajustável para instalação na parede ou no teto.
5. Configuração
5.1 Instalação Física
- Escolha um local: Select a suitable location for surveillance, considering the camera's field of view e alcance de visão noturna.
- Montagem: Use the provided mounting template to mark drill holes. Drill holes, insert wall plugs, and secure the mounting base with screws.
- Roteamento de cabos: Route the Ethernet cable through the designated opening in the mounting base. Use the waterproof connector for outdoor installations to protect the RJ45 connection.
- Conectar câmera: Secure the camera body to the mounting base. Adjust the camera angle for optimal coverage.
5.2 Conexão de Rede e Configuração Inicial
- Conecte-se à rede: Connect the camera to your network using an Ethernet cable. If using PoE, connect to a PoE-enabled switch or NVR. If not using PoE, connect a 12V DC power adapter.
- Descubra o dispositivo: The camera typically ships with a default static IP address. To discover the camera on your network and change its IP address, use the Hikvision SADP (Search Active Device Protocol) tool. This tool can be downloaded from the Hikvision official website.
- Ativar câmera: Upon first access, you will be prompted to create a strong password for the camera. This activates the device.
- Acesso Web Interface: Abra um web browser (Internet Explorer is often recommended for full functionality with older Hikvision/HiLook firmware due to ActiveX plugins). Enter the camera's IP address in the address bar. Log in with your newly created password.
- Configurações de rede: Configure network settings (e.g., change to DHCP or assign a static IP address within your network range) through the web interface.
6. Instruções de operação
6.1 Video Codec Efficiency (H.265+)
The IPC-T240H supports H.265+ video compression, which significantly reduces bandwidth and storage requirements compared to older H.264 or H.265 standards. This allows for longer recording times and more efficient network usage without compromising video quality.

Figura 6.1: This chart illustrates the storage efficiency of H.265+ compared to H.264 and H.265 codecs. H.265+ can reduce 24-hour recording file sizes by up to 83% for daytime footage and 67% for nighttime footage, optimizing storage and bandwidth.
6.2 Wide Dynamic Range (WDR)
The 120dB WDR feature allows the camera to capture clear images in scenes with both very bright and very dark areas. It balances the exposure to prevent overexposure in bright spots and underexposure in shadows, ensuring details are visible across the entire image.

Figura 6.2: Comparison of image quality with WDR off (top) and WDR on (bottom). The top image shows significant glare and underexposed areas, while the bottom image, with WDR enabled, provides balanced exposure and clearer details in both bright and dark regions.
6.3 Visão noturna
The camera is equipped with infrared (IR) LEDs, providing clear black and white video surveillance in low-light or completely dark conditions up to a range of 30 meters.
6.4 Remote Access (HiLookVision)
Você pode gerenciar e view your camera remotely using the HiLookVision PC Client software or the HiLookVision mobile application. These tools allow for live viewing, playback, and configuration from your computer or smartphone.

Figura 6.3: This diagram illustrates the HiLookVision ecosystem for easy device management. HiLook products can connect to the HiLookVision Cloud Server, which then allows access via the HiLookVision PC Client or the HiLookVision App on a smartphone.
7. Manutenção
- Limpeza: Regularly clean the camera lens and housing with a soft, lint-free cloth. For stubborn dirt, use a mild cleaning solution applied to the cloth, not directly to the camera.
- Atualizações de firmware: Periodically check the official HiLook or Hikvision website for firmware updates. Firmware updates can improve performance, add new features, and enhance security. Follow the provided instructions carefully when performing updates.
- Inspeção de cabos: Periodically inspect all cables and connections for signs of wear, damage, or corrosion, especially for outdoor installations.
8. Solução De Problemas
- Sem imagem/vídeo:
- Check power supply (PoE or 12V DC adapter).
- Verifique a conexão do cabo de rede.
- Ensure the camera's IP address is correct and accessible on your network. Use the SADP tool to confirm.
- Má qualidade de imagem:
- Limpe a lente da câmera.
- Verifique se há obstruções no campo de visão da câmera. view.
- Ajuste as configurações de imagem (brilho, contraste, WDR) através do web interface.
- Ensure sufficient lighting for night vision within the 30m range.
- Não é possível acessar Web Interface:
- Confirm the camera's IP address using the SADP tool.
- Certifique-se de que seu computador esteja no mesmo segmento de rede que a câmera.
- Experimente algo diferente web browser, especially Internet Explorer for initial setup with older firmware.
- Desative temporariamente o firewall ou o software antivírus do seu computador.
- Fixed IP Address Issue: If the camera starts with a fixed IP address that conflicts with your network, use the Hikvision SADP tool to modify its IP address to match your network's range or enable DHCP.
9. Especificações
| Recurso | Especificação |
|---|---|
| Modelo | IPC-T240H |
| Resolução | 4 megapixels |
| Lente | Lente fixa 2.8mm |
| Alcance de visão noturna | Até 30 metros |
| Resistência às intempéries | Classificação IP67 |
| Compressão de vídeo | H.265+/H.265, H.264+/H.264 |
| Wide Dynamic Range (WDR) | 120 dB de WDR |
| Conectividade | Wired (PoE), ONVIF Protocol |
| Fonte de energia | PoE (802.3af) ou 12 V CC |
| Uso interno/externo | Ar livre |
| Dimensões do produto | 15 x 15 x 14.1 cm |
| Peso | 350 g |
| Fabricante | Hikvision |
10. Garantia e Suporte
For warranty information and technical support, please refer to the documentation provided with your purchase or visit the official HiLook or Hikvision website. Guarde o comprovante de compra para solicitações de garantia.


