1. Introdução
The WMF Lono Sous Vide Garer Pro is a versatile 2-in-1 appliance designed for both precise low-temperature sous vide cooking and traditional slow cooking. This manual provides essential information for safe operation, setup, usage, maintenance, and troubleshooting to ensure optimal performance and longevity of your appliance.

Image 1.1: The WMF Lono Sous Vide Garer Pro in use, showcasing both sous vide and slow cooking functions.
2. Instruções de segurança
Leia atentamente todas as instruções de segurança antes de usar o aparelho. O não cumprimento dessas instruções pode resultar em choque elétrico, incêndio ou ferimentos graves.
- Certifique-se sempre de que o aparelho esteja colocado sobre uma superfície estável e resistente ao calor.
- Do not immerse the base unit (containing electrical components) in water or other liquids.
- Mantenha o aparelho fora do alcance de crianças e animais de estimação.
- Desligue o aparelho da tomada quando não estiver em uso, antes de limpá-lo e durante a montagem ou desmontagem.
- Não utilize o aparelho se o cabo de alimentação ou a ficha estiverem danificados, ou se o aparelho apresentar mau funcionamento ou tiver sofrido uma queda. Contacte um técnico autorizado para efetuar a reparação.
- Utilize somente acessórios e peças de reposição originais da WMF.
- Garanta ventilação adequada ao redor do aparelho durante a operação.
- The water tank and stainless steel insert can become very hot during and after operation. Use caution and oven mitts when handling.
3. Produto acabadoview
Familiarize yourself with the components of your WMF Lono Sous Vide Garer Pro.

Imagem 3.1: Explodida view showing all components of the WMF Lono Sous Vide Garer Pro.
Componentes:
- Unidade base: Contém o elemento de aquecimento e o painel de controle.
- TRITAN Water Tank (6 Liters): Transparent, BPA-free tank for holding water. Features large transport handles.
- Tampa: Transparent lid for the water tank.
- Sous Vide Rack: Separator for vacuum-sealed bags to ensure even cooking.
- Stainless Steel Insert: For slow cooking functions.

Image 3.2: Detail of the transparent TRITAN water tank with integrated handles.
Painel de controle:
The control panel features an LCD display and intuitive buttons for setting temperature and time.

Image 3.3: The digital control panel with LCD display, power button, start/pause, menu, and rotary dial.
- Botão de energia (U): Liga/desliga o aparelho.
- Botão Iniciar/Pausar (||): Inicia ou pausa o processo de cozimento.
- Botão de menu (≡): Toggles between temperature and time settings.
- Mostrador rotativo: Used to adjust temperature and time values.
- Tela LCD: Shows current temperature, target temperature, and remaining cooking time.
4. Configuração
Before first use, ensure all packaging materials are removed and clean the water tank, lid, sous vide rack, and stainless steel insert with warm soapy water. Rinse thoroughly and dry.
Etapas de configuração inicial:
- Coloque a unidade base sobre uma superfície plana, estável e resistente ao calor.
- Position the TRITAN water tank securely on top of the base unit.
- Fill the water tank with water. For sous vide, ensure the water level is between the MIN and MAX marks, covering the food you intend to cook. For slow cooking, refer to the recipe for appropriate liquid levels.
- Ligue o cabo de alimentação a uma tomada elétrica aterrada. O visor acenderá.

Imagem 4.1: Frente view of the appliance showing water level indicators on the TRITAN tank.
5. Instruções de operação
5.1. Sous Vide Cooking
Sous vide cooking involves precise temperature control for perfectly cooked food.
- Prepare your food (e.g., meat, fish, vegetables) and season as desired.
- Place the food in a vacuum-sealable bag and remove all air using a vacuum sealer.
- Place the sous vide rack into the water tank. This helps keep bags submerged and separated.
- Fill the water tank with water to the appropriate level.
- Pressione o botão liga / desliga (U) para ligar o aparelho.
- Use the Menu button (≡) to select the temperature setting. Rotate the dial to set the desired temperature (range: 35°C to 90°C).
- Press the Menu button again to select the timer setting. Rotate the dial to set the desired cooking time (up to 72 hours).
- Once temperature and time are set, press the Start/Pause button (||) to begin heating the water.
- When the water reaches the target temperature, carefully place the vacuum-sealed food bags into the water bath, ensuring they are fully submerged.
- Coloque a tampa no tanque de água.
- The timer will begin counting down once the target temperature is reached.
- After the cooking time expires, the appliance will alert you. Carefully remove the food bags.

Image 5.1: The sous vide rack placed inside the water tank, ready for food bags.

Image 5.2: A person carefully placing a vacuum-sealed bag of meat into the water bath with the sous vide rack.
5.2. Cozimento Lento
The slow cooking function is ideal for tenderizing tougher cuts of meat and developing rich flavors.
- Ensure the TRITAN water tank is placed on the base unit.
- Insert the stainless steel insert into the water tank.
- Add your ingredients and liquids directly into the stainless steel insert.
- Fill the water tank with water around the stainless steel insert, ensuring the water level is appropriate for the slow cooking process (refer to recipe or ensure sufficient water for heat transfer).
- Pressione o botão liga / desliga (U) para ligar o aparelho.
- Use the Menu button (≡) to select the temperature setting. Rotate the dial to set the desired temperature (maximum 90°C for slow cooking).
- Press the Menu button again to select the timer setting. Rotate the dial to set the desired cooking time.
- Pressione o botão Iniciar/Pausa (||) to begin the slow cooking process.
- Coloque a tampa no tanque de água.
- Monitor the cooking process as needed.
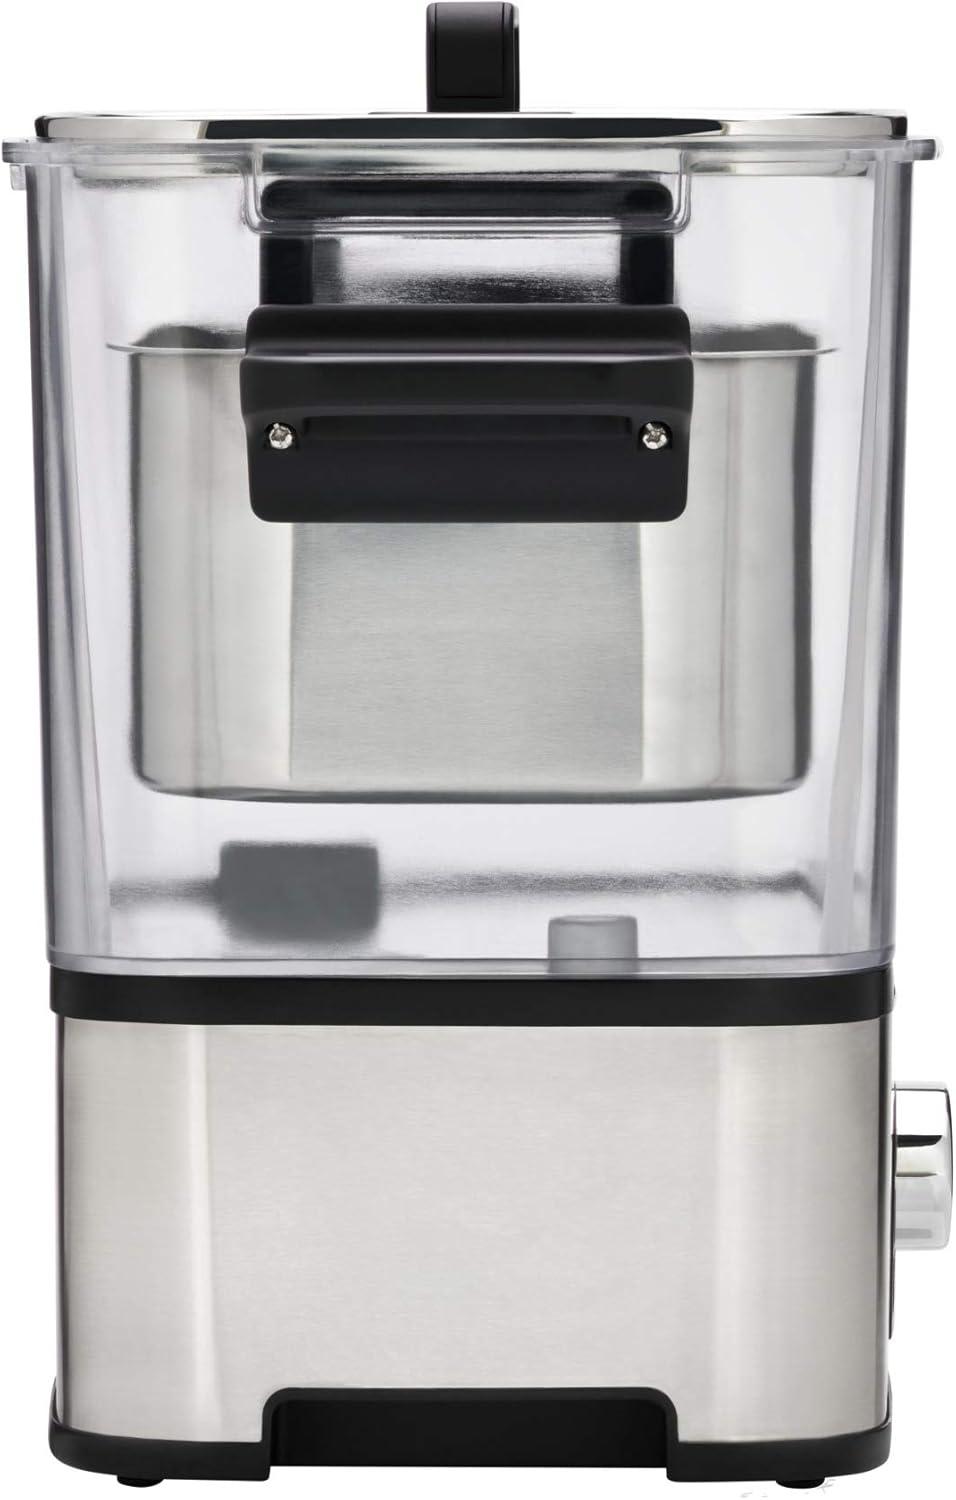
Image 5.3: The stainless steel insert positioned within the water tank for slow cooking.

Image 5.4: A meal prepared using the slow cooking function, served with pasta.
6. Manutenção e Limpeza
A limpeza e a manutenção regulares prolongarão a vida útil do seu aparelho.
Etapas de limpeza:
- Sempre desligue o aparelho e deixe-o esfriar completamente antes de limpá-lo.
- Remove the water tank, lid, sous vide rack, and stainless steel insert.
- Wash these removable parts with warm water and a mild dish soap. Rinse thoroughly and dry completely. These parts are generally dishwasher safe, but hand washing is recommended for longevity.
- Limpe a parte externa da unidade base com o produto.amp cloth. Do not use abrasive cleaners or scourers. Never immerse the base unit in water.
- Certifique-se de que todas as peças estejam secas antes de remontar ou guardar o aparelho.
Descalcificação:
Depending on water hardness, mineral deposits may accumulate in the water tank and on the heating element. Descale the appliance regularly (e.g., every 1-3 months) using a commercial descaling solution suitable for kitchen appliances or a mixture of water and white vinegar. Follow the descaling product's instructions or run the appliance with the descaling solution for a short period, then rinse thoroughly multiple times with clean water.
7. Solução De Problemas
If you encounter issues with your WMF Lono Sous Vide Garer Pro, refer to the table below for common problems and solutions.
| Problema | Possível causa | Solução |
|---|---|---|
| O aparelho não liga. | Não está conectado; energia outage; faulty power cord/outlet. | Check power connection; test outlet with another appliance; inspect power cord for damage. |
| A água não está aquecendo. | Start button not pressed; heating element malfunction. | Ensure the Start/Pause button is pressed; if problem persists, contact customer support. |
| A temperatura é inconsistente. | Falta de água; acúmulo de minerais na resistência. | Ensure water level is adequate; descale the appliance. |
| O visor exibe um código de erro. | Mau funcionamento interno. | Desligue o aparelho da tomada, aguarde alguns minutos e ligue-o novamente. Se o erro persistir, entre em contato com o suporte ao cliente. |
8. Especificações
- Marca: WMF
- Número do modelo: 0415360011
- Cor: Cromargan Matte
- Dimensões do produto: 52.5 x 25.8 x 43 cm (aproximadamente 20.7 x 10.2 x 16.9 polegadas)
- Capacidade: 6 litros
- Poder: 1500 Watts
- Material: Plastic (TRITAN, BPA-free) and Cromargan (Stainless Steel)
- Peso do produto: 2.59 kg (aprox. 5.7 lbs)
- Faixa de temperatura: 35°C a 90°C (95°F a 194°F)
- Função do temporizador: Até 72 horas
- Método de controle: Touch and Rotary Dial
9. Garantia e Suporte
Os produtos WMF são fabricados segundo elevados padrões de qualidade e incluem garantia do fabricante. Consulte o cartão de garantia incluído na sua compra para obter informações específicas sobre os termos e condições, incluindo o período de garantia e os detalhes da cobertura.
For technical support, spare parts, or warranty claims, please contact WMF customer service. Contact information can typically be found on the WMF official website ou na documentação fornecida com o seu aparelho.
Ao entrar em contato com o suporte, tenha em mãos o número do modelo (0415360011) e o comprovante de compra.


