Introdução
This manual provides essential information for the safe and effective use of WAGO 221 Series COMPACT Splicing Connectors. These connectors are designed for fast, reliable, and safe connection of all common wire types, including solid, stranded, and fine-stranded conductors, ranging from 12 to 24 AWG.
The WAGO 221 connectors feature operating levers for easy, tool-free wire insertion and removal, making them suitable for a wide range of electrical applications.
Informações de segurança
- Always disconnect power to the circuit before installing or removing connectors. Failure to do so may result in electric shock or injury.
- Ensure that the wire gauge and type are compatible with the connector's specifications (12-24 AWG).
- Não exceda o vol máximotage (450 V / 1000 V for signs and fixtures) or current (32 A) ratings.
- Verify that wires are fully inserted and levers are securely closed to ensure a proper connection.
- Do not use damaged connectors.
- Consult local electrical codes and regulations for proper installation practices.
Produto acimaview
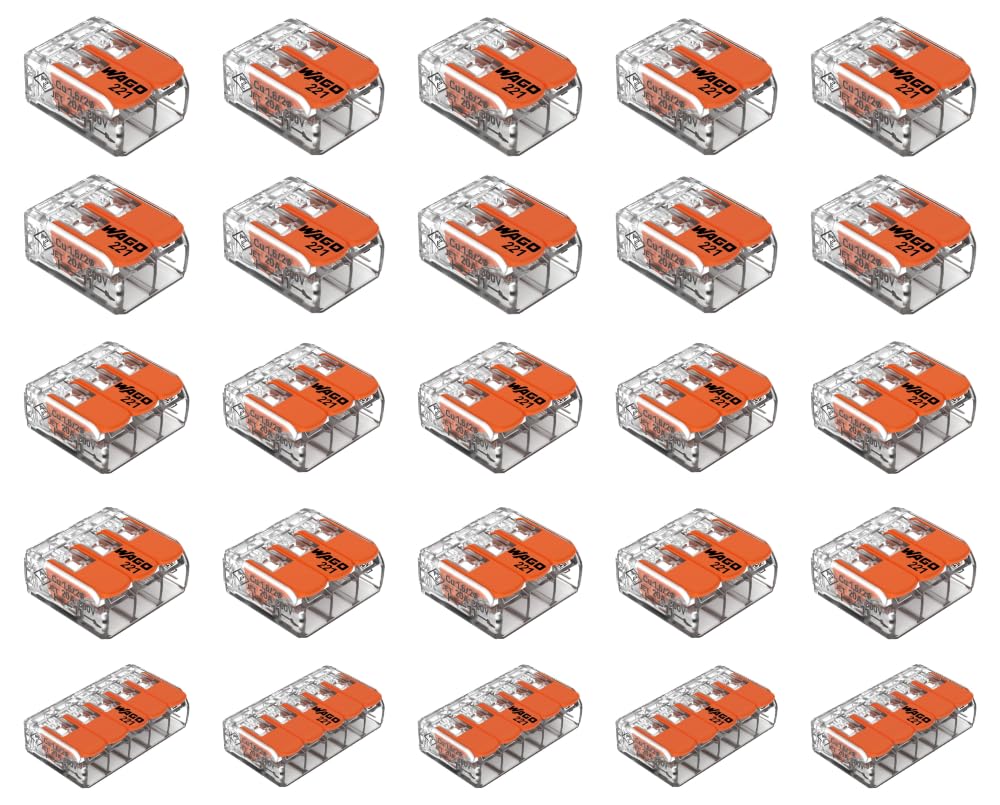
Image: An assortment of WAGO 221 Splicing Connectors. The image displays multiple units of 2-port, 3-port, and 5-port connectors. Each connector features a transparent housing, allowing visibility of the wire connection, and bright orange operating levers. These connectors are designed for quick and secure electrical connections.
Configurar
Before connecting wires, ensure they are properly prepared according to the following steps:
- Desconexão de energia: Turn off the power supply to the circuit you are working on. Verify with a voltage testador.
- Decapagem de fios: Carefully strip the insulation from the end of each wire. The recommended strip length is 11 mm (0.43 inches). Use a wire stripper to avoid damaging the conductor.
- Inspecionar fios: Ensure the stripped wire ends are clean, straight, and free from frayed strands.
Instruções de operação
Follow these steps to make a secure electrical connection using WAGO 221 Splicing Connectors:
- Alavanca aberta: For each wire entry port you intend to use, lift the orange operating lever to its fully open (vertical) position.
- Inserir fio: Insert the stripped end of the prepared wire completely into the open port. Ensure no bare conductor is visible outside the connector and that the insulation reaches the internal stop.
- Alavanca de fechamento: Push the orange operating lever down firmly until it clicks into its closed (horizontal) position. This secures the wire connection.
- Verifique a conexão: Gently tug on the wire to confirm it is securely held by the connector. The transparent housing allows for visual inspection of the connection.
- Repita: Repeat steps 1-4 for all other wires you wish to connect to the splicing connector.
Manutenção
WAGO 221 Splicing Connectors are designed for maintenance-free operation once installed correctly. However, consider the following for optimal performance and longevity:
- Armazenar: Store unused connectors in a clean, dry environment, away from direct sunlight and extreme temperatures.
- Inspeção: Periodically inspect installed connectors for any signs of damage, discoloration, or loose connections, especially in high-vibration or high-temperature environments.
- Limpeza: If necessary, gently wipe the exterior of the connectors with a dry, lint-free cloth. Do not use abrasive cleaners or solvents.
Solução de problemas
| Problema | Possível causa | Solução |
|---|---|---|
| Wire does not insert fully. | Lever not fully open; wire end is bent or frayed; insulation not stripped to correct length. | Ensure lever is vertical; straighten or re-strip wire to 11 mm (0.43 in). |
| Lever does not close securely. | Wire not fully inserted; incorrect wire gauge. | Push wire in further until it hits the stop; verify wire is within 12-24 AWG range. |
| Loose connection after installation. | Lever not fully closed; wire not stripped correctly; damaged connector. | Ensure lever is horizontal and clicked; re-strip and re-insert wire; replace connector if damaged. |
Especificações
- Modelo: WAGO 221 Series COMPACT Splicing Connector
- Compatibilidade de fio: All wire types (solid, stranded, fine-stranded)
- Wire Gauge Range: 12-24 AWG
- Vol avaliadotage: 450 V (1000 V for signs and fixtures)
- Corrente nominal: 32 A no máximo
- Comprimento da tira: 11 mm (0.43 polegadas)
- Max. Temperatura de operação: 85°C
- Material: Transparent housing, Metal clampunidade de ing
- Cor: Transparent with Orange levers
- Fabricante: WAGO 211 Series
- Origem: Feito na Alemanha
Garantia e Suporte
For information regarding product warranty, technical support, or further assistance, please refer to the official WAGO website or contact their customer service department. Ensure you have your product model number (WAGO-xxxx) available when seeking support.
WAGO is committed to providing high-quality electrical connection solutions. For additional resources, visit the WAGO Store on Amazon.