Introdução
This manual provides detailed instructions for the proper setup, operation, and maintenance of your Timex TW4B17400 Analog-Digital Watch. Please read this manual thoroughly to ensure optimal performance and longevity of your timepiece. Keep this manual for future reference.
Produto acimaview
The Timex TW4B17400 is a men's analog-digital watch featuring a black dial and a brown leather strap. It combines traditional analog timekeeping with digital functionalities.
Principais características:
- Analog and Digital Time Display
- Durable Leather Strap
- Luz noturna Indiglo
- Chronograph Functionality
- Função de alarme
Componentes do relógio:
Familiarize-se com os principais componentes do seu relógio:

Imagem: Lado view of the Timex TW4B17400 watch. This image displays the watch case from the side, highlighting the crown (center knob) and two pushers (buttons) on either side of the crown, used for adjusting time and accessing digital functions. The brown leather strap is also visible.
- Coroa: Utilizado para ajustar a hora analógica.
- Pushers (Buttons): Used for operating digital functions such as setting digital time, date, alarm, and chronograph.
- Discar: Displays analog time and includes a digital display window.
- Correia: Brown leather strap with a buckle closure.
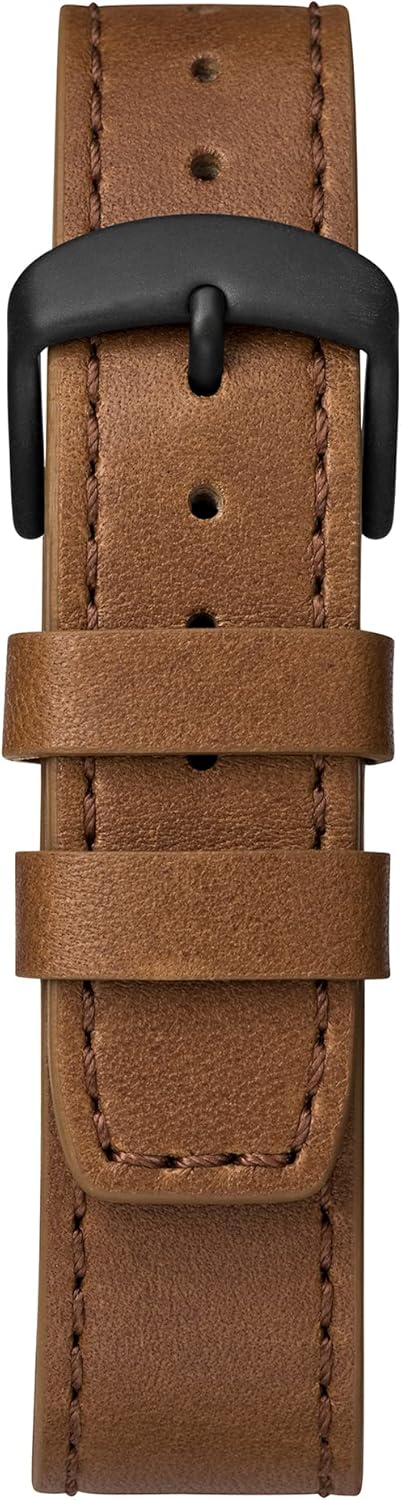
Image: Close-up of the brown leather strap and black buckle of the Timex TW4B17400 watch. The detailed stitching on the leather and the two strap loops are clearly visible.
Configurar
Battery Installation (If Required):
Your watch comes with a CR2 battery installed. If the watch is not functioning, the battery may need to be replaced. It is recommended to have battery replacement performed by a qualified watch technician to ensure proper sealing and water resistance.
Ajustando a hora analógica:
- Pull the crown (center knob) out to the furthest position.
- Gire a coroa no sentido horário ou anti-horário para ajustar os ponteiros das horas e dos minutos à hora correta.
- Após ajustar a hora, empurre a coroa de volta à sua posição original para iniciar o mecanismo do relógio.
Configuração de hora e data digitais:
The digital functions are typically controlled by the pushers. Refer to the specific instructions below for common digital settings. The exact sequence may vary slightly; consult the full Timex manual for your movement if detailed steps are needed.
- Press the MODE button (usually one of the side pushers) repeatedly until the digital display shows the time setting mode (often indicated by flashing digits).
- Use the SET/ADJUST button (another pusher) to select the digit you wish to change (e.g., hours, minutes, 12/24-hour format).
- Use the START/STOP button (another pusher) to increase the value of the flashing digit.
- Repeat steps 2 and 3 for minutes, year, month, and day.
- Once all settings are correct, press the MODE button to exit the setting mode.
Operacional
Reading Analog Time:
The hour and minute hands indicate the current time in a traditional format.
Using Digital Functions:
- Botão de modo: Cycles through different digital modes (Time, Date, Alarm, Chronograph, Timer).
- Set/Adjust Button: Used to select items for adjustment within a mode.
- Botão Iniciar / Parar: Used to start/stop functions (e.g., chronograph) or increment values during setting.
Luz noturna Indiglo:
To illuminate the watch face in low-light conditions, press and hold the crown or a designated pusher (refer to your watch's specific button layout). The Indiglo feature will light up the dial for a few seconds.
Função de alarme:
- Press the MODE button until the alarm mode is displayed.
- Use the SET/ADJUST button to select the hour or minute to set.
- Use the START/STOP button to change the alarm time.
- Press the MODE button to confirm and exit.
- To activate/deactivate the alarm, typically press a specific pusher while in alarm mode.
Cronógrafo (cronômetro):
- Press the MODE button until the chronograph mode is displayed (usually shows 00:00:00).
- Press the START/STOP button to start timing.
- Press the START/STOP button again to stop timing.
- Press the RESET button (often the same as SET/ADJUST) to clear the chronograph to zero.
Manutenção
Como limpar seu relógio:
Limpe a caixa e o cristal do relógio com um pano macio e seco.amp cloth. For the leather strap, use a dry, soft cloth. Avoid using harsh chemicals or abrasive materials, as these can damage the watch's finish or strap.
Resistência à água:
While your watch may be water-resistant, it is not waterproof. Avoid prolonged exposure to water, such as swimming or showering, unless the specific water resistance rating (e.g., 50m, 100m) is clearly indicated on the watch and suitable for such activities. Always ensure the crown is pushed in completely to maintain water resistance.
Leather Strap Care:
Leather straps can be affected by moisture, sweat, and direct sunlight. To prolong the life of your leather strap:
- Evite a exposição prolongada à água.
- Limpe com um pano seco e macio.
- Allow the strap to air dry if it gets wet; do not use direct heat.
- Avoid contact with cosmetics, oils, and perfumes.
Solução de problemas
Watch Not Running / Digital Display Blank:
- Verifique se a coroa está totalmente encaixada.
- A bateria pode precisar ser substituída. Consulte um técnico de relógios profissional.
Exibição de hora incorreta:
- Refer to the "Setting Analog Time" and "Setting Digital Time and Date" sections to reset the time.
- Ensure the watch has not been exposed to strong magnetic fields, which can affect accuracy.
Indiglo não está funcionando:
- Certifique-se de que a bateria tenha energia suficiente.
- Confirm you are pressing the correct button for Indiglo activation.
Especificações
| Recurso | Detalhe |
|---|---|
| Marca | Timex |
| Número do modelo | TW4B17400 |
| Departamento | masculino |
| Material | Leather (Strap) |
| Dimensões do produto | 3.99 x 10.01 x 5.99 cm |
| Peso do item | 66.3 gramas |
| Tipo de Bateria | 1 CR2 (Incluído) |
| Primeira data disponível | 26 de agosto de 2019 |
| ASIN | B07PJCC2TK |
Garantia e Suporte
Para informações sobre garantia e suporte ao cliente, consulte o site oficial da Timex. webno site ou no cartão de garantia incluído na sua compra. Guarde o comprovante de compra para eventuais solicitações de garantia.
For further assistance, you may visit the official Timex support page: Suporte Timex


