1. Introdução
Thank you for choosing the Karlsson Gummy Digital Alarm Clock. This manual provides essential information for the safe and efficient operation of your new alarm clock. Please read it thoroughly before use and retain it for future reference.
This digital alarm clock features a soft silicone exterior, a clear digital display, and essential functions like alarm and snooze, designed for ease of use and integration into any bedroom environment.
2. Informações de segurança
- Mantenha o dispositivo longe de água e alta umidade.
- Não exponha o dispositivo à luz solar direta ou a temperaturas extremas.
- Use only the specified battery type (3 x AAA batteries).
- Certifique-se de que as pilhas estejam inseridas com a polaridade correta (+/-).
- Remova as pilhas se o dispositivo não for usado por um longo período para evitar vazamentos.
- Descarte as baterias usadas de maneira responsável, de acordo com os regulamentos locais.
- Não tente desmontar ou reparar o dispositivo por conta própria. Contate pessoal de serviço qualificado.
3. Conteúdo da embalagem
Por favor, verifique se a embalagem contém os seguintes itens:
- 1 x Karlsson Gummy Digital Alarm Clock (Model KA5753GY)
Observação: 3 x AAA batteries are required for operation and are not included in the package.
4. Recursos do Produto
- Material: Soft Silicone exterior for a comfortable touch.
- Mostrar: Clear Digital display showing hours and minutes.
- Funções: Classic Alarm function and Snooze button.
- Legibilidade: Large numbers for easy reading, even in low light conditions with the light function.
- Fonte de energia: Battery operated (3 x AAA batteries, not included).
- Dimensões: Approximately 7 cm (Height) x 14 cm (Width) x 5 cm (Depth).
5. Configuração
5.1 Instalação da bateria
- Localize o compartimento da bateria na parte traseira do despertador.
- Open the battery compartment cover by sliding it off.
- Insert 3 x AAA batteries, ensuring correct polarity (+ and -) as indicated inside the compartment.
- Feche bem a tampa do compartimento da bateria.

Imagem: Costas view Com compartimento para bateria.
5.2 Inicialização Inicial
Once batteries are installed, the digital display should light up, and the clock will be ready for time setting.
6. Instruções de operação
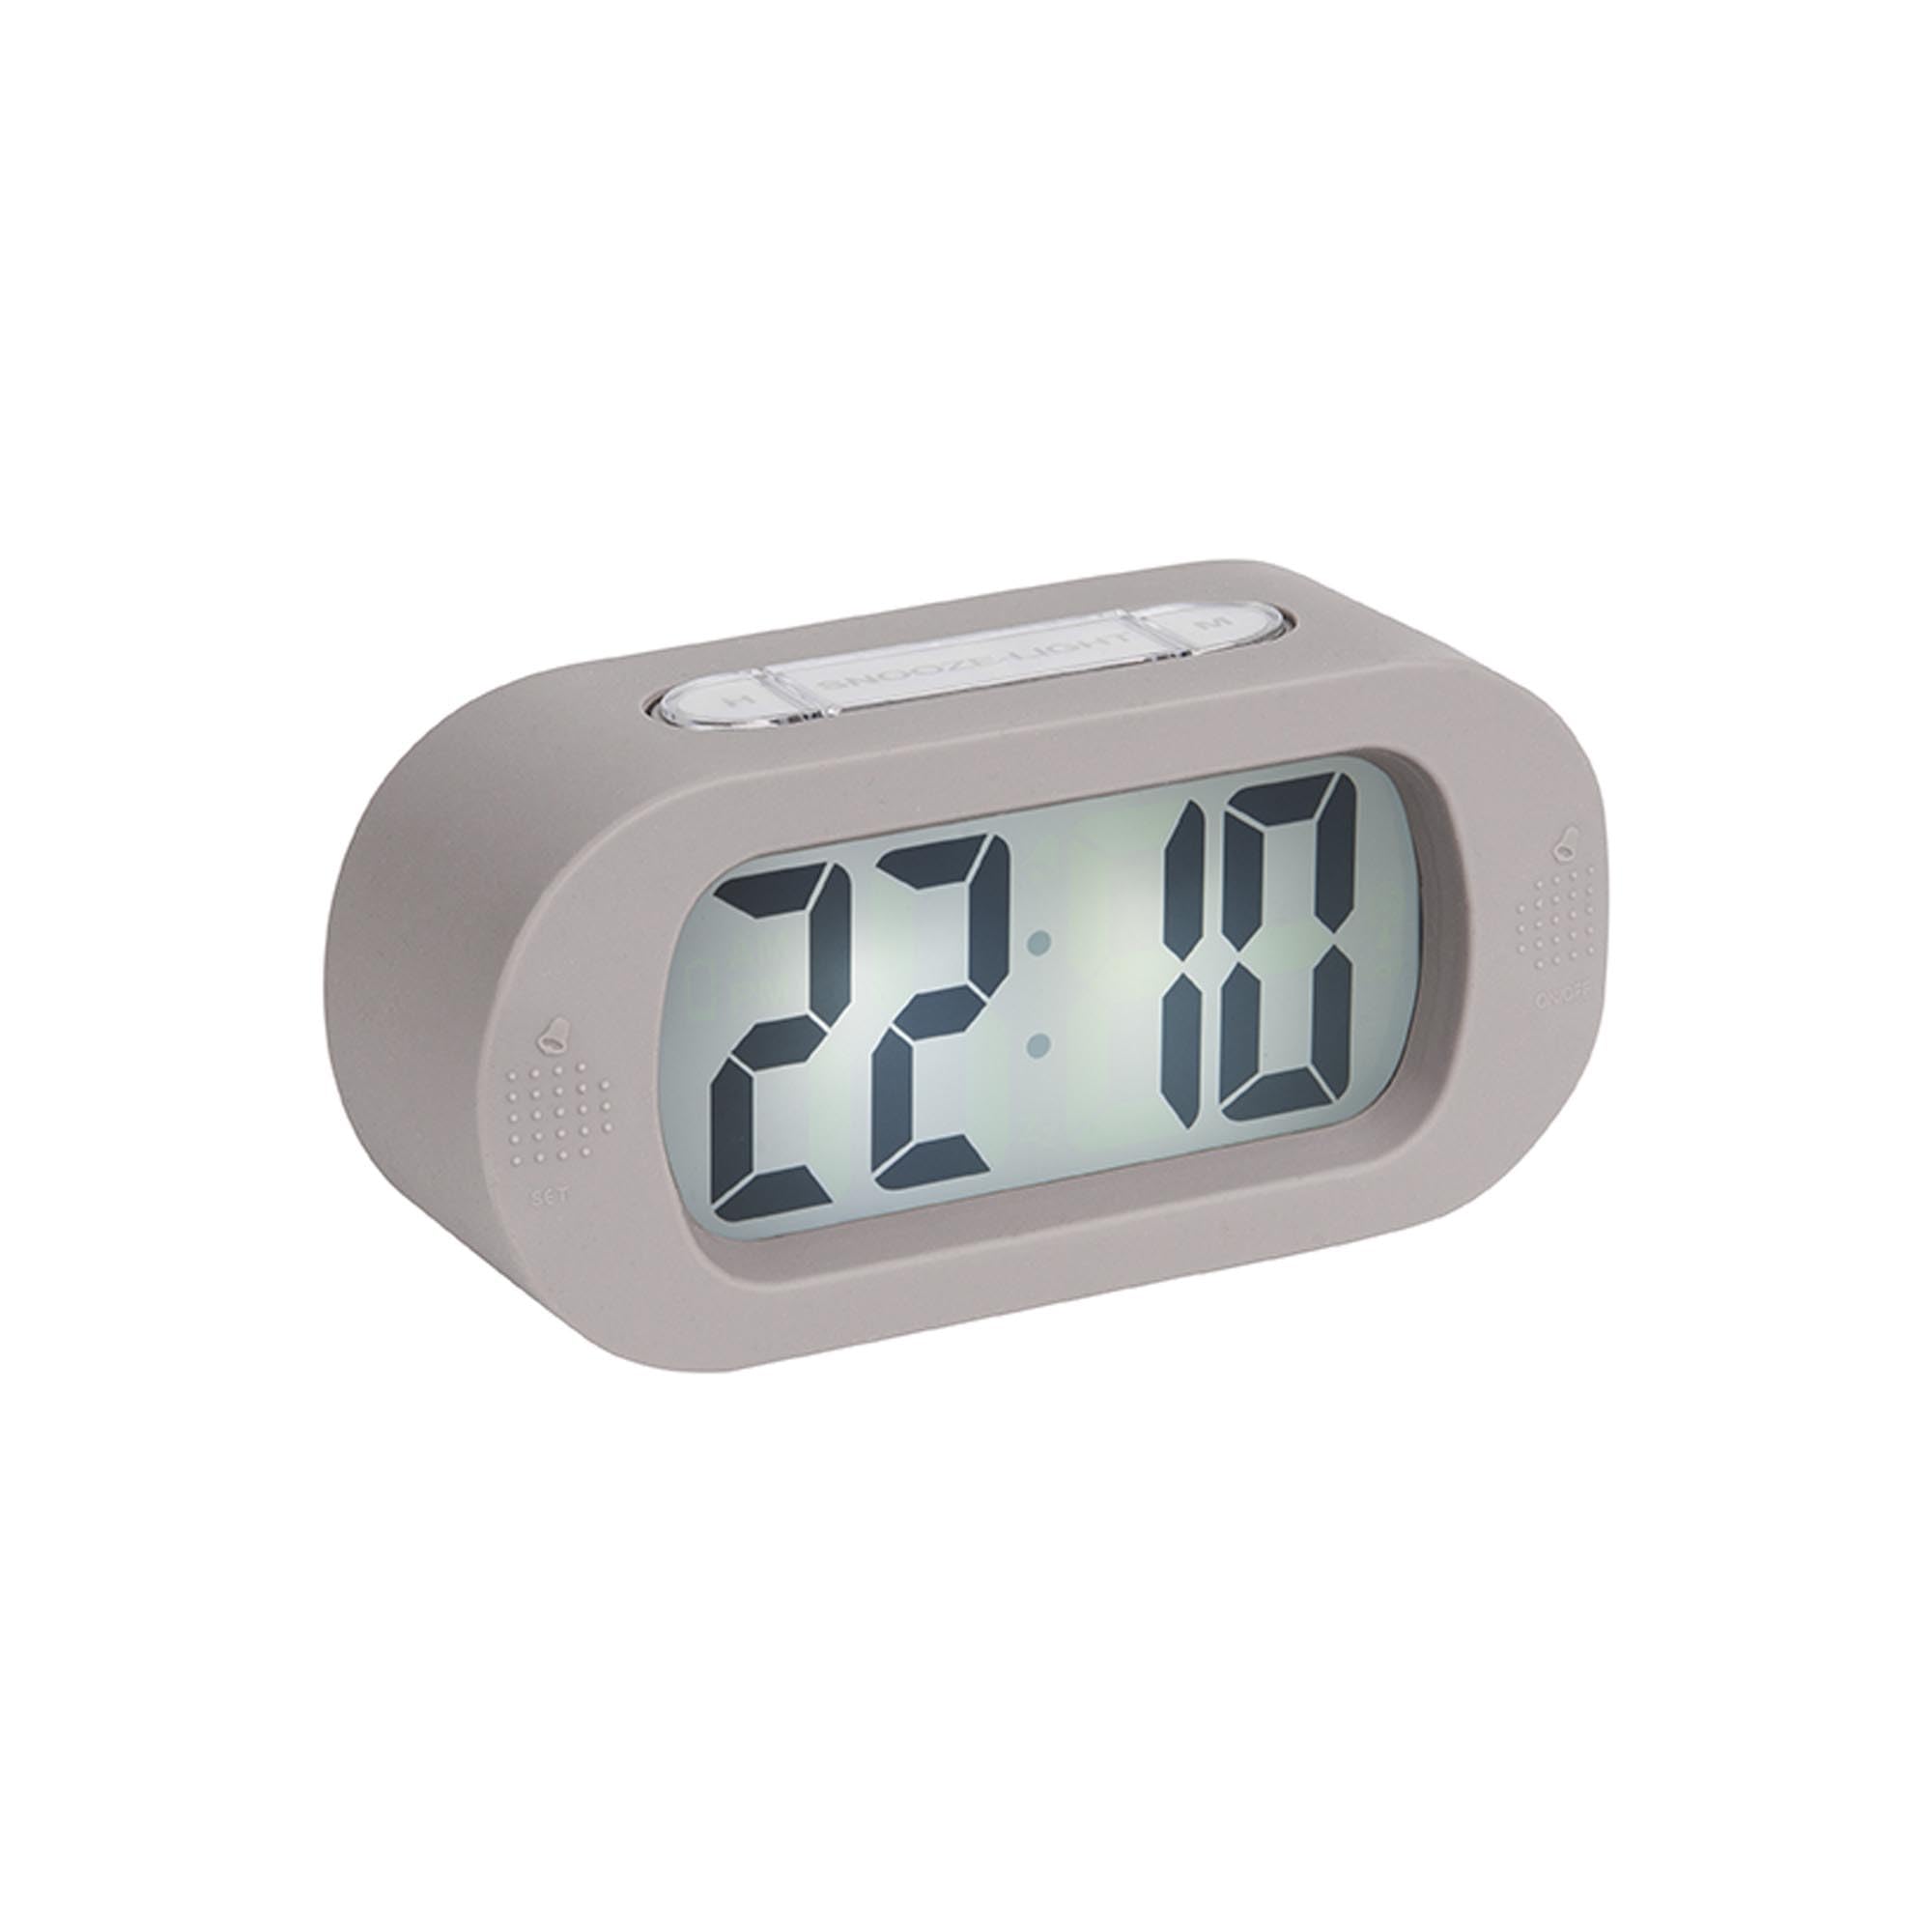
Imagem: Frente view of the alarm clock.
6.1 Definição da hora
- Pressione e segure o "TIME SET" button (located on the back) until the hour digits start flashing.
- Use o "H" button (on top) to adjust the hour.
- Pressione o "TIME SET" button again to switch to minute setting.
- Use o "M" button (on top) to adjust the minutes.
- Imprensa "TIME SET" Confirme mais uma vez e saia do modo de configuração de hora.
6.2 Configurando o Alarme
- Pressione e segure o "DEFINIR" button (on the front bottom left) until the alarm hour digits start flashing.
- Use o "H" botão para ajustar a hora do alarme.
- Imprensa "DEFINIR" again to switch to alarm minute setting.
- Use o "M" botão para ajustar os minutos do alarme.
- Imprensa "DEFINIR" Mais uma vez para confirmar e sair do modo de configuração do alarme.
6.3 Ativação/Desativação do Alarme
To turn the alarm on or off, locate the alarm switch or button (often on the side or back, indicated by an alarm icon). Slide or press it to toggle the alarm status. A small alarm icon on the display usually indicates the alarm is active.
6.4 Função de soneca
Quando o alarme tocar, pressione o botão grande. "SNOOZE/LIGHT" button on top of the clock. The alarm will pause for a few minutes (typically 5-9 minutes) and then sound again. You can repeat this process.
6.5 Função de luz
Pressione o "SNOOZE/LIGHT" button briefly to illuminate the display for a few seconds, allowing you to read the time in the dark.
7. Manutenção
7.1 Limpeza
Wipe the clock with a soft, dry cloth. Do not use abrasive cleaners or solvents, as these may damage the silicone surface or display.
7.2 Substituição da bateria
When the display dims or the alarm weakens, it's time to replace the batteries. Follow the battery installation steps in Section 5.1.
8. Solução De Problemas
| Problema | Possível causa | Solução |
|---|---|---|
| A tela está em branco ou com brilho reduzido. | As pilhas estão fracas ou inseridas incorretamente. | Replace batteries with new 3 x AAA batteries, ensuring correct polarity. |
| O alarme não dispara. | Alarm is not activated or batteries are low. | Ensure the alarm is switched ON. Replace batteries if needed. |
| Time/Alarm cannot be set. | Buttons are not being pressed correctly or device is unresponsive. | Ensure you are pressing and holding the correct buttons as per instructions. Remove and reinsert batteries to reset the device. |
9. Especificações
- Número do modelo: KA5753GY
- Material: Silicone
- Cor: Cinza Quente
- Tipo de exibição: Digital
- Dimensões (A x L x P): Aproximadamente 7 cm x 14 cm x 5 cm (2.76 x 5.51 x 1.97 polegadas)
- Peso: Aproximadamente 220 gramas (0.49 lbs)
- Fonte de energia: 3 x pilhas AAA (não incluídas)
- Características especiais: Alarm, Snooze, Light
- Tipo de quarto: Quarto
- Uso: Interior
10. Garantia e Suporte
For warranty information and customer support, please refer to the retailer where you purchased the Karlsson Gummy Digital Alarm Clock or visit the official Karlsson webGuarde seu comprovante de compra para eventuais solicitações de garantia.
Suporte online: www.karlssonclocks.com


