1. Introdução
This manual provides detailed instructions for the installation, setup, and operation of your LoraTap WiFi Smart Relay Switch (Model RR400W). Please read this manual thoroughly before use to ensure proper functionality and safety.
Conteúdo da embalagem:
- LoraTap WiFi Smart Relay Switch (RR400W)
- Manual do usuário
- Mounting accessories (screws, anchors, mini screwdriver, electrical wires)

Image 1.1: LoraTap WiFi Smart Relay Switch (Model RR400W) and its mobile application interface.
2. Informações de segurança
- AVISO: Electrical installation should only be performed by a qualified electrician or in accordance with local electrical codes.
- Desligue sempre a energia no disjuntor antes de instalar ou realizar manutenção no aparelho.
- Este dispositivo foi projetado apenas para uso interno.
- Não exceda a capacidade máxima de carga de 10A / 2500W.
- Ensure the device is installed in a location with a neutral wire for correct electrical supply.
- Mantenha fora do alcance de crianças.
3. Especificações do produto
| Recurso | Especificação |
|---|---|
| Número do modelo | RR400W |
| Vol de entradatage | 100-250 V CA, 50/60 Hz |
| Carga Máxima | 10A / 2500W |
| Protocolo sem fio | Wi-Fi 2.4 GHz (IEEE 802.11 b/g/n) |
| Dimensões (C x L x A) | 4.8 x 4.2 x 2.3 cm (1.89 x 1.65 x 0.91 polegadas) |
| Método de controle | Remote (App), Voice |
| Compatibilidade | Amazon Alexa, Google Assistant, Smart Life App, Tuya App |
| Certificações | CE, RoHS, FCC |
4. Guia de instalação
The LoraTap WiFi Smart Relay Switch is designed for easy integration into existing electrical systems. It requires a neutral wire for operation.
Diagrama de fiação:
- Desconecte a energia: Before starting, turn off the power at the main circuit breaker to avoid electrical shock.
- Identificar os fios: Locate the Live (L) and Neutral (N) input wires from your power source, and the Live (L) and Neutral (N) load wires going to your appliance (e.g., lamp).
- Conectar entrada: Connect the Live input wire to the 'L in' terminal and the Neutral input wire to the 'N in' terminal on the LoraTap switch.
- Conectar saída: Connect the Live load wire to the 'L out' terminal and the Neutral load wire to the 'N out' terminal on the LoraTap switch.
- Conexões seguras: Ensure all wire connections are secure. The device supports 26-16AWG wires.
- Dispositivo de montagem: The compact size allows installation in narrow spaces, such as behind a socket or in a ceiling rose. Use the provided mounting accessories if needed.
- Restaurar energia: Após todas as conexões estarem seguras e o dispositivo devidamente montado, restabeleça a energia no disjuntor.

Image 4.1: Simplified wiring diagram for the LoraTap Smart Relay Switch. Ensure a neutral wire is present for installation.
5. Configuração e emparelhamento do aplicativo
To control your LoraTap Smart Relay Switch, you need to download the Smart Life or Tuya app and pair the device.
Requisitos:
- A smartphone (Android or iOS).
- A 2.4GHz Wi-Fi network. 5GHz networks are not supported.
- The Smart Life or Tuya app installed on your smartphone.
Etapas de emparelhamento:
- Baixar aplicativo: Procurar "Smart Life" or "Tuya Smart" in your smartphone's app store (App Store for iOS, Google Play for Android) and install it.
- Registrar/Login: Abra o aplicativo e registre uma nova conta ou faça login com uma conta existente.
- Adicionar dispositivo: Tap the "+" icon in the top right corner of the app to add a new device. Select "Electrical Switch" or "Switch (Wi-Fi)".
- Entrar no modo de emparelhamento: Power on the LoraTap switch. If the indicator light is not blinking rapidly, press and hold the button on the switch for approximately 5 seconds until it blinks rapidly. This indicates pairing mode.
- Conectar ao Wi-Fi: In the app, confirm the indicator is blinking rapidly. Enter your 2.4GHz Wi-Fi network name and password.
- Emparelhamento completo: O aplicativo irá procurar e conectar-se ao dispositivo. Uma vez conectado, você poderá renomear o dispositivo para facilitar o controle.

Image 5.1: Easy pairing process with the Smart Life/Tuya app. Ensure your Wi-Fi network is 2.4GHz.
6. Operação
The LoraTap Smart Relay Switch offers multiple control options for convenience.
6.1. Controle de aplicativos
Once paired, you can control your device from anywhere using the Smart Life or Tuya app on your smartphone.
- Controle liga/desliga: Tap the switch icon in the app to turn your connected appliance on or off.
- Status em tempo real: The app displays the current status of your appliance, allowing you to verify if it's on or off remotely.
- Controle de Grupo: You can group multiple LoraTap switches together in the app to control them simultaneously.
- Compartilhamento de dispositivos: Share control of the device with family members through the app.

Image 6.1: Remote control via the Smart Life app.
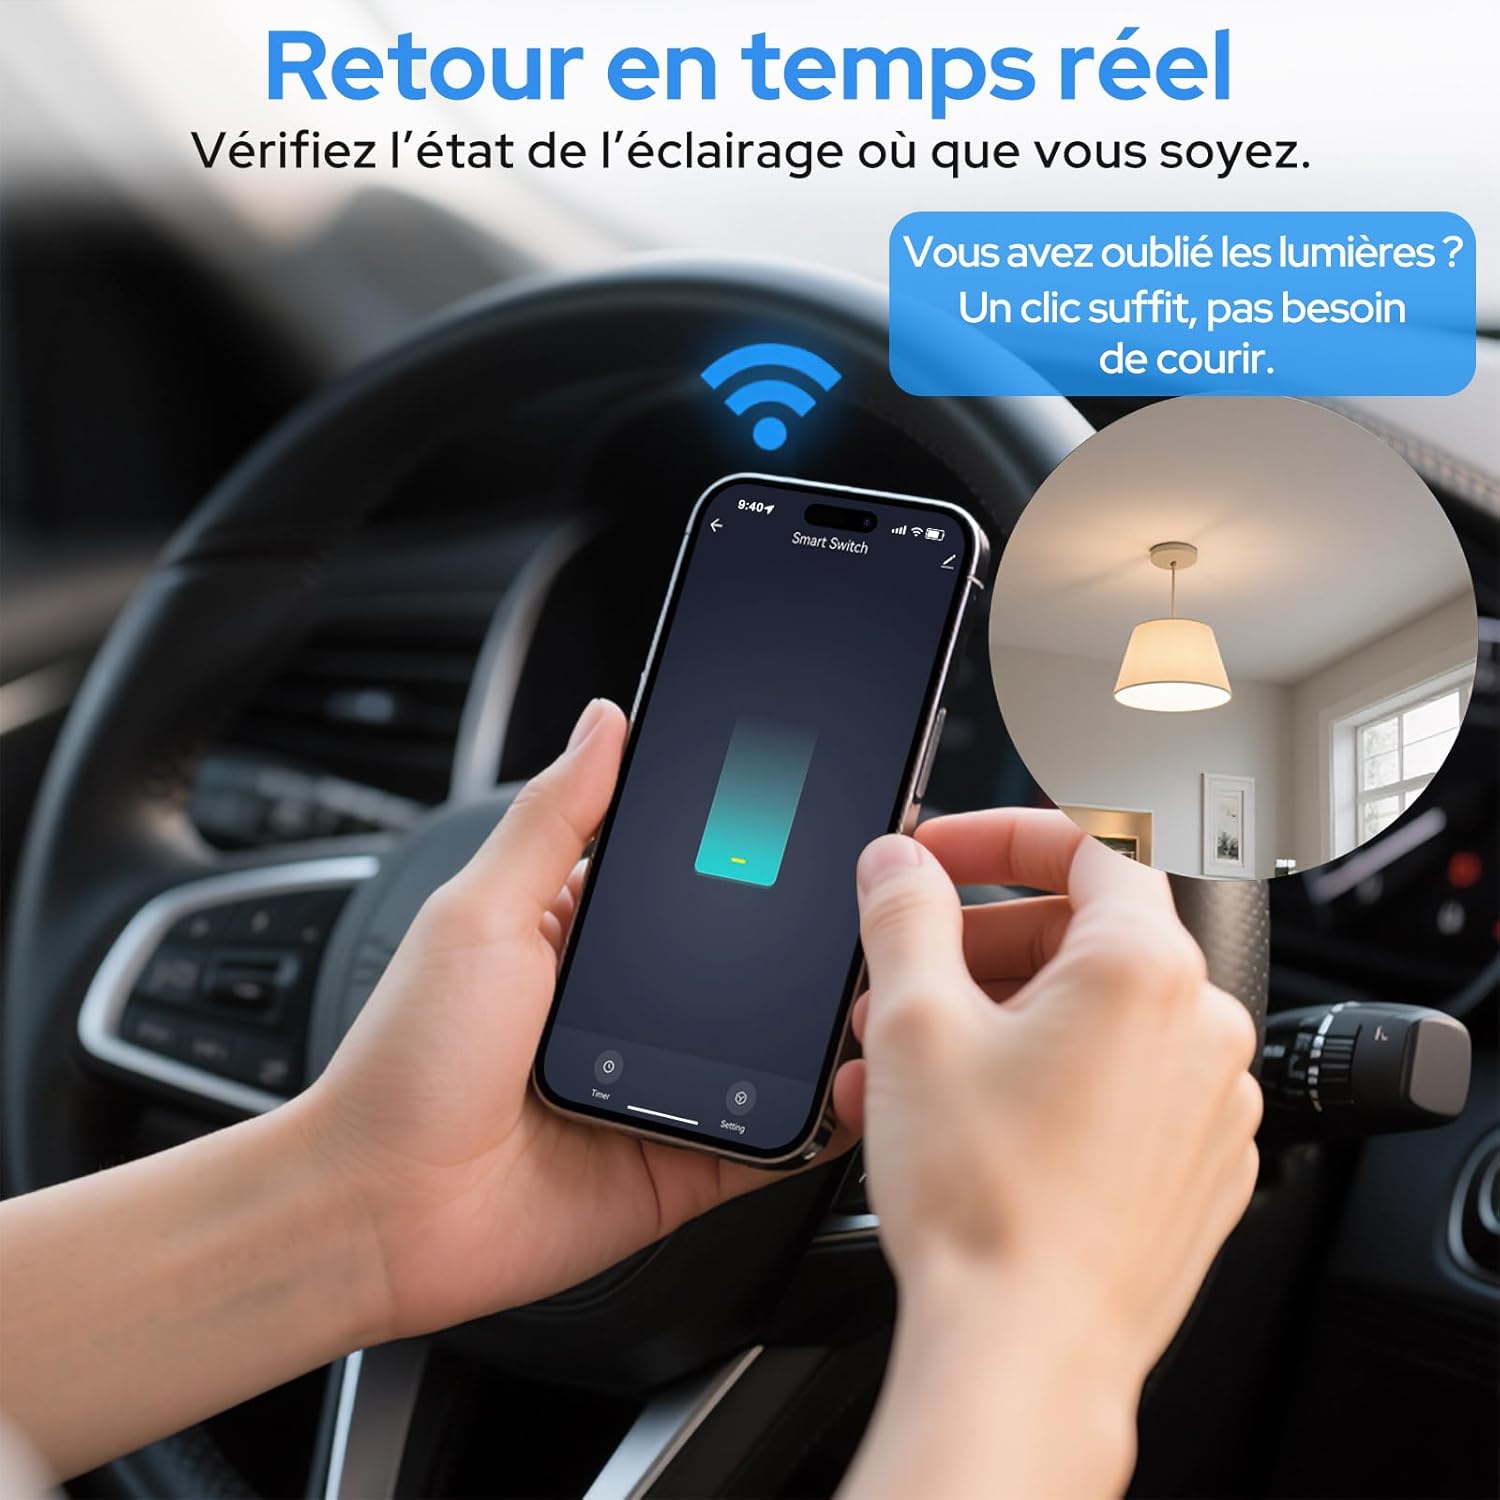
Image 6.2: Real-time status monitoring from anywhere.

Image 6.3: Device sharing feature for family members.
6.2. Controle de voz
The LoraTap Smart Relay Switch is compatible with Amazon Alexa and Google Assistant for convenient voice control.
- Vincular conta: In the Alexa or Google Home app, link your Smart Life/Tuya account.
- Descubra dispositivos: Peça à Alexa ou ao Google Assistente para descobrir novos dispositivos.
- Comandos de voz: Use commands like "Alexa, turn on [device name]" or "Hey Google, turn off [device name]".

Imagem 6.4: Integração do controle por voz com Amazon Alexa e Google Assistant.

Image 6.5: Family using voice commands for smart home control.
6.3. Agendamento e Temporizadores
Automate your appliances by setting schedules and timers within the Smart Life/Tuya app.
- Função do temporizador: Set a countdown timer for the switch to turn on or off automatically after a specified duration.
- Agendamento: Create daily or weekly schedules for your appliance to turn on or off at specific times (e.g., turn on lights at sunset, turn off at bedtime).
- Repetir função: Configure schedules to repeat on selected days of the week.

Image 6.6: Automate lighting with countdown timers.

Image 6.7: Program your lights with custom schedules.
6.4. Restart Status Settings
Configure the power-on state of your smart switch after a power outage.
- OFF: The device will remain off after power is restored.
- EM: The device will turn on automatically after power is restored.
- Lembrar o último status: The device will return to its last known state (on or off) before the power outage.

Image 6.8: Configure the device's restart status after a power interruption.
7. Manutenção
- Limpe o dispositivo com um pano macio e seco. Não utilize produtos químicos agressivos ou abrasivos.
- Ensure the device is kept in a dry environment and away from direct sunlight or extreme temperatures.
- Regularly check for firmware updates in the Smart Life/Tuya app to ensure optimal performance and security.
8. Solução De Problemas
| Problema | Possível causa/solução |
|---|---|
| Device not pairing / Indicator not blinking rapidly. |
|
| Dispositivo offline no aplicativo. |
|
| O controle de voz não está funcionando. |
|
| Device not responding to manual switch. |
|
9. Garantia e Suporte
LoraTap offers a 3-year warranty for this product. For technical support or warranty claims, please contact LoraTap customer service through their official website ou o revendedor onde você comprou o produto.
Informações de contato: Please refer to the packaging or LoraTap's official webAcesse o site para obter os detalhes de contato de suporte mais atualizados.


