Introdução
This instruction manual provides detailed guidance for the assembly and finishing of the Trumpeter 1:35 scale M4 Command and Control Vehicle (C2V) model kit. This kit is designed for experienced modelers and requires precision and attention to detail. Please read all instructions carefully before beginning assembly.

Image: The Trumpeter 1:35 M4 Command and Control Vehicle (C2V) model kit box, showcasing the completed model in a desert environment.
Informações de segurança
- Recomendação de idade: This model kit is recommended for individuals aged 14 years and older. It is not a toy.
- Partes Pequenas: The kit contains small parts that may pose a choking hazard. Keep out of reach of young children.
- Ferramentas afiadas: Assembly requires the use of sharp tools such as hobby knives, tweezers, and side cutters. Exercise extreme caution to prevent injury.
- Adhesives and Paints: Use model-specific adhesives and paints in a well-ventilated area. Refer to the manufacturer's safety data sheets for these products.
- Proteção para os olhos: Consider wearing eye protection during assembly, especially when cutting or sanding parts.
Conteúdo da embalagem
Before starting assembly, verify that all components are present and undamaged. The kit typically includes:
- Plastic sprues (various colors, including clear parts)
- Photo-etched (PE) parts sheet
- Individual track links
- Folha de decalques
- Copper wire (for specific details)
- Manual de instruções
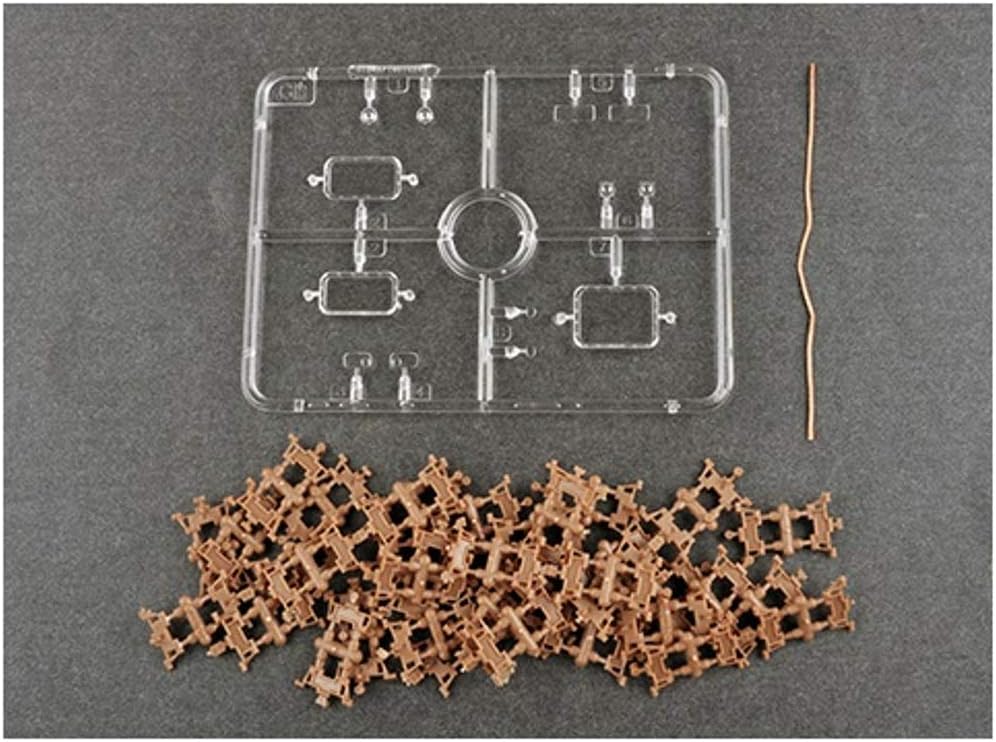
Image: A clear plastic sprue, a pile of individual brown track links, and a piece of copper wire, representing typical kit components.
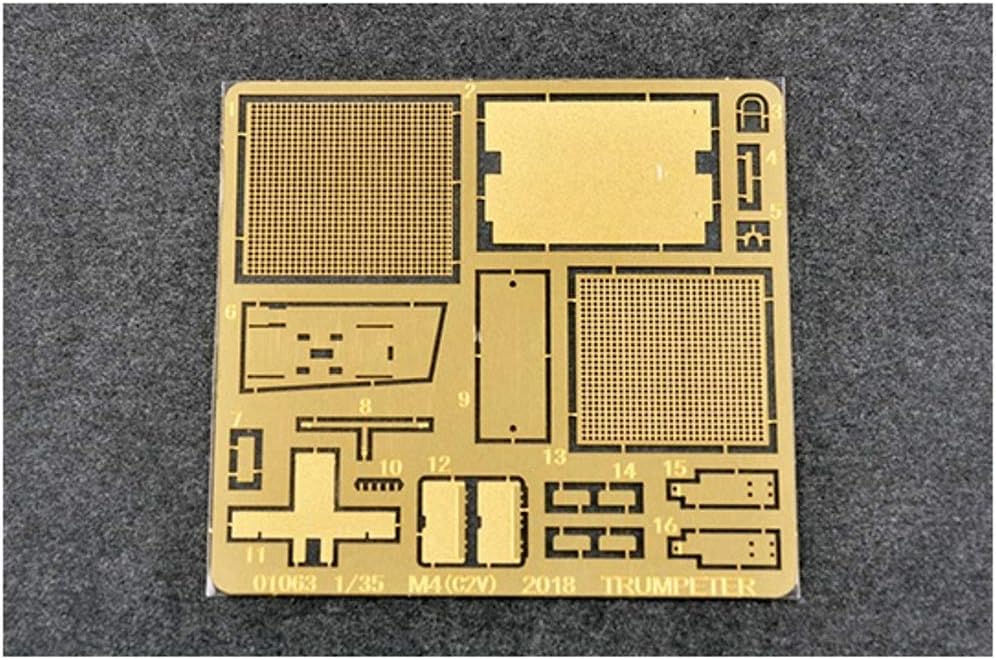
Image: A sheet of photo-etched metal parts, numbered and labeled for the 01063 1/35 M4 (C2V) Trumpeter model, used for fine details.
Instruções de montagem
Follow the numbered steps in the included instruction booklet. The general assembly process involves:
- Preparação da peça: Carefully remove parts from their sprues using side cutters. Clean any mold lines or flash with a hobby knife or sanding stick. Test fit parts before applying adhesive.
- Montagem do casco: Begin with the main hull components, ensuring proper alignment. Use plastic cement sparingly.
- Suspension and Running Gear: Assemble the road wheels, drive sprockets, and idler wheels. Pay close attention to the orientation of these parts.
- Montagem da trilha: The kit includes individual track links. Assemble these carefully, ensuring they form a continuous and flexible track. Allow the adhesive to cure before fitting them to the running gear.
- Upper Hull and Turret (if applicable): Attach the upper hull details, hatches, and any turret components.
- Peças fotogravadas: Bend and attach photo-etched parts using super glue (CA glue). These parts often represent fine details like grilles, tool clasps, or armor plates. Refer to the instruction booklet for specific placement.
- Small Details: Add antennas (using the provided copper wire if indicated), tools, and other small exterior details.
Painting and Decal Application
Painting and decaling are crucial steps for a realistic finish. Refer to the included painting and marking guide for color schemes and decal placement.
- Preparação da superfície: Ensure the model is clean and free of dust or grease. A primer coat is recommended for better paint adhesion.
- Base Coat: Apply the primary camouflage colors according to the guide. Multiple thin coats are better than one thick coat.
- Detail Painting: Paint smaller details such as tools, lights, and machine guns.
- Weathering (Optional): Techniques like washes, dry brushing, and pigments can enhance realism.
- Aplicação de decalque:
- Cut out each decal carefully.
- Dip the decal in lukewarm water for a few seconds until it slides freely from the backing paper.
- Apply a decal setting solution to the model surface where the decal will be placed.
- Slide the decal onto the model. Position it gently with a wet brush or cotton swab.
- Once positioned, gently blot excess water with a tissue. Apply a decal softening solution if needed to conform to irregular surfaces.
- Allow decals to dry completely before applying a clear coat to seal them.

Image: A detailed painting and marking guide showing various views of the M4 C2V model, with color callouts and decal placement indicators. A paint reference table is also visible.
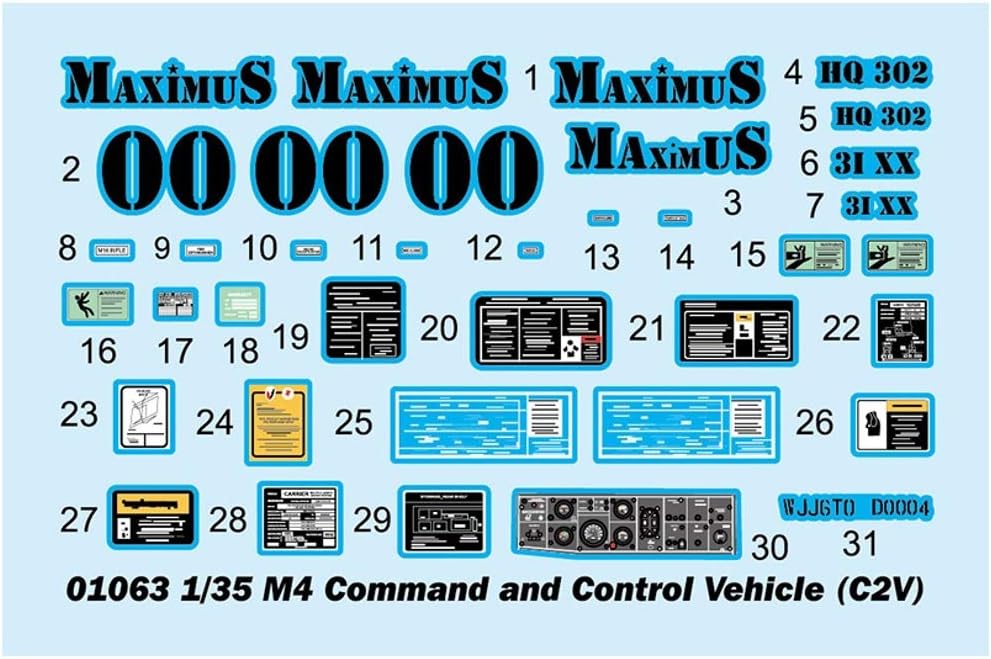
Image: A decal sheet featuring various markings, numbers, and insignia for the 01063 1/35 M4 Command and Control Vehicle (C2V) model.
Maintenance and Display
Proper care ensures the longevity and appearance of your finished model.
- Limpeza: Dust your model regularly with a soft brush or compressed air. Avoid harsh chemicals or abrasive materials.
- Ambiente de exibição: Display your model in a stable, dust-free environment, away from direct sunlight, extreme temperatures, and high humidity, which can cause paint fading or material degradation.
- Manuseio: Handle the model by its sturdy parts, avoiding delicate antennas or small details.
Solução de problemas comuns
| Emitir | Possível causa | Solução |
|---|---|---|
| As peças não se encaixam. | Excess plastic (flash), mold lines, or incorrect part orientation. | Carefully trim flash, sand mold lines, and re-check the instruction diagram for correct part placement. Test fit before gluing. |
| Paint appears uneven or thick | Paint applied too thickly, insufficient thinning, or improper surface preparation. | Apply multiple thin coats of paint. Ensure paint is properly thinned according to manufacturer instructions. Clean and prime the surface before painting. |
| Decals silvering (clear film visible) | Uneven surface, trapped air under the decal, or insufficient clear gloss coat before application. | Apply decals over a smooth, glossy surface. Use decal setting and softening solutions to help decals conform and eliminate air bubbles. Apply a final clear coat. |
| Small parts break easily | Excessive force during removal from sprue or handling. | Use sharp side cutters to remove parts. Handle delicate parts with tweezers and minimal force. |
Especificações do produto
- Nome do modelo: M4 Command and Control Vehicle (C2V)
- Marca: Trompetista
- Escala: 1:35
- Número do modelo: 001063
- Dimensões do produto: 17.72 x 3.54 x 11.42 inches (Box dimensions, approximate)
- Peso do item: 7 ounces (Kit weight, approximate)
- Idade recomendada: 14 anos ou mais
- Data de lançamento: 1 de outubro de 2019
- Fabricante: Tomytec (as listed, though brand is Trumpeter)
Suporte e informações de contato
For missing parts, damaged components, or further assistance with your Trumpeter model kit, please contact the retailer where the kit was purchased or refer to the official Trumpeter website para obter detalhes de suporte ao cliente.
Note: This manual provides general guidance. Always refer to the specific instruction booklet included in your kit for the most accurate and detailed assembly steps.


