1. Introdução
Obrigado pela compra.asing the Ematic LED Projector. This manual provides essential information for setting up, operating, and maintaining your projector to ensure optimal performance and longevity. Please read this manual thoroughly before using the product and retain it for future reference.
2. Informações de segurança
To prevent fire or electric shock, do not expose this appliance to rain or moisture. To avoid electric shock, do not open the cabinet. Refer servicing to qualified personnel only.
- Não olhe diretamente para a lente do projetor quando a lente estiver ligada.amp está ligado.
- Assegure-se de que haja ventilação adequada ao redor do projetor. Não obstrua as aberturas de ventilação.
- Utilize apenas o adaptador de energia fornecido com o projetor.
- Mantenha o projetor longe de água ou qualquer outro líquido.
- Não coloque o projetor sobre uma superfície instável.
- Desligue o projetor da tomada durante tempestades com raios ou quando não for utilizá-lo por longos períodos.
3. Conteúdo da embalagem
- Ematic LED Projector
- Controle remoto
- Adaptador de energia
- Manual do usuário
- Cabo AV (se incluído)
4. Produto acabadoview
4.1 frente View
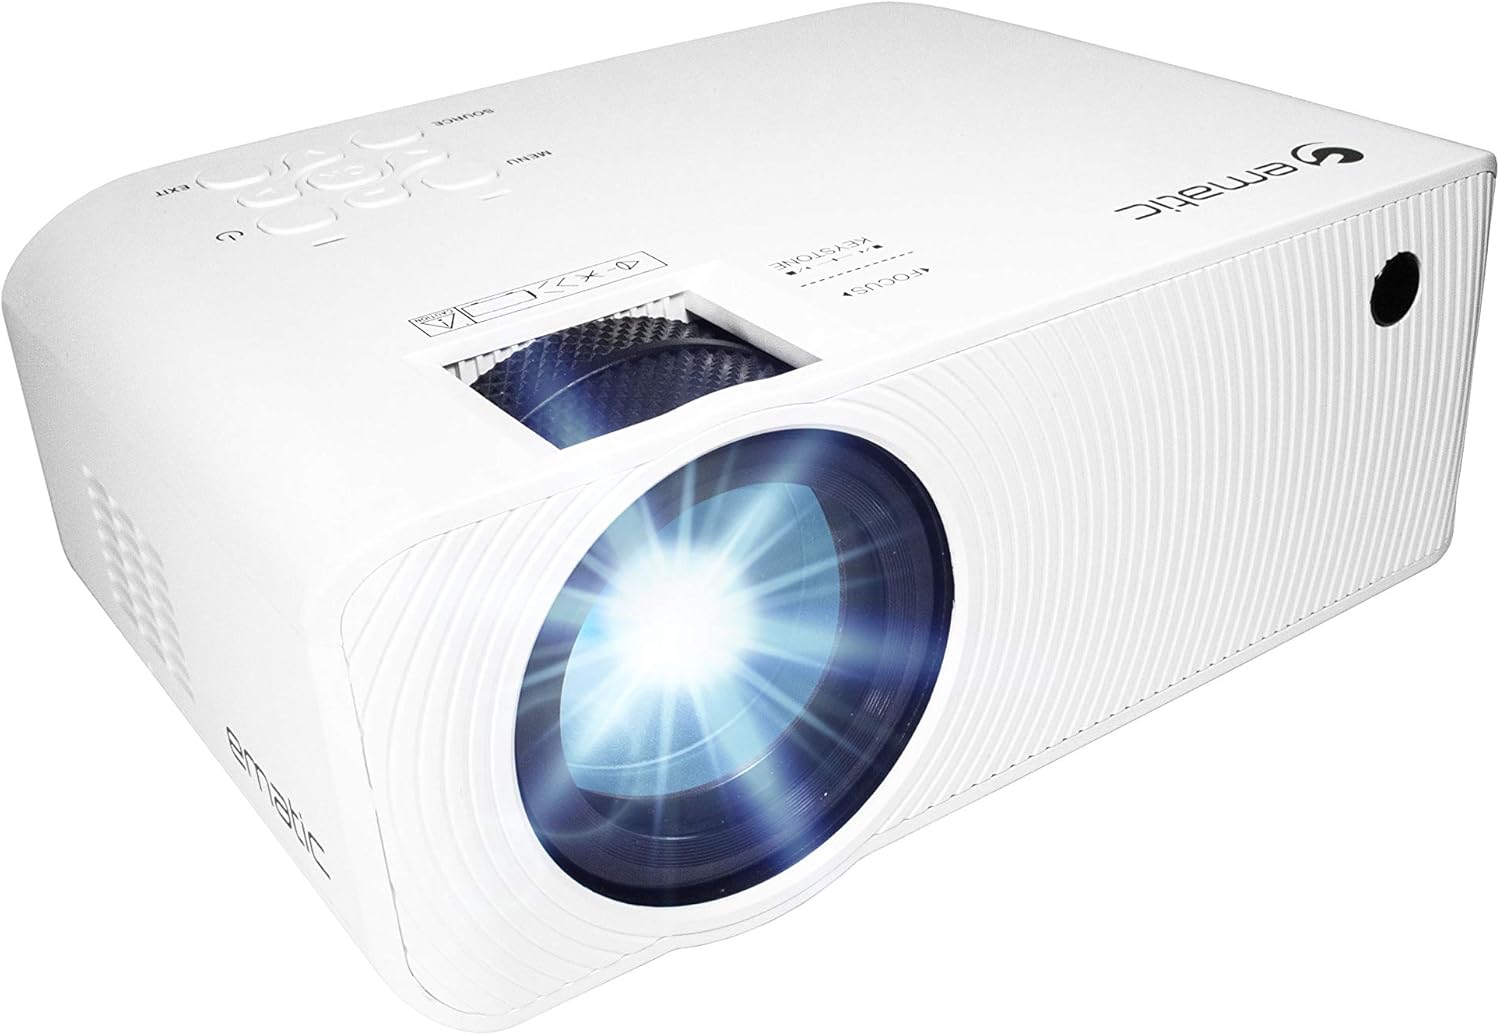
Figura 4.1: Frente view of the Ematic LED Projector, highlighting the projection lens.
4.2 Top View e controles

Figura 4.2: parte superior view of the projector showing the control panel (Menu, Source, Exit, Navigation buttons) and the Focus and Keystone correction dials. A remote control is also visible.
- Anel de foco: Ajusta a nitidez da imagem.
- Correção Keystone: Corrige a distorção trapezoidal da imagem.
- Painel de controle: Buttons for Menu, Source selection, Exit, and navigation.
4.3 Traseira e Lateral Views com portas

Figure 4.3: Rear panel of the projector displaying the connectivity options: AUX audio output, AV input, MicroSD card slot, two HDMI inputs, USB port, and DC power input.

Figura 4.4: Lateral view of the projector, highlighting the VGA input port and the infrared (IR) receiver for the remote control.
- AUXILIAR: Saída de áudio de 3.5 mm para alto-falantes externos ou fones de ouvido.
- AV: Entrada de vídeo composto e áudio estéreo.
- Cartão MicroSD: Slot for MicroSD memory cards.
- HDMI 1 / HDMI 2: High-Definition Multimedia Interface inputs for digital audio/video.
- USB: USB port for media playback from USB drives.
- DC IN: Entrada de energia para o projetor.
- VGA: Video Graphics Array input for computer connection.
5. Configuração
- Colocação: Coloque o projetor sobre uma superfície plana e estável. Certifique-se de que haja espaço suficiente ao redor do projetor para ventilação. Para um desempenho ideal, utilize uma superfície plana e estável. viewing, position the projector perpendicular to the projection screen or wall.
- Conexão de energia: Connect the supplied power adapter to the DC IN port on the projector and then plug the adapter into a power outlet.
- Inicialização: Pressione o botão liga/desliga no projetor ou no controle remoto para ligar o aparelho. A luz indicadora de energia acenderá.
- Ajuste de foco: Once the projector is on, rotate the Focus Ring (refer to Figure 4.2) until the projected image is clear and sharp.
- Correção Keystone: If the image appears trapezoidal (wider at the top or bottom), adjust the Keystone Correction dial (refer to Figure 4.2) until the image is rectangular.
6. Instruções de operação
- Ligar/Desligar: Press the power button on the projector or remote control. Press again to turn off.
- Seleção da fonte de entrada: Press the "Source" button on the projector or remote control to cycle through available input sources (HDMI 1, HDMI 2, AV, VGA, USB, MicroSD). Select the desired input.
- Navegação no menu: Press the "Menu" button to access the projector's settings. Use the navigation buttons on the projector or remote to browse options and the "OK" button to confirm selections.
- Media Playback (USB/MicroSD): Insert a USB drive or MicroSD card into the respective port. Select "USB" or "MicroSD" as the input source. The projector will display a file browser. Navigate to your desired media file (video, photo, music, text) and press "OK" to play.
- Saída de áudio: The projector has built-in speakers (refer to Figure 6.1). For external audio, connect headphones or external speakers to the AUX port (3.5mm audio jack).

Figure 6.1: Projector highlighting its built-in speaker functionality.
7. Conectividade
The Ematic LED Projector offers multiple connection options to various devices, ensuring versatility for your entertainment and presentation needs.

Figure 7.1: Multimedia device compatibility chart for the projector.

Figura 7.2: Examples of projector connections to a laptop and smartphone, highlighting supported input types.
- HDMI: Connect Blu-ray players, game consoles (PS4, Xbox), streaming devices (Amazon Fire TV Stick, Chromecast), laptops, and other HDMI-enabled devices.
- USB: Reproduzir mídia files (videos, photos, music) directly from USB flash drives.
- Cartão MicroSD: Reproduzir mídia files directly from MicroSD memory cards.
- AV: Connect older devices like DVD players or VCRs using the included AV cable.
- VGA: Conecte computadores de mesa ou laptops mais antigos.
- Audio Out (AUX): Connect external speakers or headphones for enhanced audio experience.
8. Manutenção
- Limpeza de lentes: Use um pano macio e sem fiapos, próprio para lentes ópticas, para limpar delicadamente a lente do projetor. Não use produtos de limpeza abrasivos nem aplique força excessiva.
- Remoção de poeira: Regularly clean the ventilation grilles with a soft brush or compressed air to prevent dust buildup, which can affect performance and lifespan.
- Limpeza externa: Limpe a parte externa do projetor com um pano macio e seco.amp pano. Evite usar produtos químicos agressivos.
- Armazenar: Quando não estiver em uso por longos períodos, guarde o projetor em local fresco e seco, de preferência na embalagem original ou em uma caixa protetora, para evitar o acúmulo de poeira e danos.
9. Solução De Problemas
| Problema | Possível causa | Solução |
|---|---|---|
| Nenhuma imagem projetada | No power; Incorrect input source; Cable not connected properly. | Check power connection; Select correct input source; Reconnect cables securely. |
| A imagem está borrada | Foco não ajustado; Projetor muito longe/perto da tela. | Adjust the Focus Ring; Adjust projection distance. |
| A imagem é trapezoidal. | Correção trapezoidal não ajustada; projetor desnivelado. | Adjust the Keystone Correction dial; Ensure projector is on a flat surface. |
| Sem som | Volume too low; Muted; External speakers not connected or off. | Increase volume; Unmute; Check external speaker connection and power. |
| Controle remoto não funciona | Batteries dead; Obstruction between remote and IR receiver. | Substitua as pilhas; Remova quaisquer obstruções; Aponte o controle remoto diretamente para o receptor de infravermelho do projetor. |
10. Especificações
| Recurso | Detalhe |
|---|---|
| Marca | Emático |
| Modelo | EMP-720 (Generic) |
| Resolução de exibição | 1280 x 720 (Nativo) |
| Tecnologia de Conectividade | HDMI, USB, AV, VGA, MicroSD, AUX |
| Recurso especial | Portable, Built-in Speakers |
| Peso do item | 3.5 libras |
| Dimensões do produto | 13.85 x 5 x 8.8 polegadas |
| Lamp Vida | Up to 20,000 hours (Normal Mode) |
11. Garantia e Suporte
For warranty information and technical support, please refer to the warranty card included with your product or visit the official Ematic website. Guarde o comprovante de compra para solicitações de garantia.
Ematic Customer Support: www.ematic.us/support (Examp(o link)


