Introdução
The Hyperkin Armor3 NuWave Controller is designed to provide accurate and fluid motion control for your Nintendo Wii U and Wii consoles. Featuring built-in Nu+ technology, this controller enhances your gaming experience by offering a wider range of motion in compatible titles. This manual provides essential information on setting up, operating, maintaining, and troubleshooting your NuWave Controller.
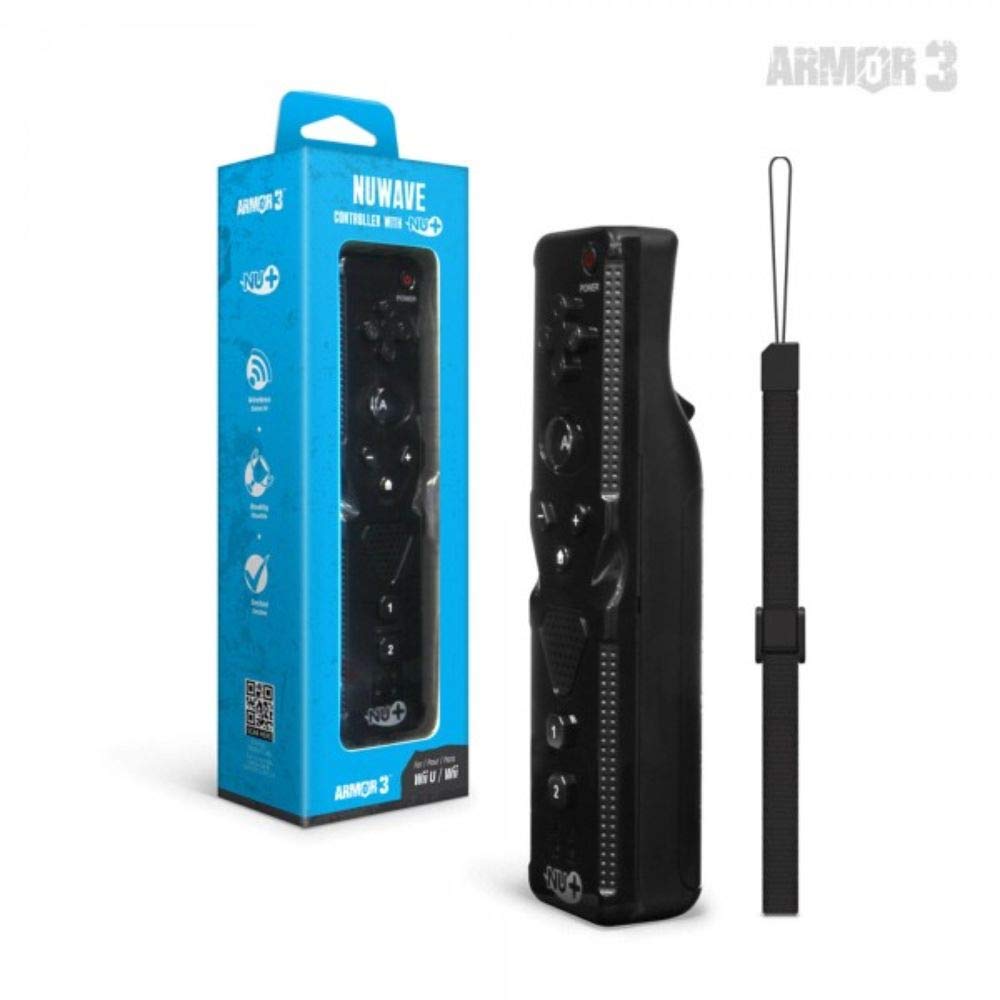
Figura 1: Hyperkin Armor3 NuWave Controller and its packaging. The controller is black with a wrist strap, and the packaging highlights its Nu+ technology and compatibility with Wii U and Wii.
Produto acimaview
The Armor3 NuWave Controller is a motion-sensing controller compatible with both Wii U and Wii systems. It integrates advanced Nu+ technology for enhanced motion detection and precision in supported games.
Principais características:
- Compatibilidade: Fully compatible with Nintendo Wii U and Nintendo Wii consoles.
- Nu+ Technology: Built-in technology for a wider range of motion and improved accuracy in compatible titles.
- Design ergonômico: Designed for comfortable grip and extended gameplay sessions.
- Fonte de energia: Requer pilhas AA 2 (não incluídas).
Configurar
1. Instalação da bateria
- Localize o compartimento da bateria na parte traseira do controle.
- Deslize a tampa da bateria para baixo para abri-la.
- Insira duas (2) pilhas AA, certificando-se da polaridade correta (+/-) conforme indicado dentro do compartimento.
- Recoloque a tampa da bateria deslizando-a para cima até ouvir um clique.
2. Conectando-se ao seu console
To connect the NuWave Controller to your Wii U or Wii console, follow these steps:
- Certifique-se de que seu console esteja ligado.
- On your Wii U or Wii console, press the SYNC button (usually located near the SD card slot or battery compartment).
- On the NuWave Controller, open the battery cover and locate the small red SYNC button inside the battery compartment.
- Press and release the SYNC button on the controller.
- The player indicator lights on the bottom of the controller will flash. Once a single light remains lit, the controller is successfully connected.
- If connection fails, repeat steps 2-5. Ensure the controller is within range of the console.
Instruções de operação
Controles básicos:
- Pad direcional (D-Pad): Used for menu navigation and character movement.
- Um botão: Primary action button, often used for selection or interaction.
- B Button (Trigger): Located on the underside, typically used for grabbing or firing.
- 1 & 2 Buttons: Auxiliary action buttons, functions vary by game.
- Botão Home: Returns to the console's Home Menu.
- Botões de mais (+) e menos (-): Often used for zooming, adjusting settings, or specific in-game actions.
- Botão de energia: Liga/desliga o controlador.
Motion Sensing with Nu+ Technology:
The built-in Nu+ technology provides enhanced motion tracking. For games that support it, you will experience more precise and responsive movements. Hold the controller firmly and ensure clear line of sight to the sensor bar for optimal performance.
- Calibração: Some games may require initial calibration. Follow on-screen prompts.
- Munhequeira: Always use the included wrist strap to prevent accidental drops during active gameplay.
Manutenção
Limpeza:
- Limpe o controlador com um pano macio e seco.
- Para sujeira persistente, levementeampUmedeça o pano com água. Não utilize produtos químicos agressivos ou abrasivos.
- Certifique-se de que nenhum líquido entre nas aberturas do controlador.
Armazenar:
- Guarde o controlador em local fresco e seco, longe da luz solar direta e de temperaturas extremas.
- Se for armazenar as baterias por um período prolongado, remova-as para evitar vazamentos.
Cuidados com a bateria:
- Always use new, high-quality AA batteries.
- Não misture pilhas velhas e novas, ou tipos diferentes de pilhas.
- Descarte as baterias usadas de maneira responsável, de acordo com os regulamentos locais.
Solução de problemas
| Problema | Possível causa | Solução |
|---|---|---|
| O controle não liga. | Pilhas descarregadas ou inseridas incorretamente. | Substitua as pilhas por pilhas AA novas, certificando-se da polaridade correta. |
| Controller does not sync with console. | Incorrect syncing procedure; out of range; console interference. | Ensure console is on. Repeat syncing steps (press SYNC on console, then on controller). Move closer to console. Check for other wireless device interference. |
| Os botões não respondem ou apresentam atraso. | Low battery; connection issue; physical obstruction. | Replace batteries. Re-sync the controller. Ensure buttons are not stuck. |
| Motion control is inaccurate. | Sensor bar obstruction; improper calibration; environmental factors. | Ensure clear line of sight to the sensor bar. Re-calibrate in-game if prompted. Avoid strong light sources directly facing the sensor bar. |
Especificações
- Modelo: M07399-bk
- Marca: Hiperkine
- Compatibilidade: Nintendo Wii U, Nintendo Wii
- Fonte de energia: 2 pilhas AA (não incluídas)
- Dimensões: 2.8 x 1.8 x 8 polegadas (aproximadamente)
- Peso: 3.88 onças (aproximadamente, sem baterias)
- Tecnologia: Built-in Nu+ motion technology
- Cor: Preto
Garantia e Suporte
For specific warranty information and terms, please refer to the documentation included with your purchase or visit the official Hyperkin website. Hyperkin provides customer support for their products.
Suporte online: Visit the official Hyperkin website para perguntas frequentes, guias de solução de problemas e informações de contato. www.hyperkin.com
Contato: Refer to the Hyperkin website for the most current customer service contact methods (phone, email, etc.).


