1. Introdução
Obrigado pela compra.asing the TOPTRO X2 Mini Projector. This manual provides detailed instructions for setting up, operating, and maintaining your projector. Please read this manual thoroughly before use to ensure proper operation and to extend the lifespan of your device. Keep this manual for future reference.
Informações de segurança
- Não olhe diretamente para a lente do projetor quando a lente estiver ligada.amp está ligado.
- Garanta ventilação adequada ao redor do projetor para evitar superaquecimento.
- Não exponha o projetor à chuva ou umidade.
- Utilize apenas o adaptador de energia fornecido com o projetor.
- Do not attempt to repair the projector yourself. Contact qualified service personnel for assistance.
- Mantenha o projetor longe de fontes de calor e da luz solar direta.
2. Conteúdo da embalagem
Verifique se todos os itens estão presentes no seu pacote:
- TOPTRO X2 Mini Projector
- Controle remoto
- Cabo de energia
- Cabo HDMI
- Cabo AV
- Manual do usuário
- Tampa da lente

Image: The TOPTRO X2 Mini Projector shown with its carrying case and a smartphone displaying projected content. This image illustrates the compact size and portability of the projector, along with its primary function of displaying media.
3. Produto acabadoview
Configuração do projetor
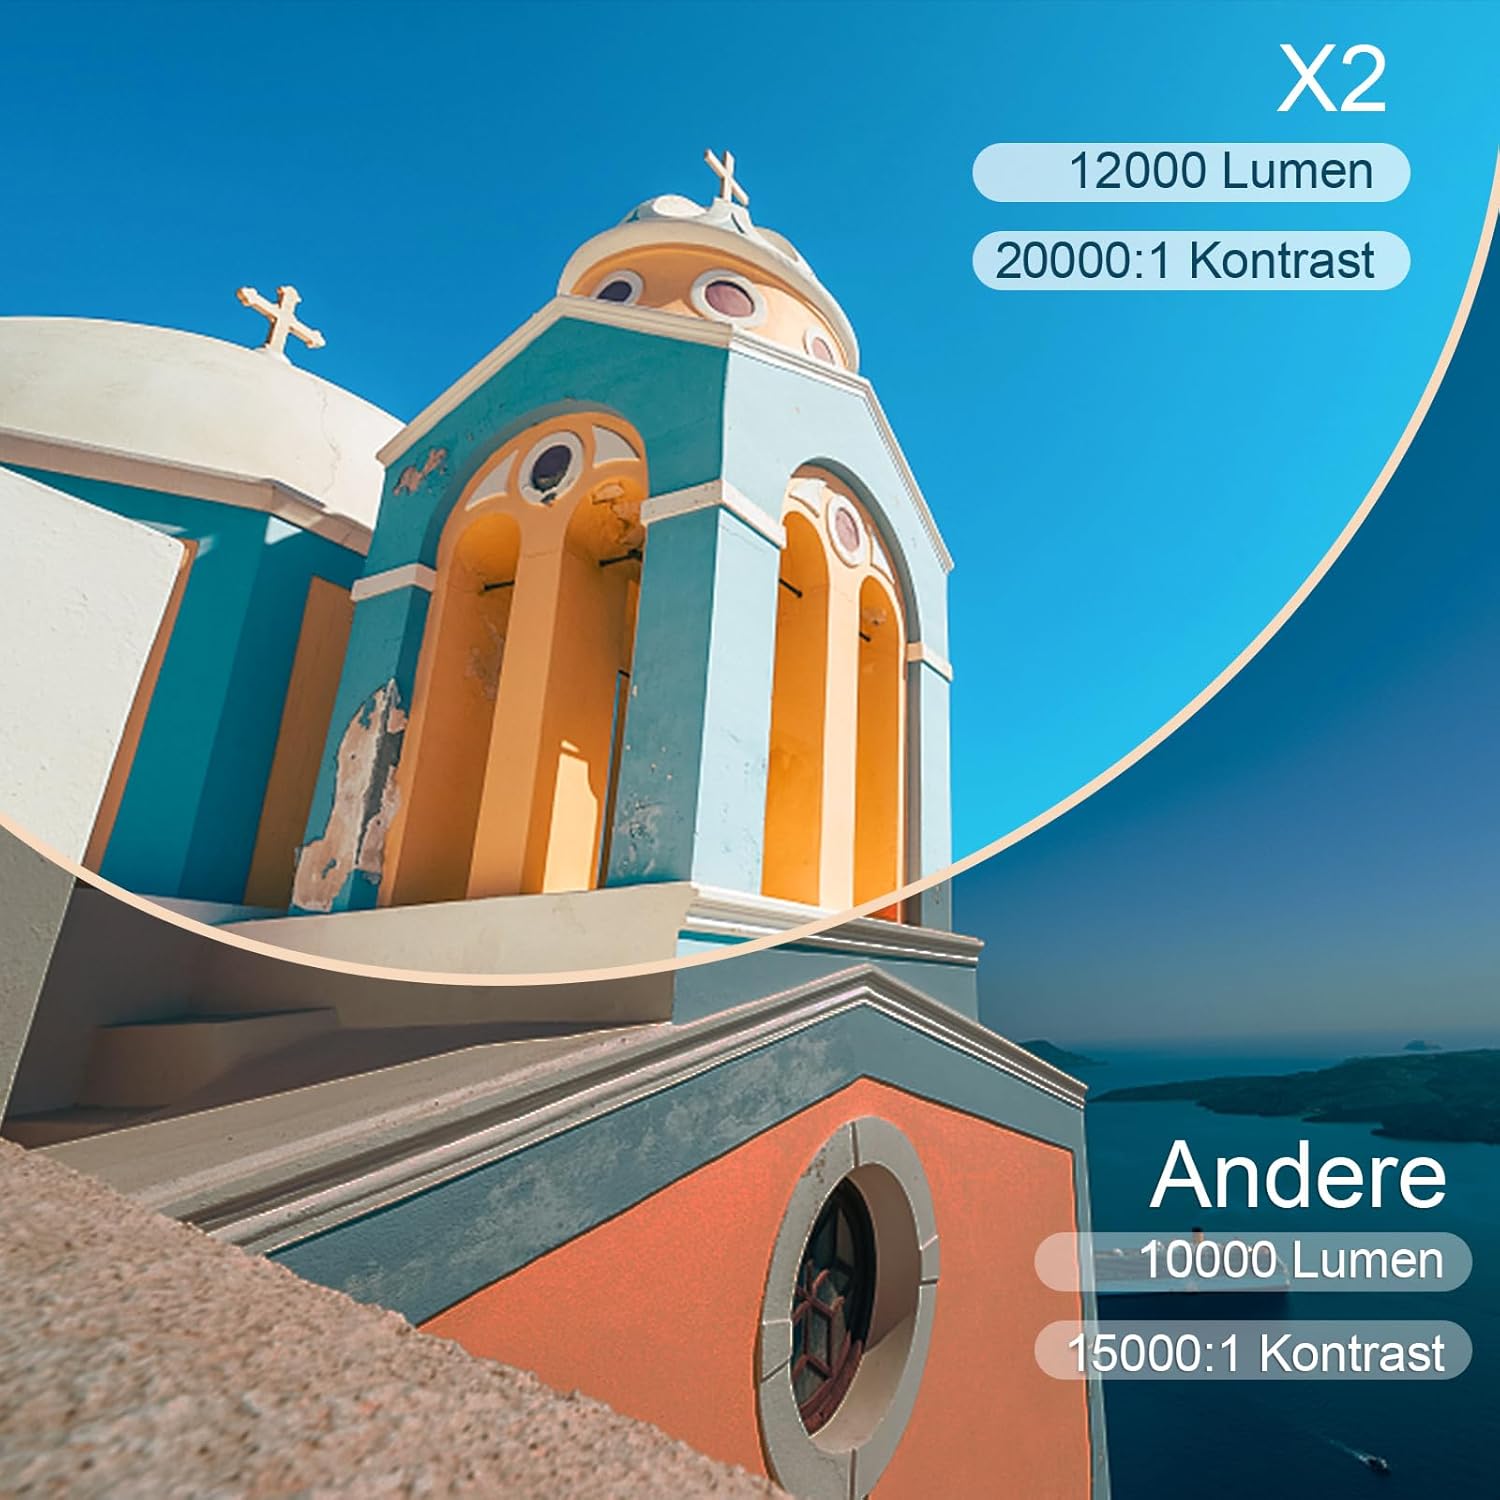
Imagem: Frente e lateral view of the TOPTRO X2 Mini Projector, highlighting the lens, focus ring, and ventilation grilles. This provides a visual guide to the projector's external components.
Portas de entrada/saída
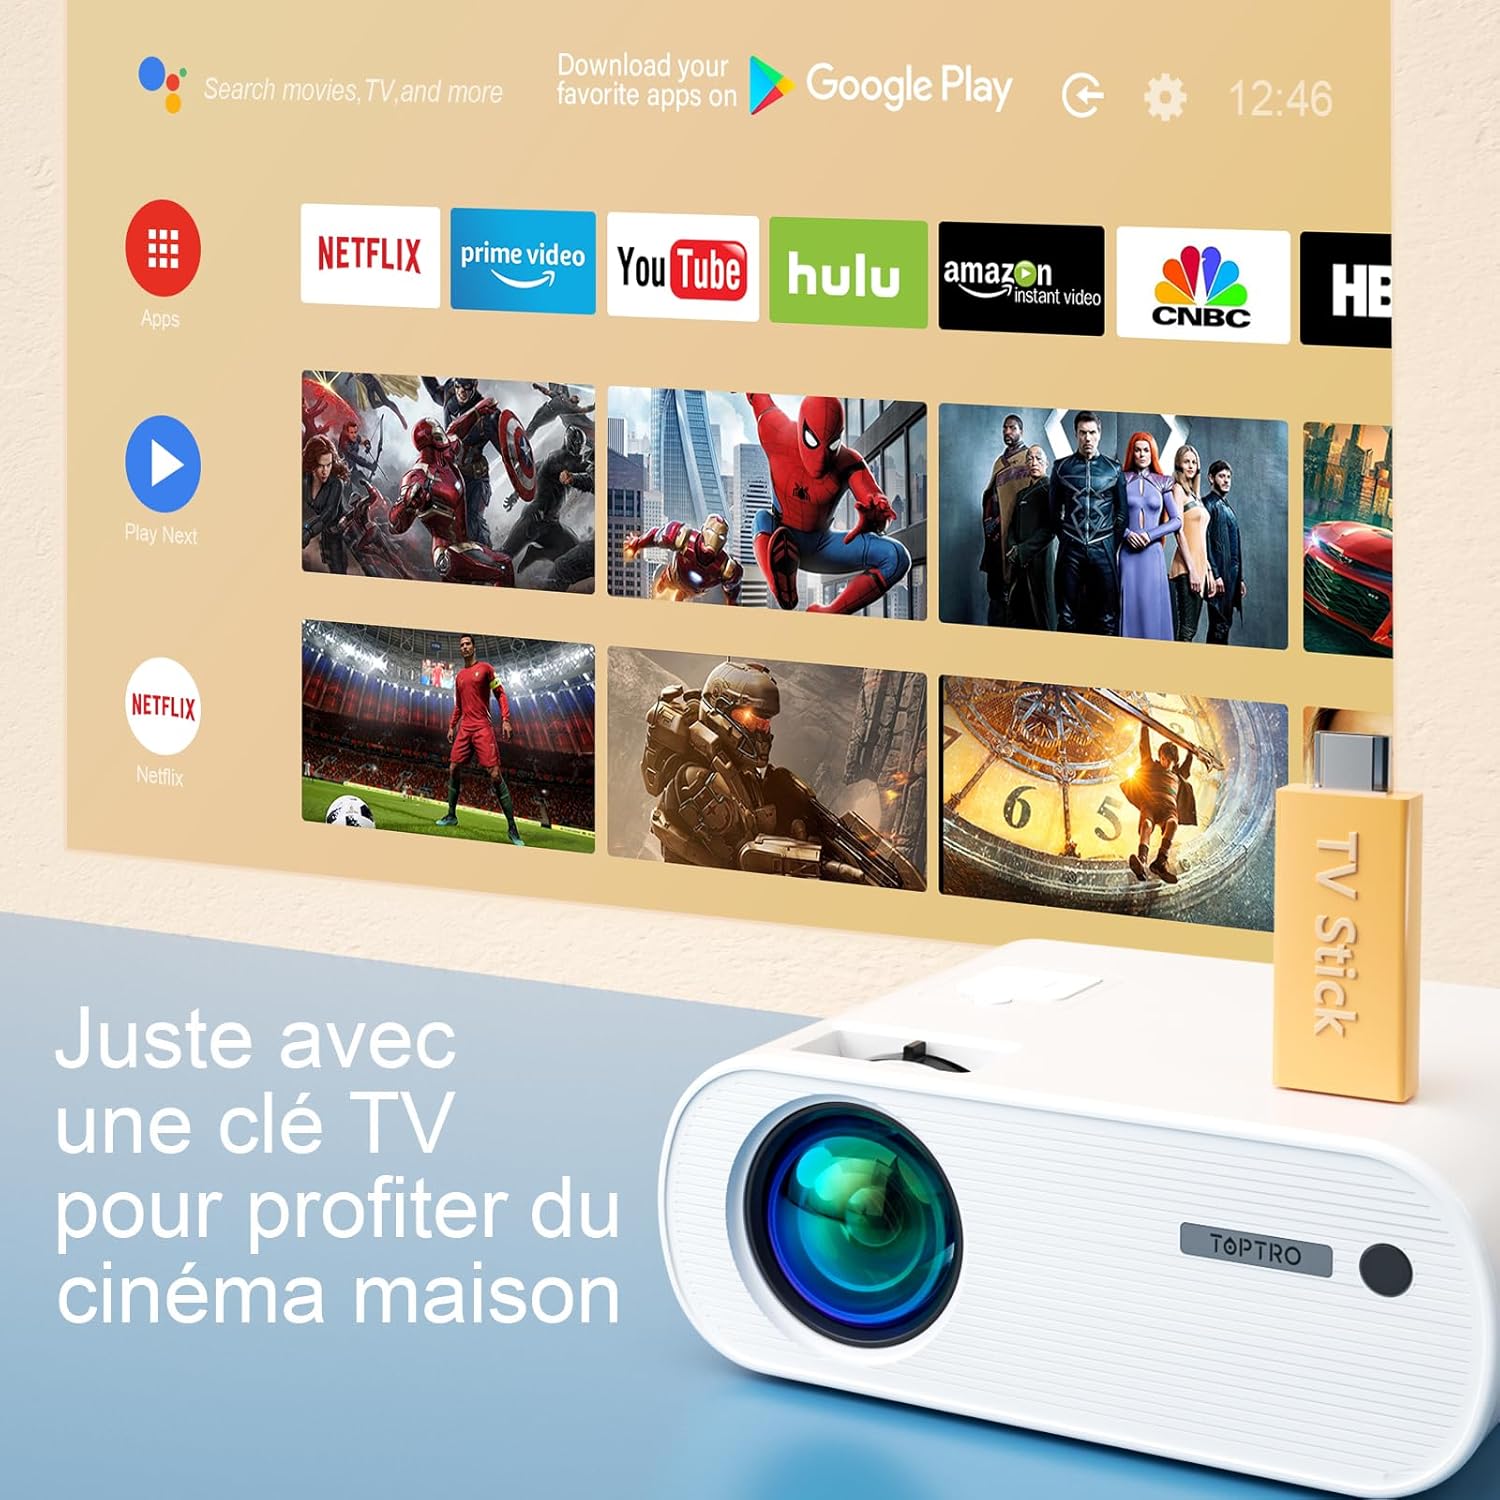
Image: Close-up of the rear panel of the TOPTRO X2 Mini Projector, showing various input/output ports including HDMI, USB, AV, and power input. This helps users identify where to connect their devices.
- Entrada de energia
- Porta HDMI
- Porta USB
- Porto AV
- Saída de áudio (3.5 mm)
- Porta VGA
- Slot para cartão SD
Painel de controle

Imagem: Vista de cima para baixo view of the TOPTRO X2 Mini Projector's control panel, showing navigation buttons and the power button. This image assists users in understanding the on-device controls.
The projector can be controlled using the onboard buttons or the included remote control.
4. Configuração inicial
4.1 Ligando
- Connect the power cable to the projector's power input and then to a power outlet.
- Pressione o botão liga/desliga no projetor ou no controle remoto para ligar o dispositivo.
4.2 Ajustando o foco
Gire o anel de foco na lente do projetor até que a imagem projetada fique nítida e clara.

Image: A hand adjusting the focus ring on the TOPTRO X2 Mini Projector, with a blurred image on the left and a sharp image on the right, demonstrating the effect of focus adjustment. This visual aid helps users understand how to achieve a clear picture.
4.3 Correção Keystone
The TOPTRO X2 features 4D Keystone Correction (±40° vertical and horizontal) and a 100% X/Y zoom function, adjustable via the remote control. This allows for a rectangular image even if the projector is not perfectly aligned with the screen.

Image: Diagram illustrating the effect of keystone correction, showing a distorted image being corrected into a perfect rectangle. This helps users visualize the function of keystone adjustment.
Para ajustar:
- Navigate to the "Keystone Correction" menu using the remote control.
- Adjust the vertical and horizontal parameters until the image is rectangular.
- Use the zoom function (100% X/Y) to adjust the image size without moving the projector.
4.4 Opções de Colocação
The projector can be placed on a table or mounted to the ceiling.

Image: An image showing the TOPTRO X2 Mini Projector in two different setups: on a table and ceiling-mounted. This demonstrates the versatility of installation options for the projector.
5. Instruções de operação
5.1 Selecionando a fonte de entrada
Press the "Source" button on the remote control or projector to select the desired input source (HDMI, USB, AV, VGA, Screen Mirroring).
5.2 Conectando Dispositivos
5.2.1 Conexão HDMI
Connect your device (e.g., laptop, game console, TV Stick) to the projector's HDMI port using an HDMI cable.

Image: The TOPTRO X2 Mini Projector connected to a TV Stick, displaying various streaming service icons on a projected screen. This illustrates how to connect and use a TV stick for media consumption.
5.2.2 Conexão USB
Insira um dispositivo USB na porta USB para reproduzir conteúdo multimídia. files directly. The projector supports various video, audio, and image formats.
5.2.3 Conexão AV
Use the provided AV cable to connect devices with AV output (e.g., DVD player).
5.2.4 Conexão VGA
Conecte o computador à porta VGA usando um cabo VGA.
5.2.5 Conexão sem fio (espelhamento de tela via Wi-Fi)
The TOPTRO X2 supports wireless screen mirroring for Android and iOS devices.

Image: The TOPTRO X2 Mini Projector wirelessly connected to multiple devices (smartphone, tablet, laptop), projecting a scenic image. This demonstrates the projector's WiFi screen mirroring capability for various devices.
- Select "Screen Mirroring" as the input source.
- Follow the on-screen instructions to connect your smartphone or tablet to the projector's WiFi network, then enable screen mirroring on your device.
Conexão de áudio Bluetooth 5.2.6
Conecte alto-falantes ou fones de ouvido Bluetooth externos para uma experiência de áudio aprimorada.

Image: The TOPTRO X2 Mini Projector wirelessly connected via Bluetooth to external speakers and headphones, with sound waves emanating from the projector. This illustrates the projector's Bluetooth audio output feature.
- Certifique-se de que seu dispositivo de áudio Bluetooth esteja no modo de emparelhamento.
- No projetor, acesse o menu de configurações de Bluetooth.
- Selecione seu dispositivo na lista para emparelhar.
5.3 Menu de Navegação
Use the arrow keys and "OK" button on the remote control or projector to navigate through the on-screen menus for settings such as picture mode, sound mode, and system settings.
6. Manutenção
6.1 Limpeza da Lente
Use a soft, lint-free cloth or lens cleaning paper to gently wipe the projector lens. Avoid using abrasive cleaners.
6.2 Limpeza do filtro de poeira
The TOPTRO X2 features a removable dust filter to prevent dust accumulation and black spots on the projection. Regularly clean the filter to maintain optimal performance.
- Locate the removable dust filter cover on the side of the projector.
- Gently remove the cover and the filter.
- Clean the filter using a soft brush or compressed air.
- Reinsert the filter and close the cover securely.
6.3 Ventilação
Ensure that the projector's ventilation openings are not blocked to allow for proper airflow and prevent overheating. The projector is equipped with a circulation cooling system and three independent smart fans to manage temperature.
7. Solução De Problemas
| Problema | Possível causa | Solução |
|---|---|---|
| Sem imagem na tela | Alimentação não conectada; Fonte de entrada incorreta; Tampa da lente colocada | Verifique a conexão de energia; Selecione a fonte de entrada correta; Remova a tampa da lente. |
| Imagem desfocada | Focus not adjusted; Incorrect projection distance | Adjust focus ring; Adjust projector distance or use zoom function |
| Distorted image (trapezoid shape) | O projetor não está perpendicular à tela. | Use keystone correction function |
| Sem som | Volume too low; Muted; Incorrect audio output selected | Increase volume; Unmute; Check audio settings and connections |
| Controle remoto não funciona | Batteries dead; Obstruction between remote and projector | Replace batteries; Ensure clear line of sight |
| Aviso de superaquecimento | Blocked ventilation; Prolonged use | Ensure vents are clear; Allow projector to cool down |
8. Especificações
| Recurso | Detalhe |
|---|---|
| Marca | TOPTRO |
| Modelo | X2 |
| Resolução Nativa | 1920 x 1080P (Full HD) |
| Resolução Suportada | Até 4K Ultra HD |
| Brilho | 6800 Lumens (Note: Marketing claims may vary, e.g., 7000 or 12000 lumens) |
| Taxa de contraste | 8000:1 |
| Tamanho da projeção | Até 300 polegadas |
| Distância de projeção | Recommended 3.5m, Max 7m |
| Correção trapezóide | 4D (±40° Vertical & Horizontal) |
| Função Zoom | 100% X/Y |
| Lamp Vida | 90,000 horas (LED) |
| Oradores | Built-in 10W Dual Subwoofer with SRS Sound |
| Conectividade | HDMI, USB, AV, VGA, WiFi, Bluetooth |
| Cor | Cinza |
9. Garantia e Suporte
Informações de garantia
Please refer to the warranty card included in your package for detailed warranty terms and conditions. The warranty typically covers manufacturing defects for a specified period from the date of purchase.
Suporte ao cliente
If you encounter any issues or have questions regarding your TOPTRO X2 Mini Projector, please contact TOPTRO customer support. Contact information can usually be found on the official TOPTRO webno site ou no cartão de garantia.
When contacting support, please have your model number (X2) and purchase details ready.