1. Introdução
The DAYTECH Wireless Nurse Call System, Model CC02-E-01, is designed to provide reliable and convenient assistance for individuals requiring care, such as the elderly, pregnant women, or those with disabilities. This system includes a portable receiver, a traditional call button, and a wrist-worn SOS button, ensuring help is always within reach. This manual provides detailed instructions for setup, operation, maintenance, and troubleshooting to ensure optimal performance.

This image displays the main components of the DAYTECH Wireless Nurse Call System: a rectangular white receiver unit, a round red call button with a lanyard for neck wear, and a white wrist-worn SOS button for convenient access.
2. Componentes do produto
The DAYTECH Wireless Nurse Call System typically includes the following components:
- Unidade receptora: A portable, battery-operated unit that emits an alarm and flashes when a call button is pressed.
- Call Button Transmitter: A red, round button with a lanyard, designed to be worn around the neck or placed within easy reach.
- Wrist-Worn SOS Button: A lightweight, compact button worn like a wristwatch for immediate access.
- Baterias: Required for all units (specific types detailed in specifications).

Esta imagem fornece uma visão geral detalhada.view of each component, including their dimensions, labeled parts (e.g., volume buttons, LED light, battery cover), and the required battery types for each unit.
3. Configuração
3.1 Instalação da bateria
- Unidade receptora: Open the battery cover on the back of the receiver. Insert 3 AAA batteries, ensuring correct polarity. Close the cover securely.
- Call Button Transmitter: Using a small screwdriver, open the back cover (usually 3 screws). Insert 1 CR2032 battery, observing polarity. Close the cover.
- Wrist-Worn SOS Button: Using a small screwdriver, open the back cover (usually 4 screws). Carefully remove the PCB (Printed Circuit Board). Replace the 12V 23A battery located behind the PCB. Reassemble the unit.
3.2 Pairing Transmitters with Receiver
The units are typically pre-paired. If re-pairing is needed or if you are adding new transmitters:
- On the receiver unit, press the 'Forward' or 'Backward' button to select your desired melody.
- Press and hold the 'Volume' button on the receiver until you hear a 'Pinpon' sound. This indicates the receiver is in pairing mode.
- Immediately press the call button on the transmitter (either the pendant or wrist-worn unit) you wish to pair.
- The receiver will emit a 'Pin' sound to confirm successful pairing.
- Repeat for any additional transmitters. The receiver can pair with up to 30 transmitters.

This visual guide demonstrates how to change the reception melody and enter pairing mode. Step 1: Select a desired sound. Step 2: Press and hold the volume button to enter pairing mode. Step 3: Press the transmitter button to confirm pairing.

This diagram illustrates the system's expandability. Up to 30 transmitter units can be paired with one receiver, and a single transmitter can connect to multiple receivers, allowing flexible expansion for various home or facility sizes.
4. Instruções de operação
4.1 Fazendo uma chamada
To alert a caregiver, simply press the call button on either the pendant transmitter or the wrist-worn SOS button. The receiver unit will then sound an alarm and flash its LED light.

This image illustrates typical usage scenarios. A person in bed can press the wrist-worn button, or someone who has fallen can press the pendant call button. The alert is then received by a caregiver, shown here in a kitchen setting.
4.2 Ajuste de volume
The receiver unit offers 5 levels of volume adjustment, from 0dB (silent mode) up to 110dB. Use the dedicated volume buttons on the side of the receiver to adjust the sound level to your preference.
4.3 Seleção de Melodia
Choose from 20 different melodies for your alert sound. Use the 'Forward' and 'Backward' buttons on the receiver to cycle through the available tunes.
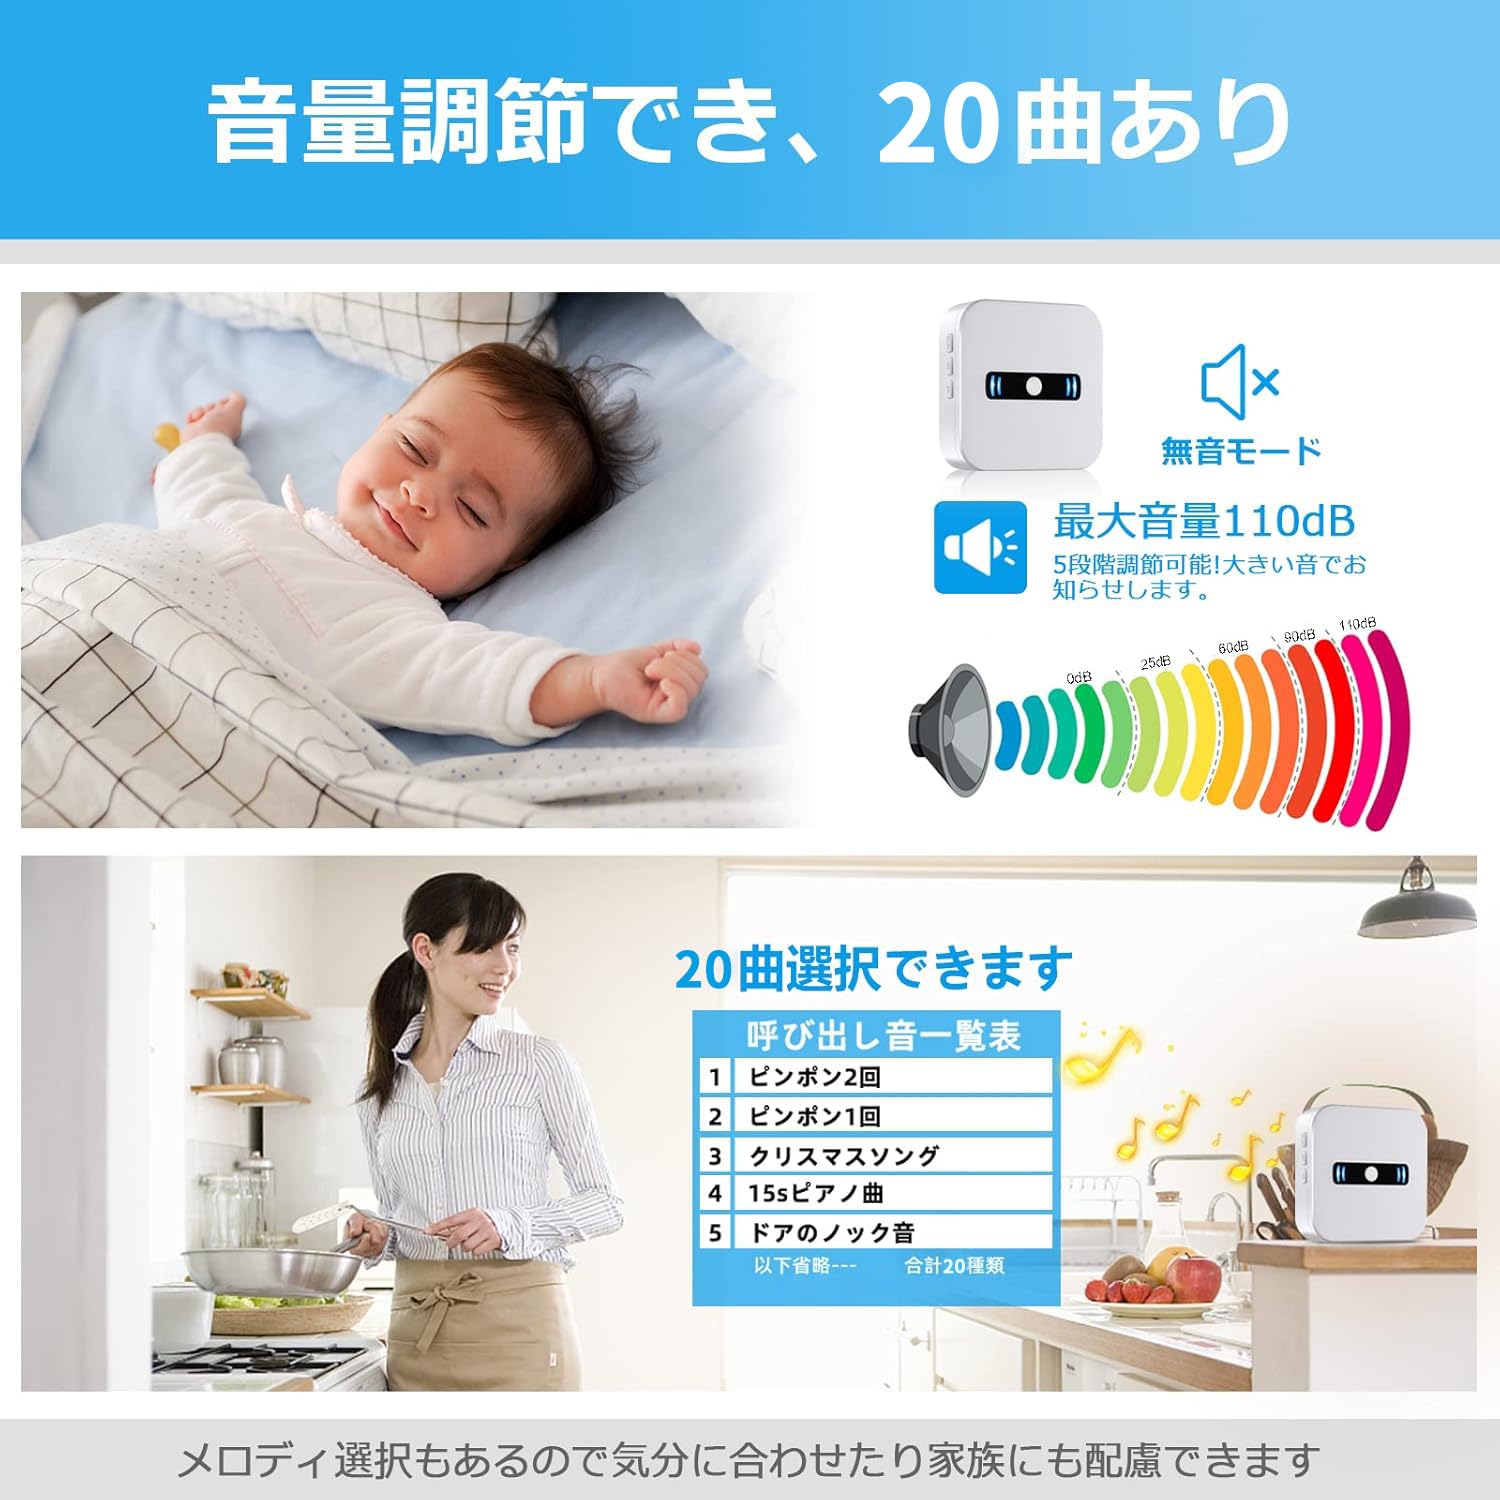
The system offers 5 levels of volume adjustment, up to 110dB, and 20 selectable melodies. This allows for customization to suit different environments, from a quiet sleeping area to a busy daytime setting.
4.4 Low Battery Notification
The receiver unit is equipped with a low battery notification feature. When the battery level is low, the unit will emit an audible 'di di di' sound and display a visual indicator, ensuring you are aware when it's time to replace the batteries.
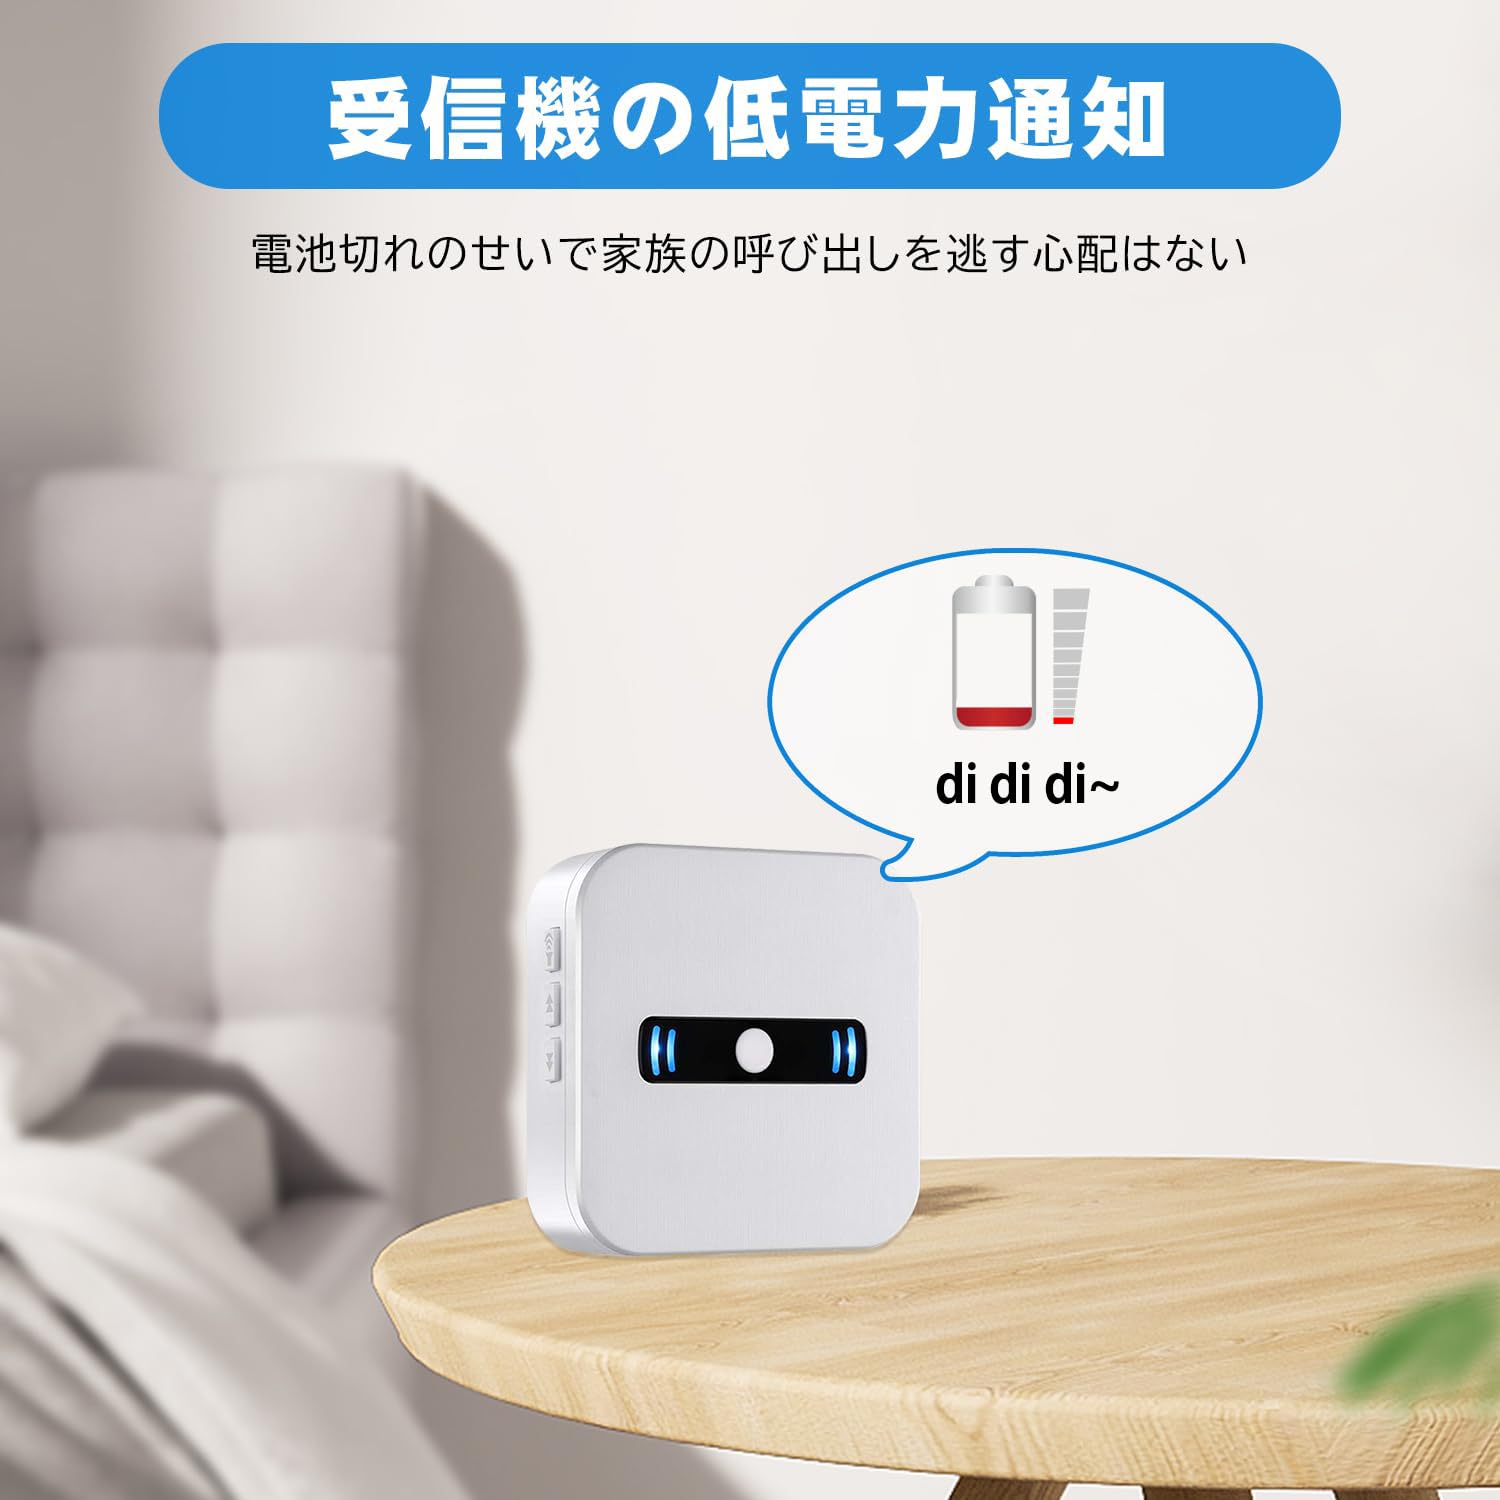
The receiver unit provides a low battery notification, indicated by a visual icon and an audible 'di di di' sound, ensuring you are aware when the battery needs attention.
5. Manutenção
5.1 Limpeza
Wipe the units with a soft, dry cloth. Do not use abrasive cleaners or solvents, as these may damage the surface.
5.2 Substituição da bateria
Replace batteries promptly when the low battery indicator appears to ensure continuous operation. Refer to section 3.1 for detailed battery replacement instructions for each unit.

This image provides a visual guide for battery replacement. For the call button, unscrew 3 screws, remove the old battery, and insert a new one. For the wrist-worn button, unscrew 4 screws, remove the PCB, and replace the battery located behind the PCB.
5.3 Armazenamento
If storing the system for an extended period, remove all batteries to prevent leakage and damage.
6. Solução De Problemas
- No alarm when button is pressed:
- Check if batteries in both the transmitter and receiver are correctly installed and not depleted.
- Ensure the receiver is not in silent (0dB) mode.
- Re-pair the transmitter with the receiver (refer to section 3.2).
- Check if the units are within the effective communication range.
- Curto alcance de comunicação:
- Thick walls, metal objects, or other electronic devices can interfere with the signal. Try repositioning the receiver.
- Verifique se as baterias não estão fracas.
- Receiver constantly alarming:
- This may indicate a faulty transmitter or a stuck button. Try removing batteries from transmitters one by one to identify the source.
- Se o problema persistir, entre em contato com o suporte ao cliente.
7. Especificações
| Recurso | Especificação |
|---|---|
| Modelo | CC02-E-01 |
| Marca | DAYTECH |
| Fonte de alimentação (receptor) | 4.5 Volts (DC), 3 x AAA batteries (included) |
| Power Source (Call Button) | Bateria 1 x CR2032 (incluída) |
| Power Source (Wrist-Worn Button) | 1 x 12V 23A battery (included) |
| Nível de som | Up to 110 dB (5-level adjustable) |
| Melodias | 20 melodias selecionáveis |
| Alcance da comunicação | 100-150m (open environment), 7-8m (through obstacles) |
| Classificação à prova d'água | IP55 (À prova de poeira e água) |
| Expansibilidade | Até 30 transmissores por receptor |
| Dimensões do Receptor | 16 x 13.6 x 3.2 cm |
| Peso do receptor | 220 g |
| UPC | 779584902016 |

This diagram demonstrates the effective wireless communication range of the system. It shows reliable signal transmission within a two-story house (up to 100m in open environments) and between adjacent houses (7-8m through obstacles).
8. Garantia e Suporte
This product comes with a lifetime quality assurance from the date of purchase. If you encounter any issues during use, please do not hesitate to contact us. We are committed to providing prompt support and ensuring your satisfaction with our reliable home nurse call system.
For support, please refer to the contact information provided with your purchase or visit the official DAYTECH website.


