Introdução
This manual provides essential information for the safe and efficient operation, setup, maintenance, and troubleshooting of your Einhell FREELEXO 350 Robot Battery Lawn Mower. Please read this manual thoroughly before using the device and keep it for future reference.

Figure 1: Einhell FREELEXO 350 Robot Battery Lawn Mower. This image shows the red and black robotic lawn mower from a front-side angle, highlighting its compact design and robust wheels.
Instruções de segurança
Observe sempre as seguintes precauções de segurança para evitar ferimentos e danos ao dispositivo:
- Ensure the work area is clear of obstacles and people, especially children and pets, before operation.
- Do not operate the mower in wet conditions or during rain. The integrated rain sensor will automatically send the mower back to its charging station.
- Inspecione regularmente as lâminas para verificar desgaste e danos. Substitua as lâminas desgastadas imediatamente.
- The mower is equipped with impact, tilt, and lift sensors for safety. Do not attempt to bypass these features.
- Activate the anti-theft PIN code feature to secure your device.
- Always turn off the mower and remove the battery before performing any maintenance or cleaning.
Configuração e instalação
The FREELEXO 350 comes with all necessary installation equipment for lawn sizes up to 350 m². This includes 110 meters of boundary wire, 150 fastening hooks, three replacement blades, and four connecting clips.
1. Instalação do fio de delimitação
The boundary wire defines the mowing area. Lay the 110 meters of boundary wire around the perimeter of your lawn, securing it with the provided fastening hooks. Ensure the wire is laid flat and taut to prevent tripping hazards and ensure proper mower operation.

Figura 2: Example of boundary wire installation. This diagram illustrates how to lay the boundary wire around a lawn area, including obstacles and pathways, to define the mowing zone for the robotic mower.
2. Posicionamento da estação de carregamento
Place the charging station on a flat, level surface within the boundary wire area, preferably in a shaded location with access to a power outlet. Connect the boundary wire ends to the charging station as per the detailed instructions in the full manual.

Figure 3: The charging station for the Einhell FREELEXO 350. This image shows the black charging base where the robotic mower returns to recharge its battery.
3. Carga inicial da bateria
Before first use, ensure the 2.0 Ah Power X-Change battery is fully charged. Insert the battery into the mower or charge it directly using a compatible Einhell Power X-Change charger.
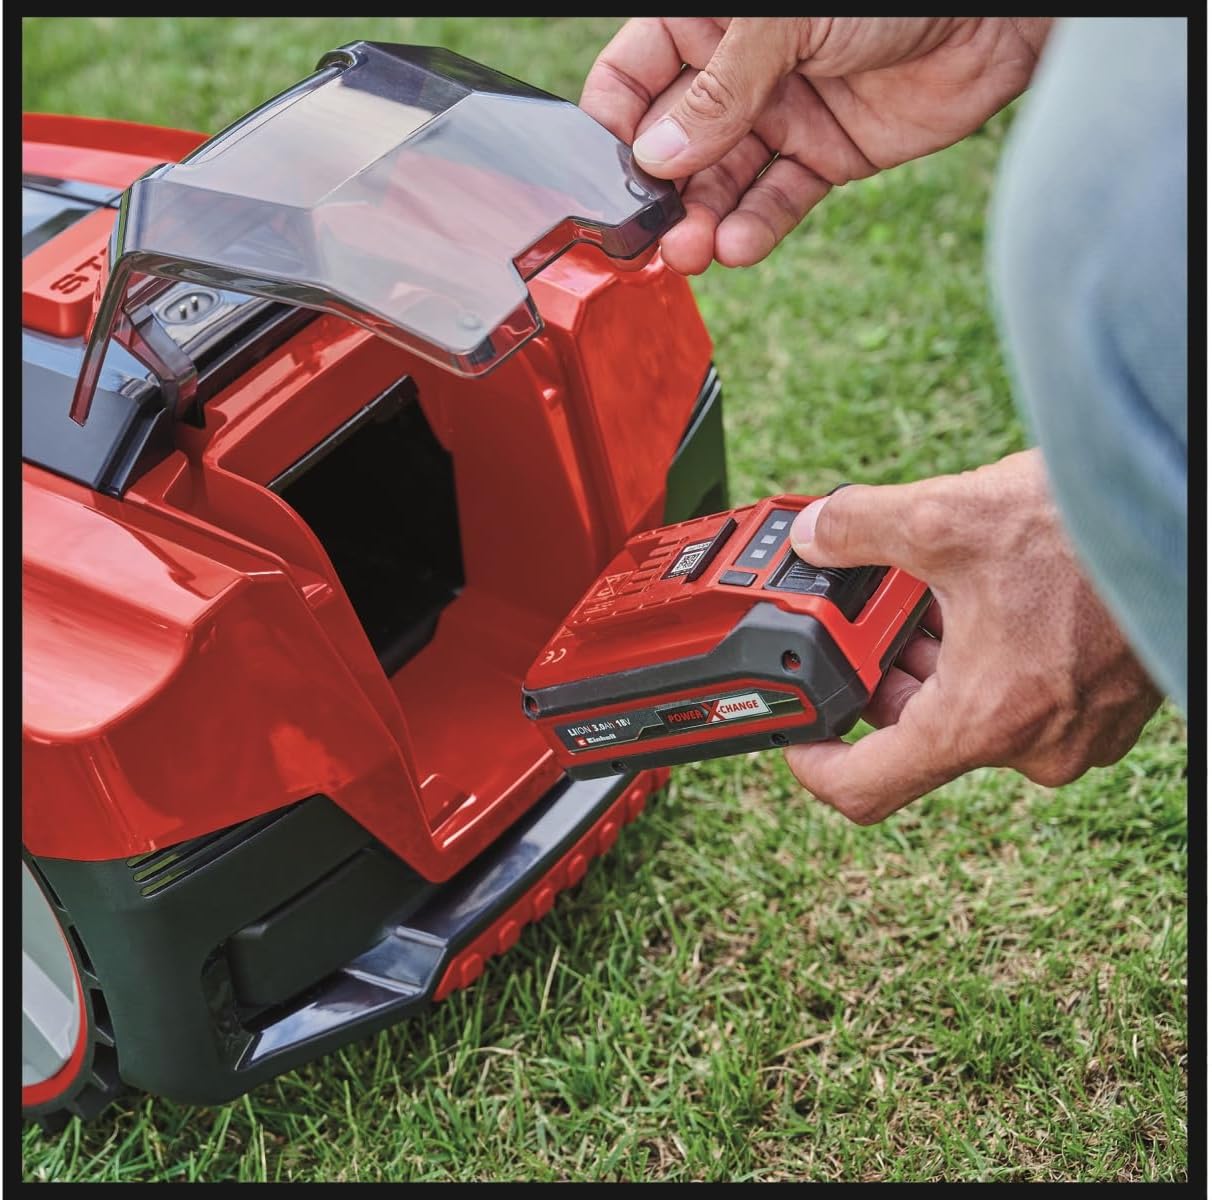
Figure 4: Hand inserting the Power X-Change battery into the robotic lawn mower. This image demonstrates the easy access compartment for battery installation and removal.
Instruções de operação
The FREELEXO 350 is designed for autonomous operation, ensuring consistent lawn care.
1. Programming Mowing Times
Mowing times can be programmed in 8 stages using the intuitive keypad on the mower. This allows you to set a schedule that suits your lawn's needs and your personal preferences. A separate program can also be set for mowing additional areas not part of the main lawn.

Figure 5: Close-up of the Einhell FREELEXO 350's control panel. This image shows the buttons for setting mowing times (e.g., 4H, 6H, 8H, 10H) and the central dial for cutting height adjustment.
2. Ajuste da altura de corte
The cutting height can be adjusted from 20 mm to 60 mm to achieve your desired lawn length. Use the central dial on the mower's control panel to select the appropriate height setting.

Figure 6: Hand adjusting the cutting height dial on the robotic lawn mower. This image highlights the ease of setting the desired grass length.
3. Funções Automáticas
- Sensor de chuva: The integrated rain sensor detects precipitation and automatically sends the mower back to its charging station to protect it from adverse weather.
- Retorno de bateria fraca: When the battery power is low, the mower automatically returns to the charging station to recharge, ensuring continuous operation.
- Sensores de segurança: Impact, tilt, and lift sensors ensure the mower stops or adjusts its operation if it encounters an obstacle, is lifted, or tilted, enhancing safety.
Manutenção
Regular maintenance ensures the longevity and optimal performance of your FREELEXO 350.
1. Substituição da lâmina
The mower is supplied with three replacement blades. Inspect the blades regularly for sharpness and damage. Dull or damaged blades can affect cutting quality and increase battery consumption. Replace them as needed following the instructions in the full manual.
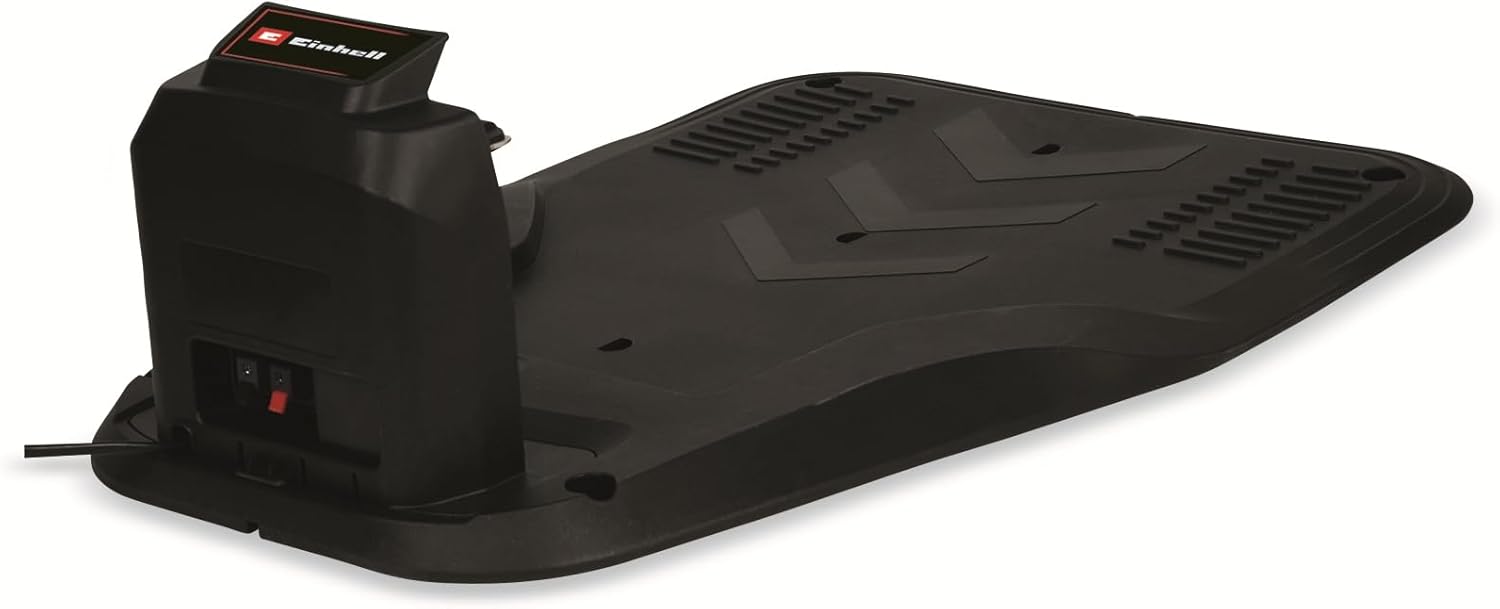
Figura 7: View of the mower's underside, showing the rotating disc with three cutting blades. The arrows indicate the direction of rotation for effective mowing.
2. Limpeza
Keep the mower's chassis, wheels, and sensors clean. Use a soft brush or cloth to remove grass clippings and dirt. Do not use high-pressure washers or immerse the device in water.
3. Cuidados com a bateria
The 2.0 Ah Power X-Change battery is designed for durability. Store the battery in a cool, dry place when not in use, and avoid extreme temperatures. For long-term storage, ensure the battery is partially charged (around 50%).
Solução de problemas
This section addresses common issues you might encounter with your robotic lawn mower. For more detailed troubleshooting, refer to the complete product manual.
| Problema | Possível causa | Solução |
|---|---|---|
| Mower not starting or stopping unexpectedly. | Low battery, boundary wire issue, safety sensor triggered, PIN code not entered. | Check battery charge. Verify boundary wire connection. Clear any obstacles. Enter correct PIN code. |
| Baixo desempenho de corte. | Dull or damaged blades, incorrect cutting height setting, excessive grass height. | Replace blades. Adjust cutting height. Mow more frequently or manually cut tall grass first. |
| Mower not returning to charging station. | Charging station not powered, boundary wire break, station placement issue. | Ensure charging station is plugged in. Inspect boundary wire for breaks. Reposition charging station if necessary. |
| Mower operating during rain. | Rain sensor obstructed or faulty. | Clean the rain sensor. If the issue persists, contact customer support. |
Especificações técnicas
| Recurso | Especificação |
|---|---|
| Marca | Einhell |
| Número do modelo | 3413992 |
| Fonte de energia | Battery Powered (Power X-Change) |
| Tipo de Bateria | Íon de lítio (2.0 Ah incluídos) |
| Material | Plástico |
| Cor | Preto, Vermelho |
| Peso do item | 12.86 quilogramas (28.3 libras) |
| Largura de corte | 18 centímetros |
| Ajuste de altura de corte | 8 posições (20 mm a 60 mm) |
| Modo de operação | Automático |
| Max. Slope Capability | 35% |
| Área de gramado recomendada | Até 350 m² |
Garantia e Suporte
For detailed warranty information, please refer to the warranty card included with your product or visit the official Einhell webOs termos e condições da garantia podem variar conforme a região e o revendedor.
If you require technical support, have questions about operation, or need to order spare parts, please contact Einhell customer service or the retailer from whom you purchased the product. Keep your model number (3413992) and purchase receipt ready when contacting support.
Para dúvidas gerais, você pode visitar o Einhell official website.